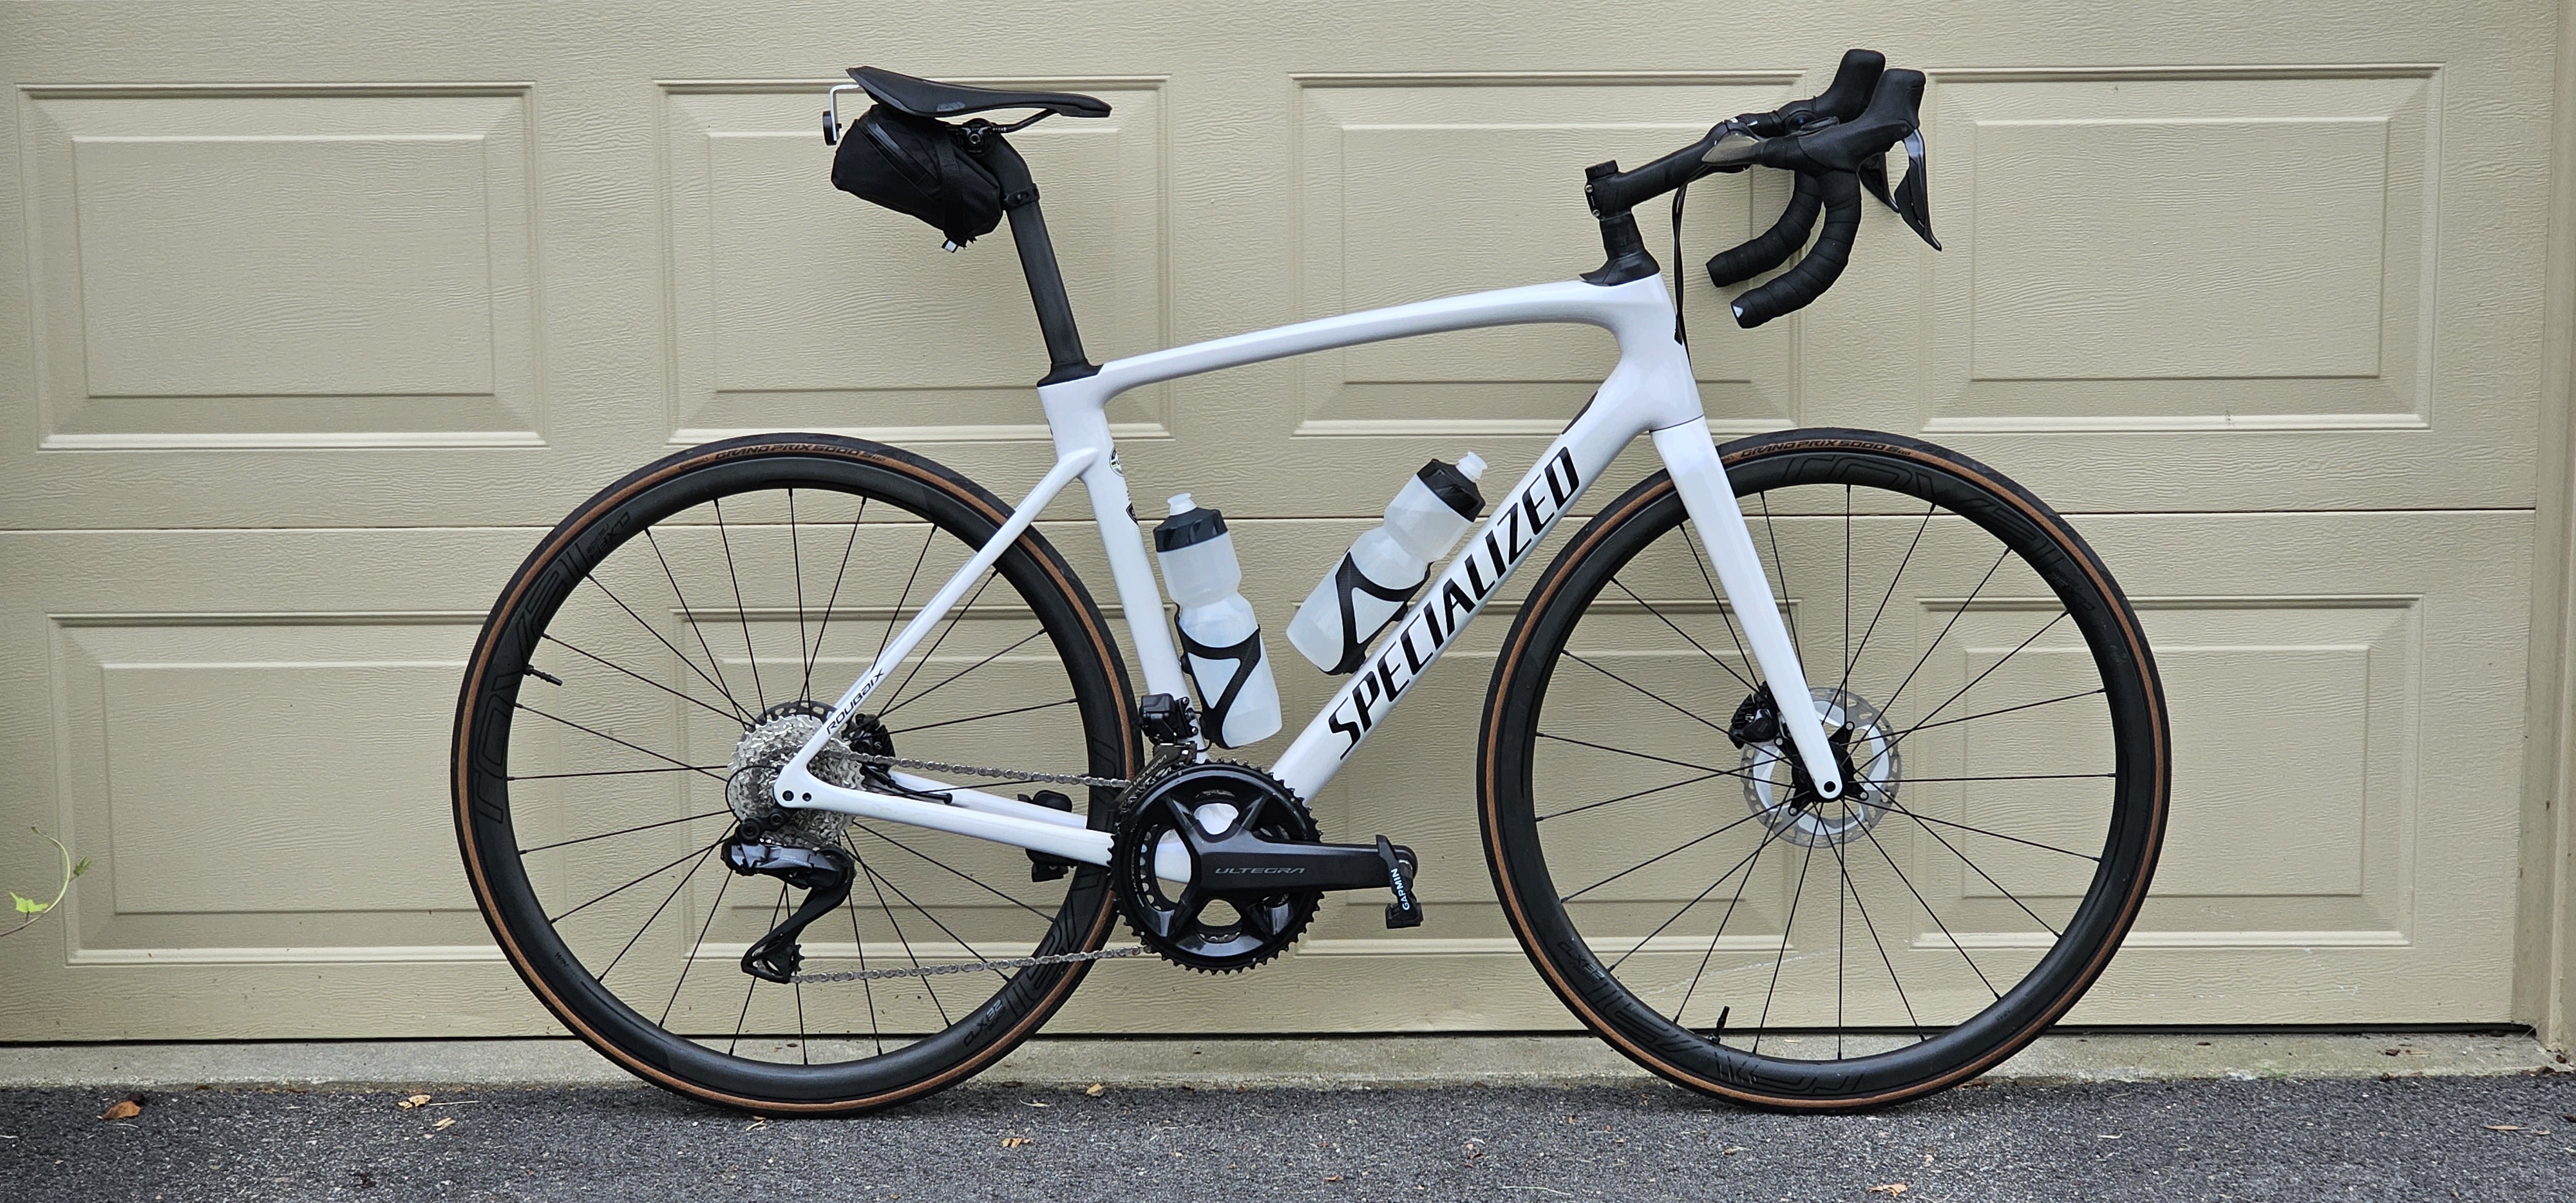
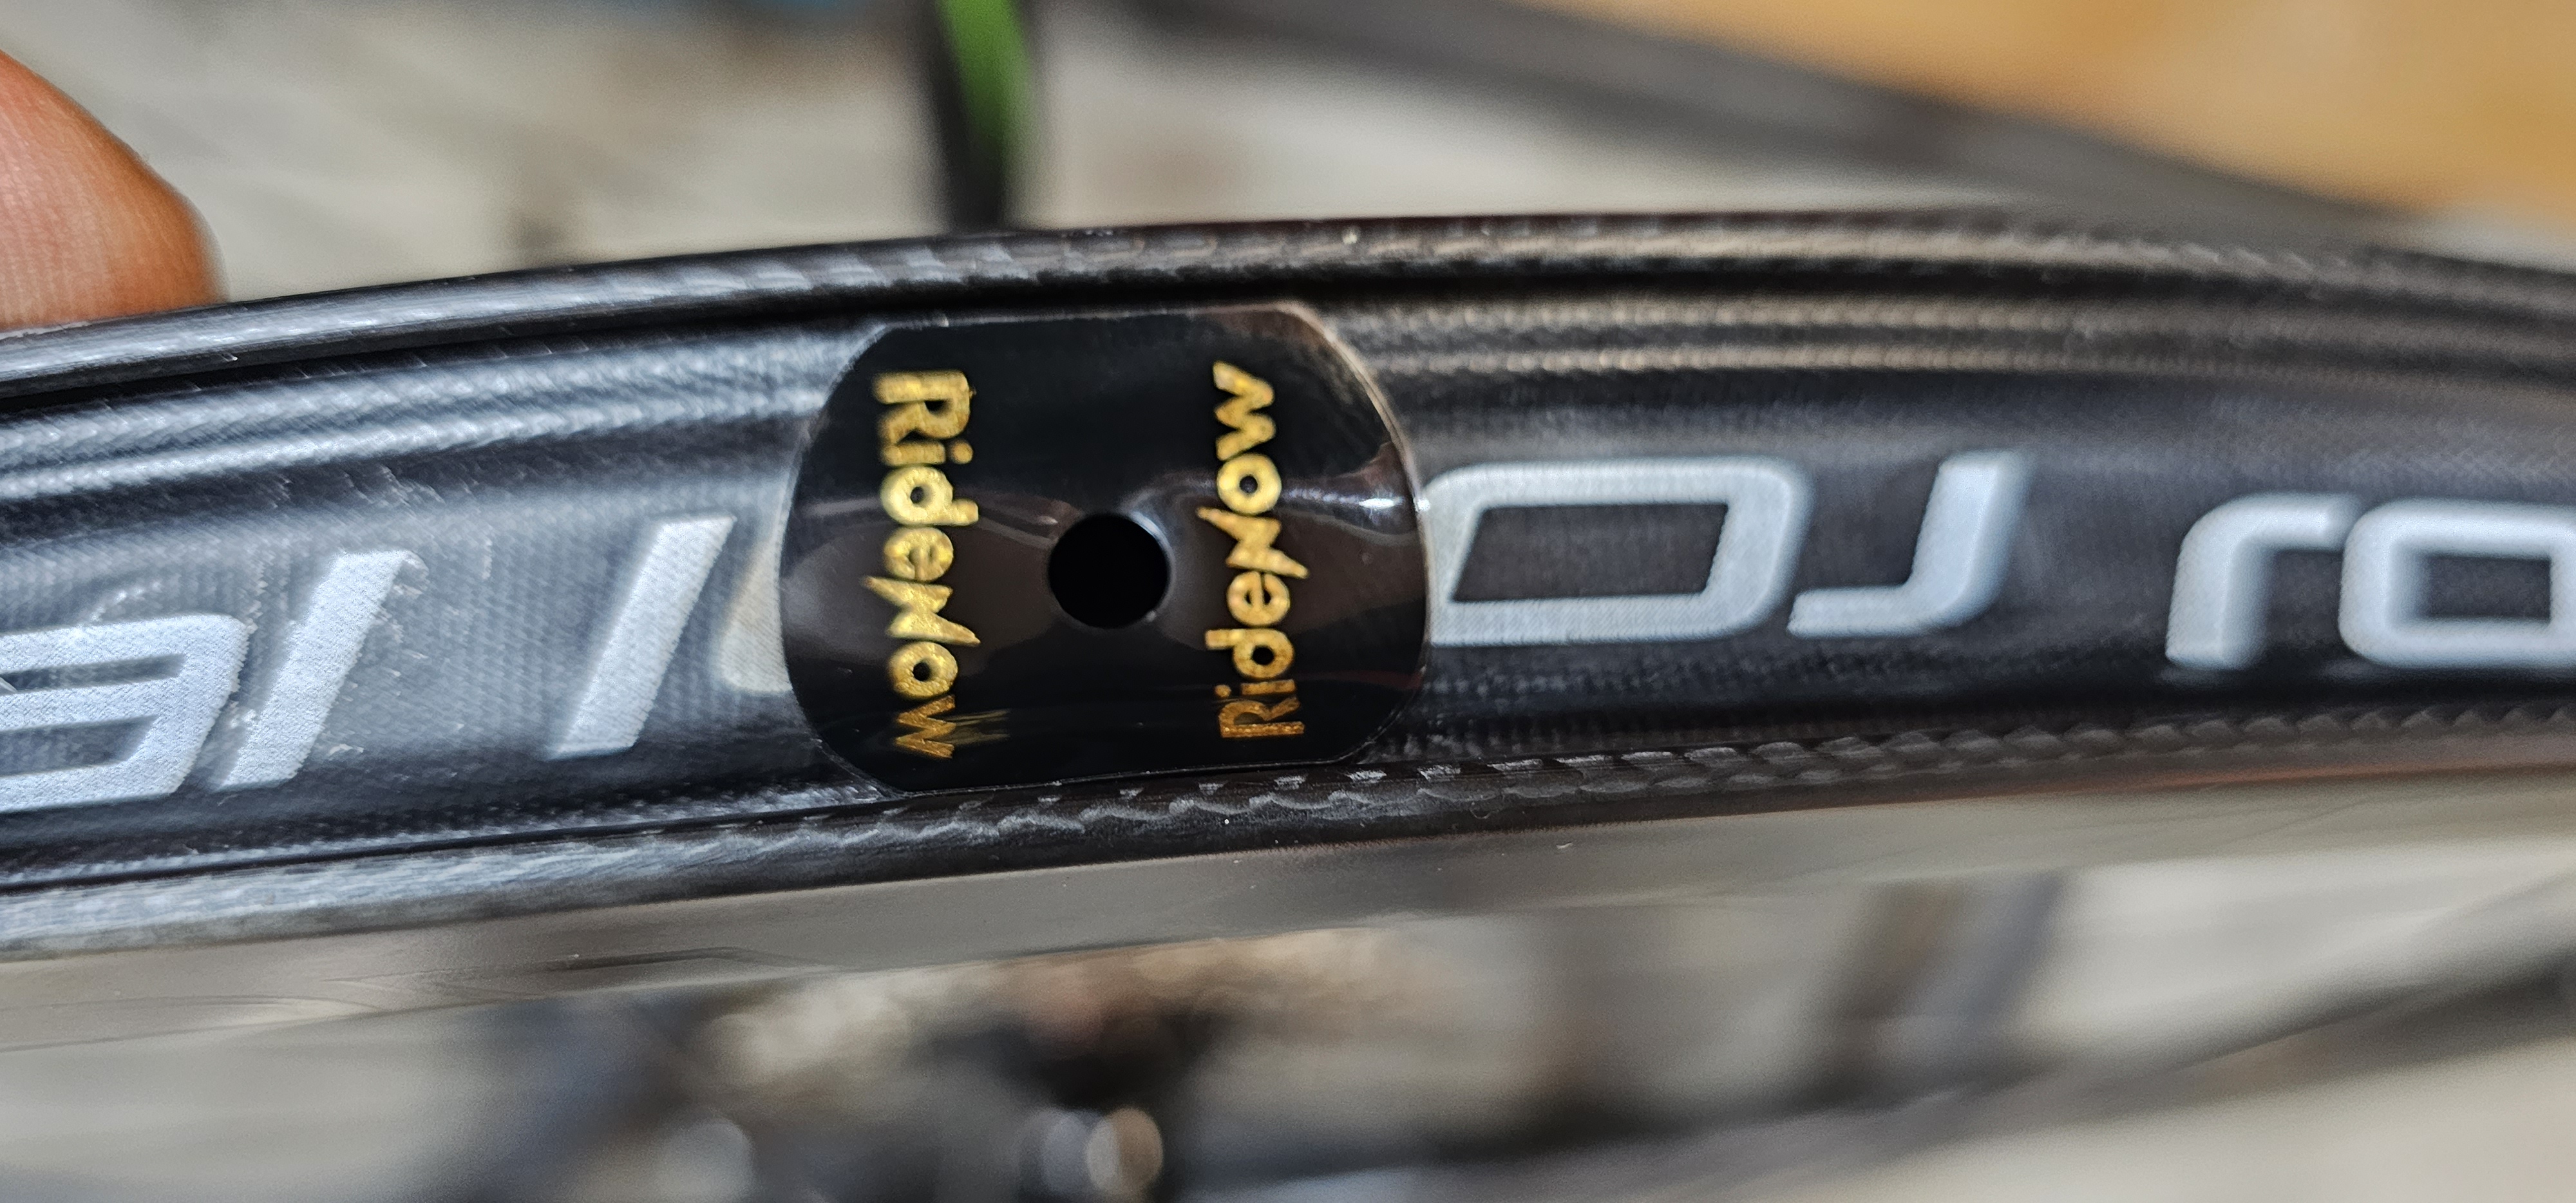
There was nothing really wrong with my old road bike - except it started to develop a crack in the carbon seat tube....... And by the time I looked at finding another frame - which would have to be used as technology had moved on from my existing components..... A diligent three months of watching eBay and Amazon and slowly picking everything up. I built a 2022/3 Specialized Roubaix - Custom. Custom because Specialized never actually sold the exact spec I built. But long and the short I bought the components for 25% of the cost of the built equivalent.

 Why was it cheap? So what's wrong with it? Nothing - it's white. Well unless you put it under Ultra-Violet light - then it turns sort of "Barbie" pink. Well I'm not planning on riding it under UV light. Kinda exciting when it showed up with the seat post, axles and all the "bits" - so I didn't need to source them.
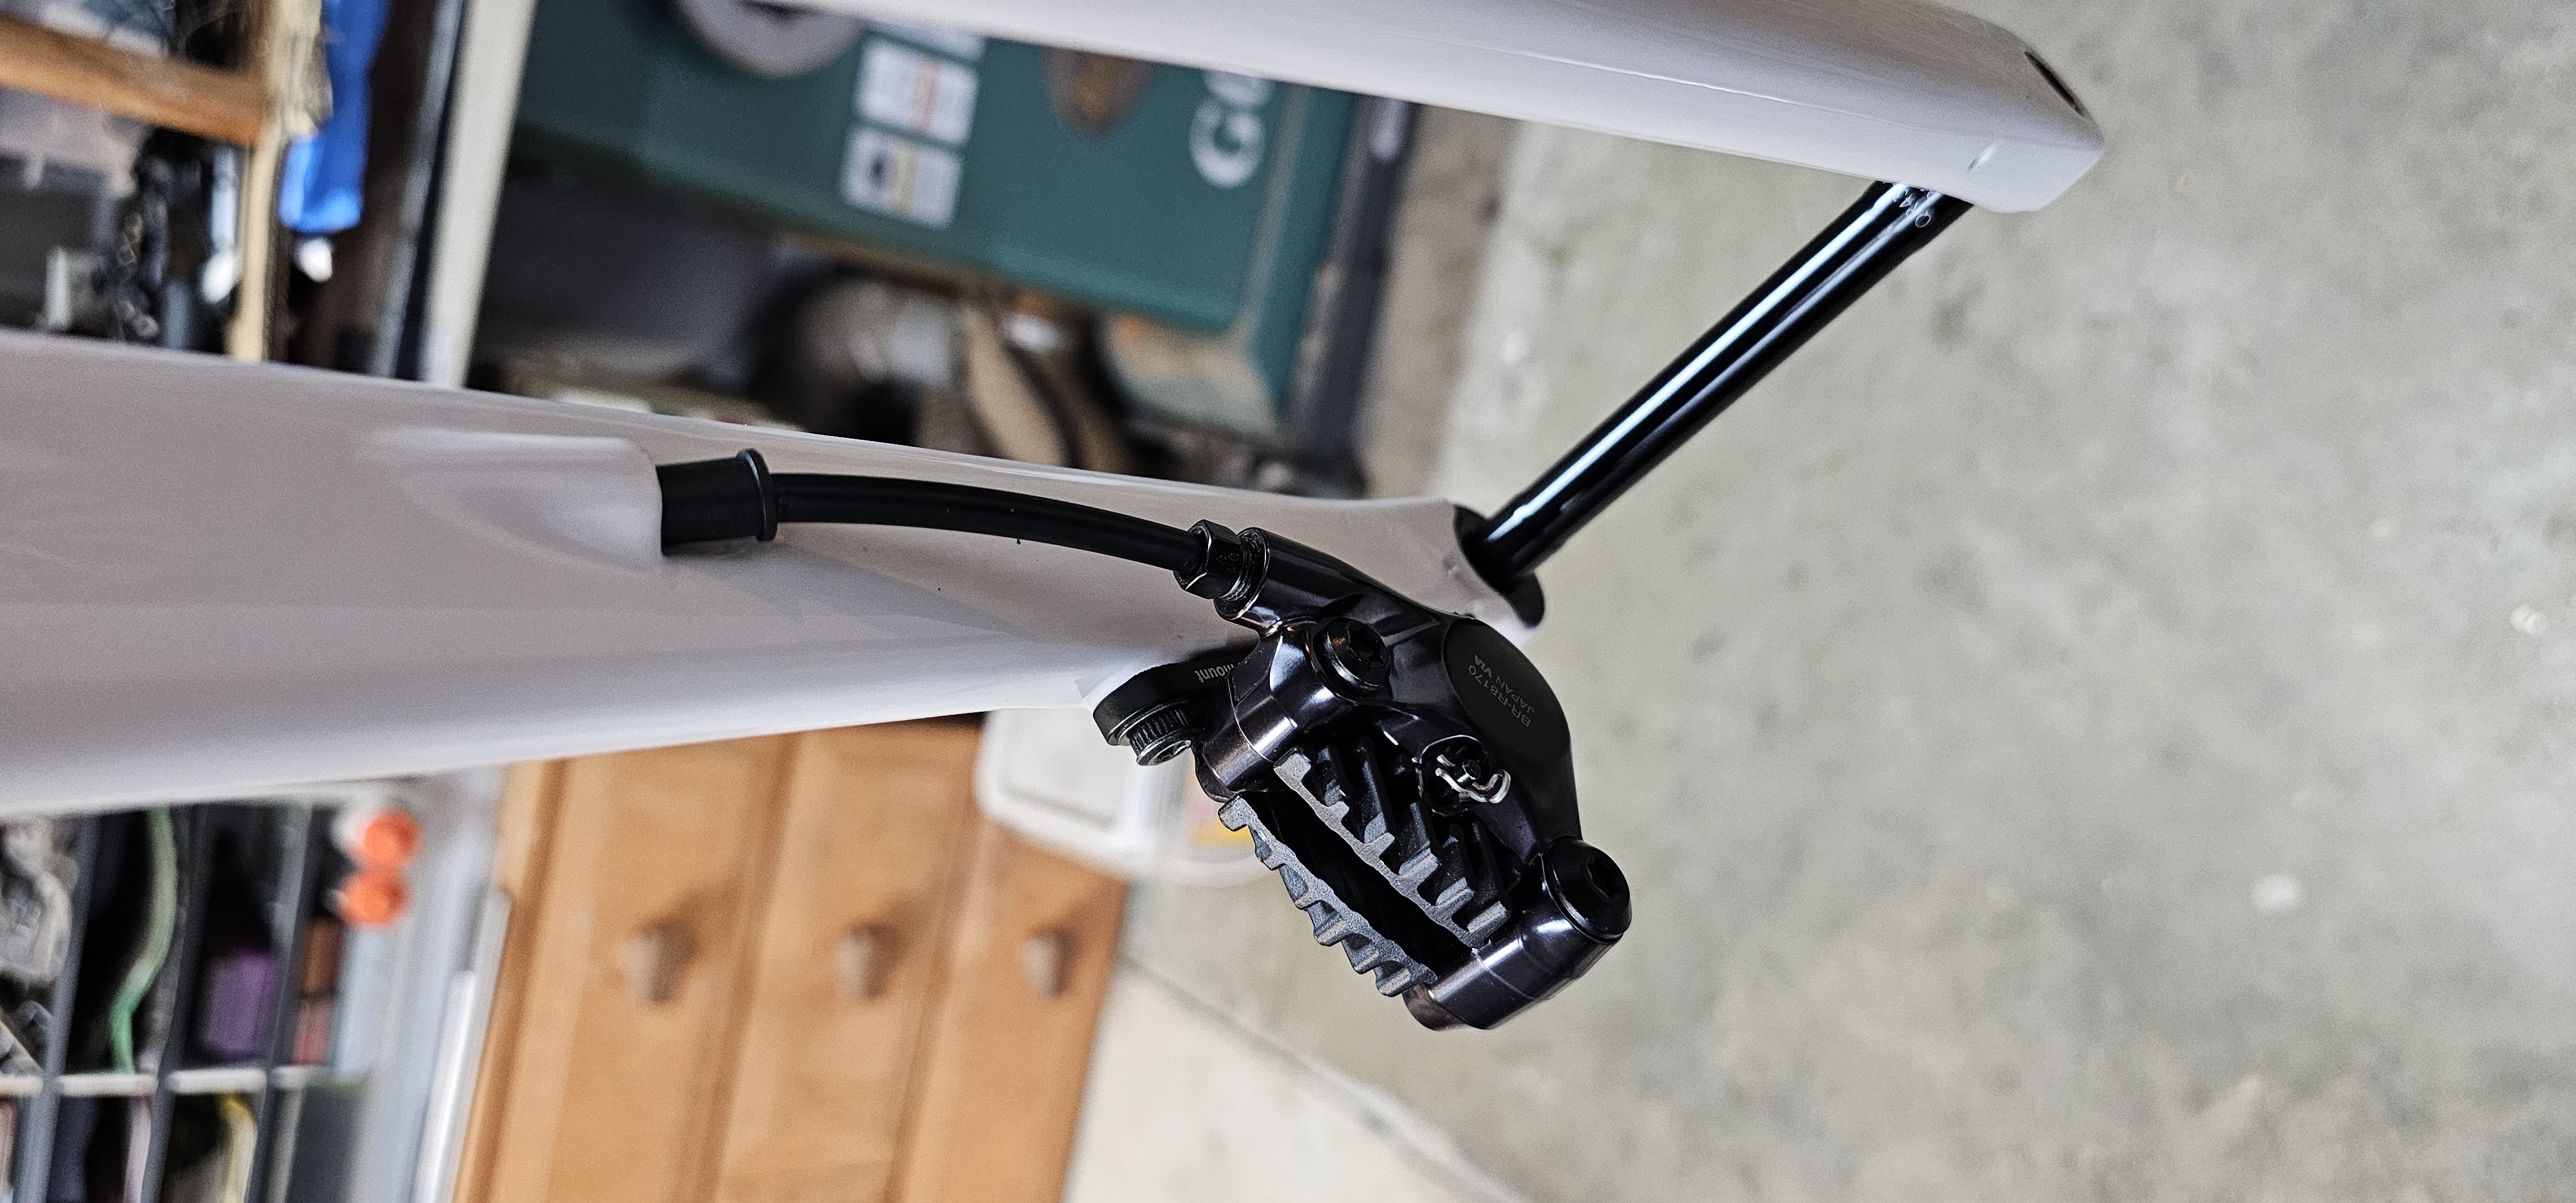
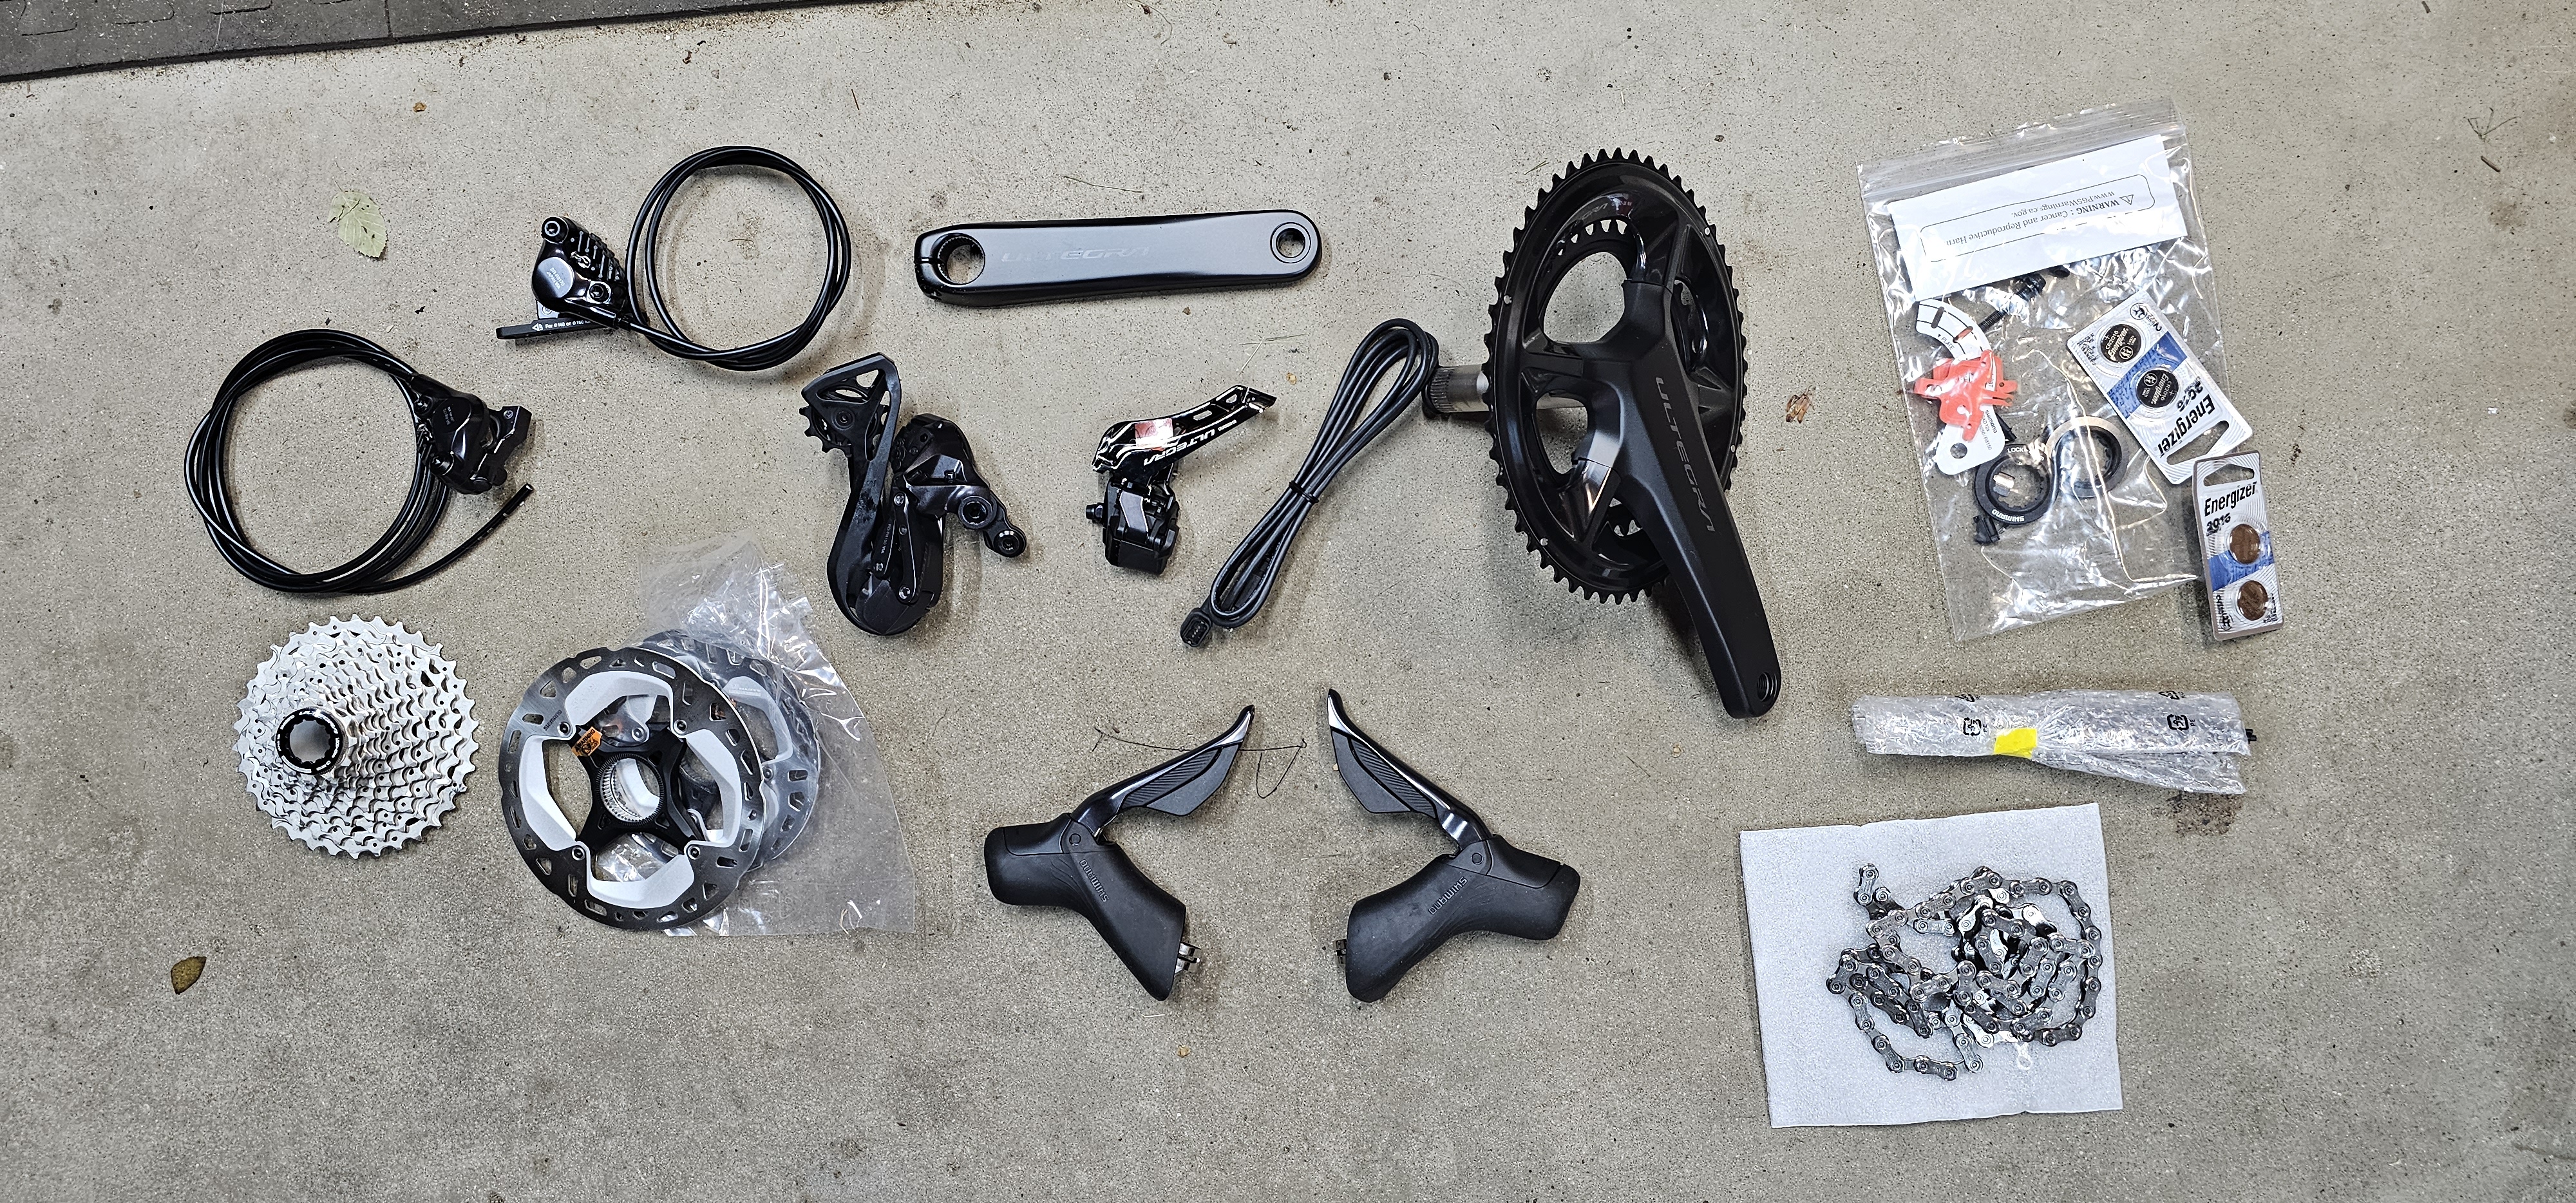 From another supplier - the gears, hydraulic brakes and all "the other bits". This is the Shimano Ultegra 12 speed Di2. So no cables. The gear change is accomplished wirelessly. The gear levers are "normal" but actually trigger microswitches which send a wireless signal to the derailer motors which move the gear shift precisely the exact needed amount. No wiring from the handlebars to the back of the bike. No more missed gears when tired! And the brakes are hydraulic/disks which are extremely powerful.
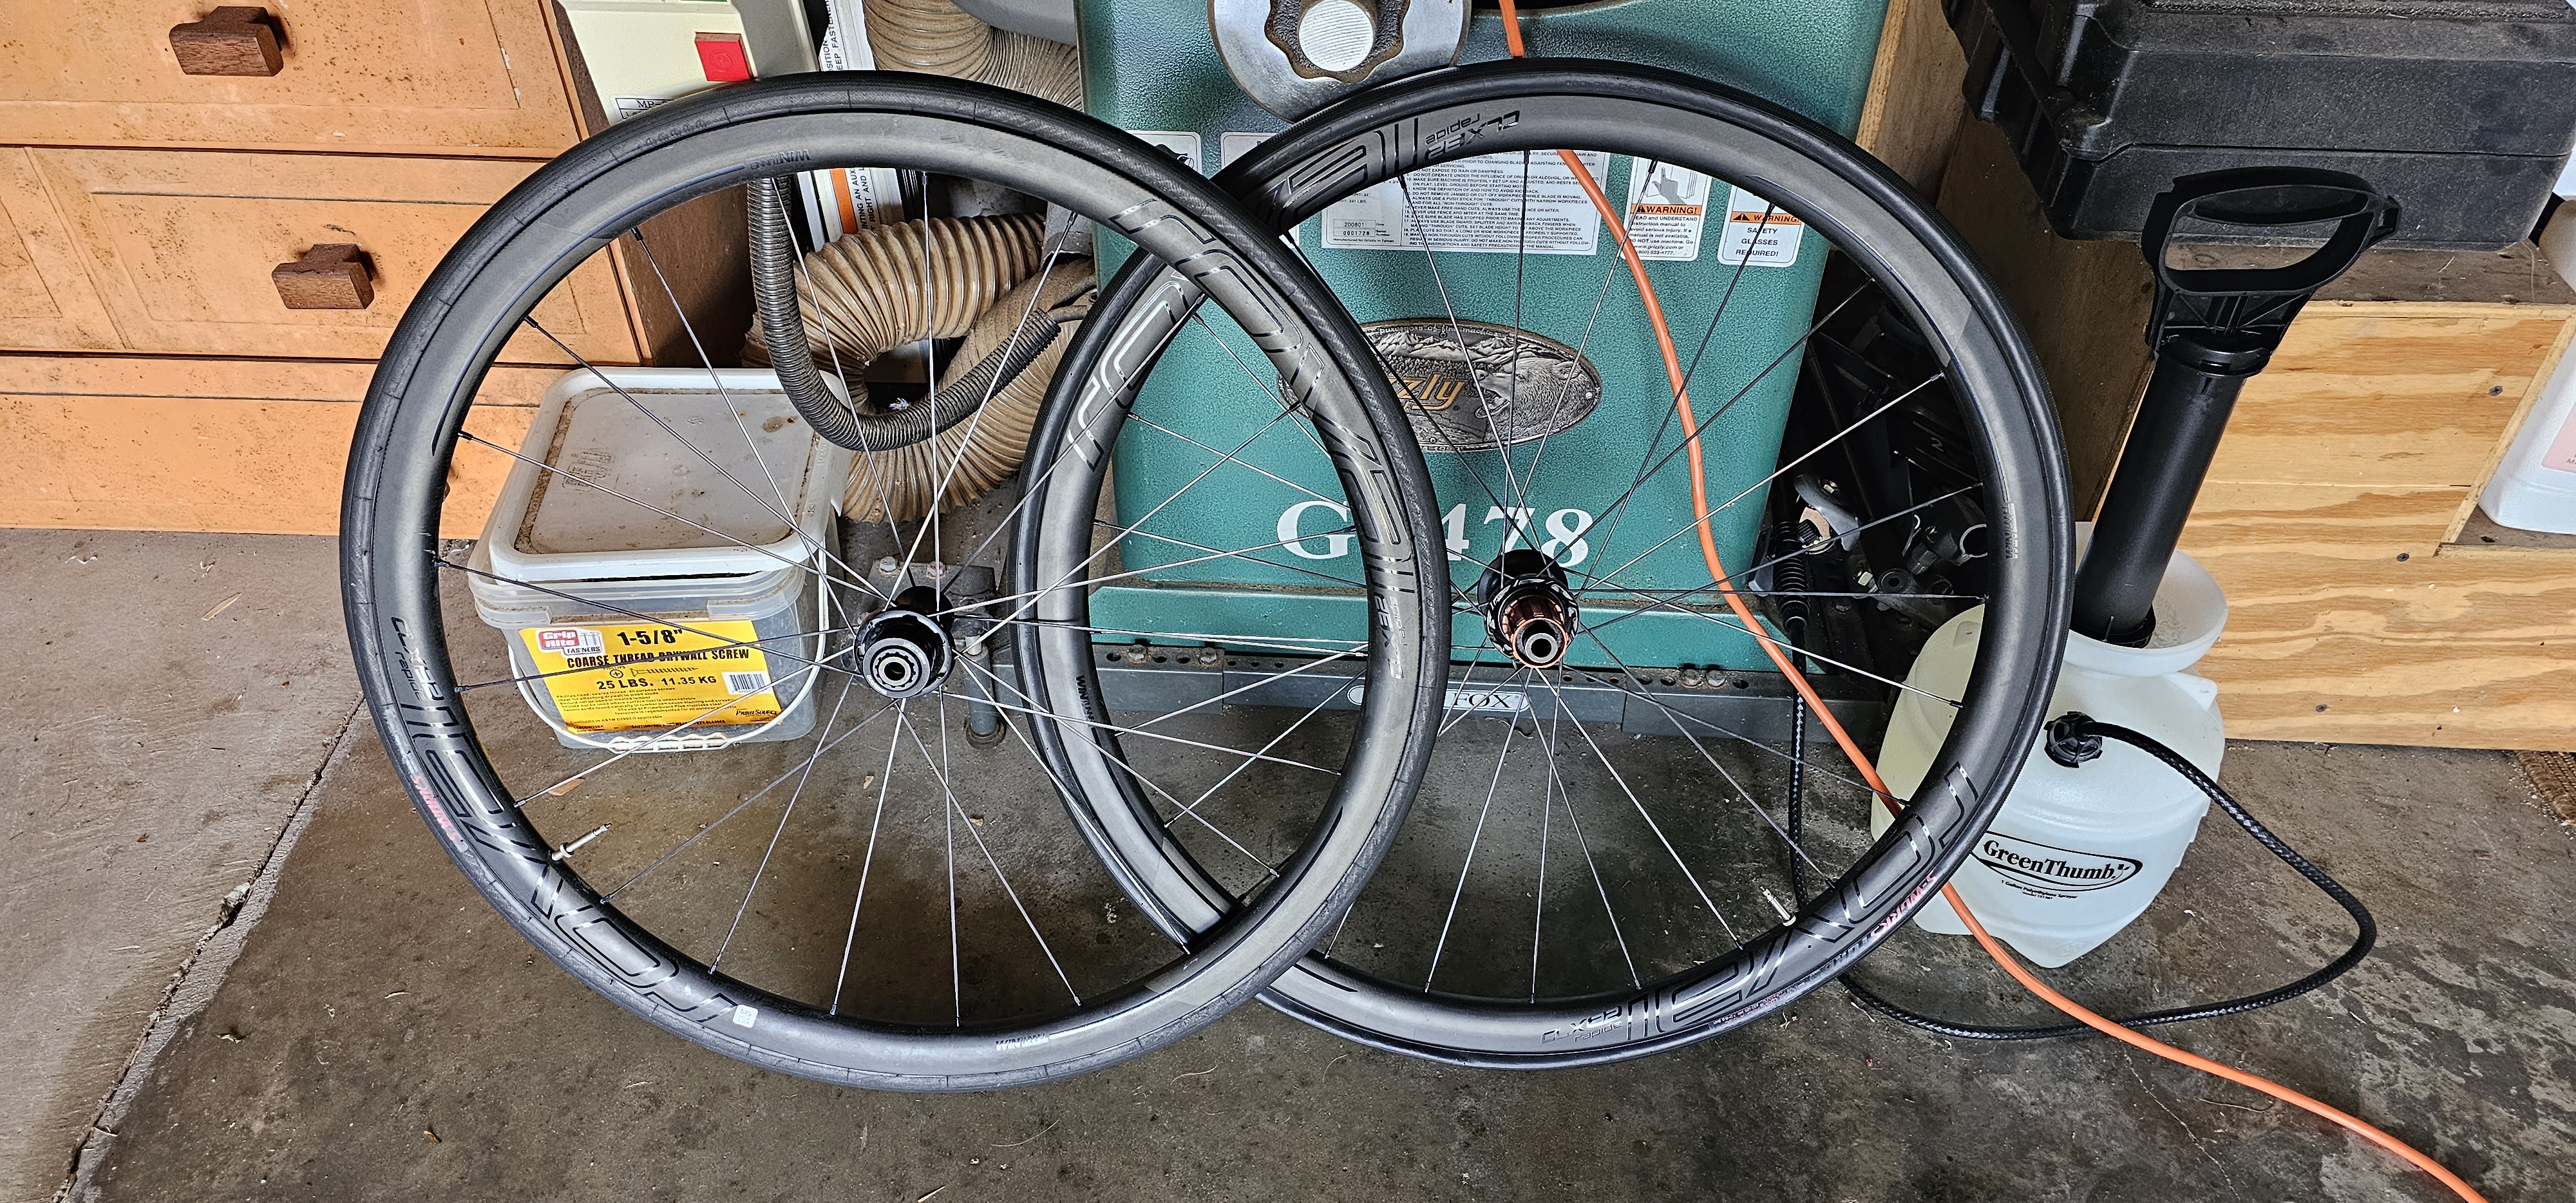 The other large component - the wheels. Potentially a big ticket item. After a lot of careful hunting, I went with a tubeless carbon rim set Roval CLX-32 that had been used for 6 months and came with a warranty from the consignment bike shop. The saddle and handlebars came from my old bike and the old bike got some older, heavier components I had in stock.
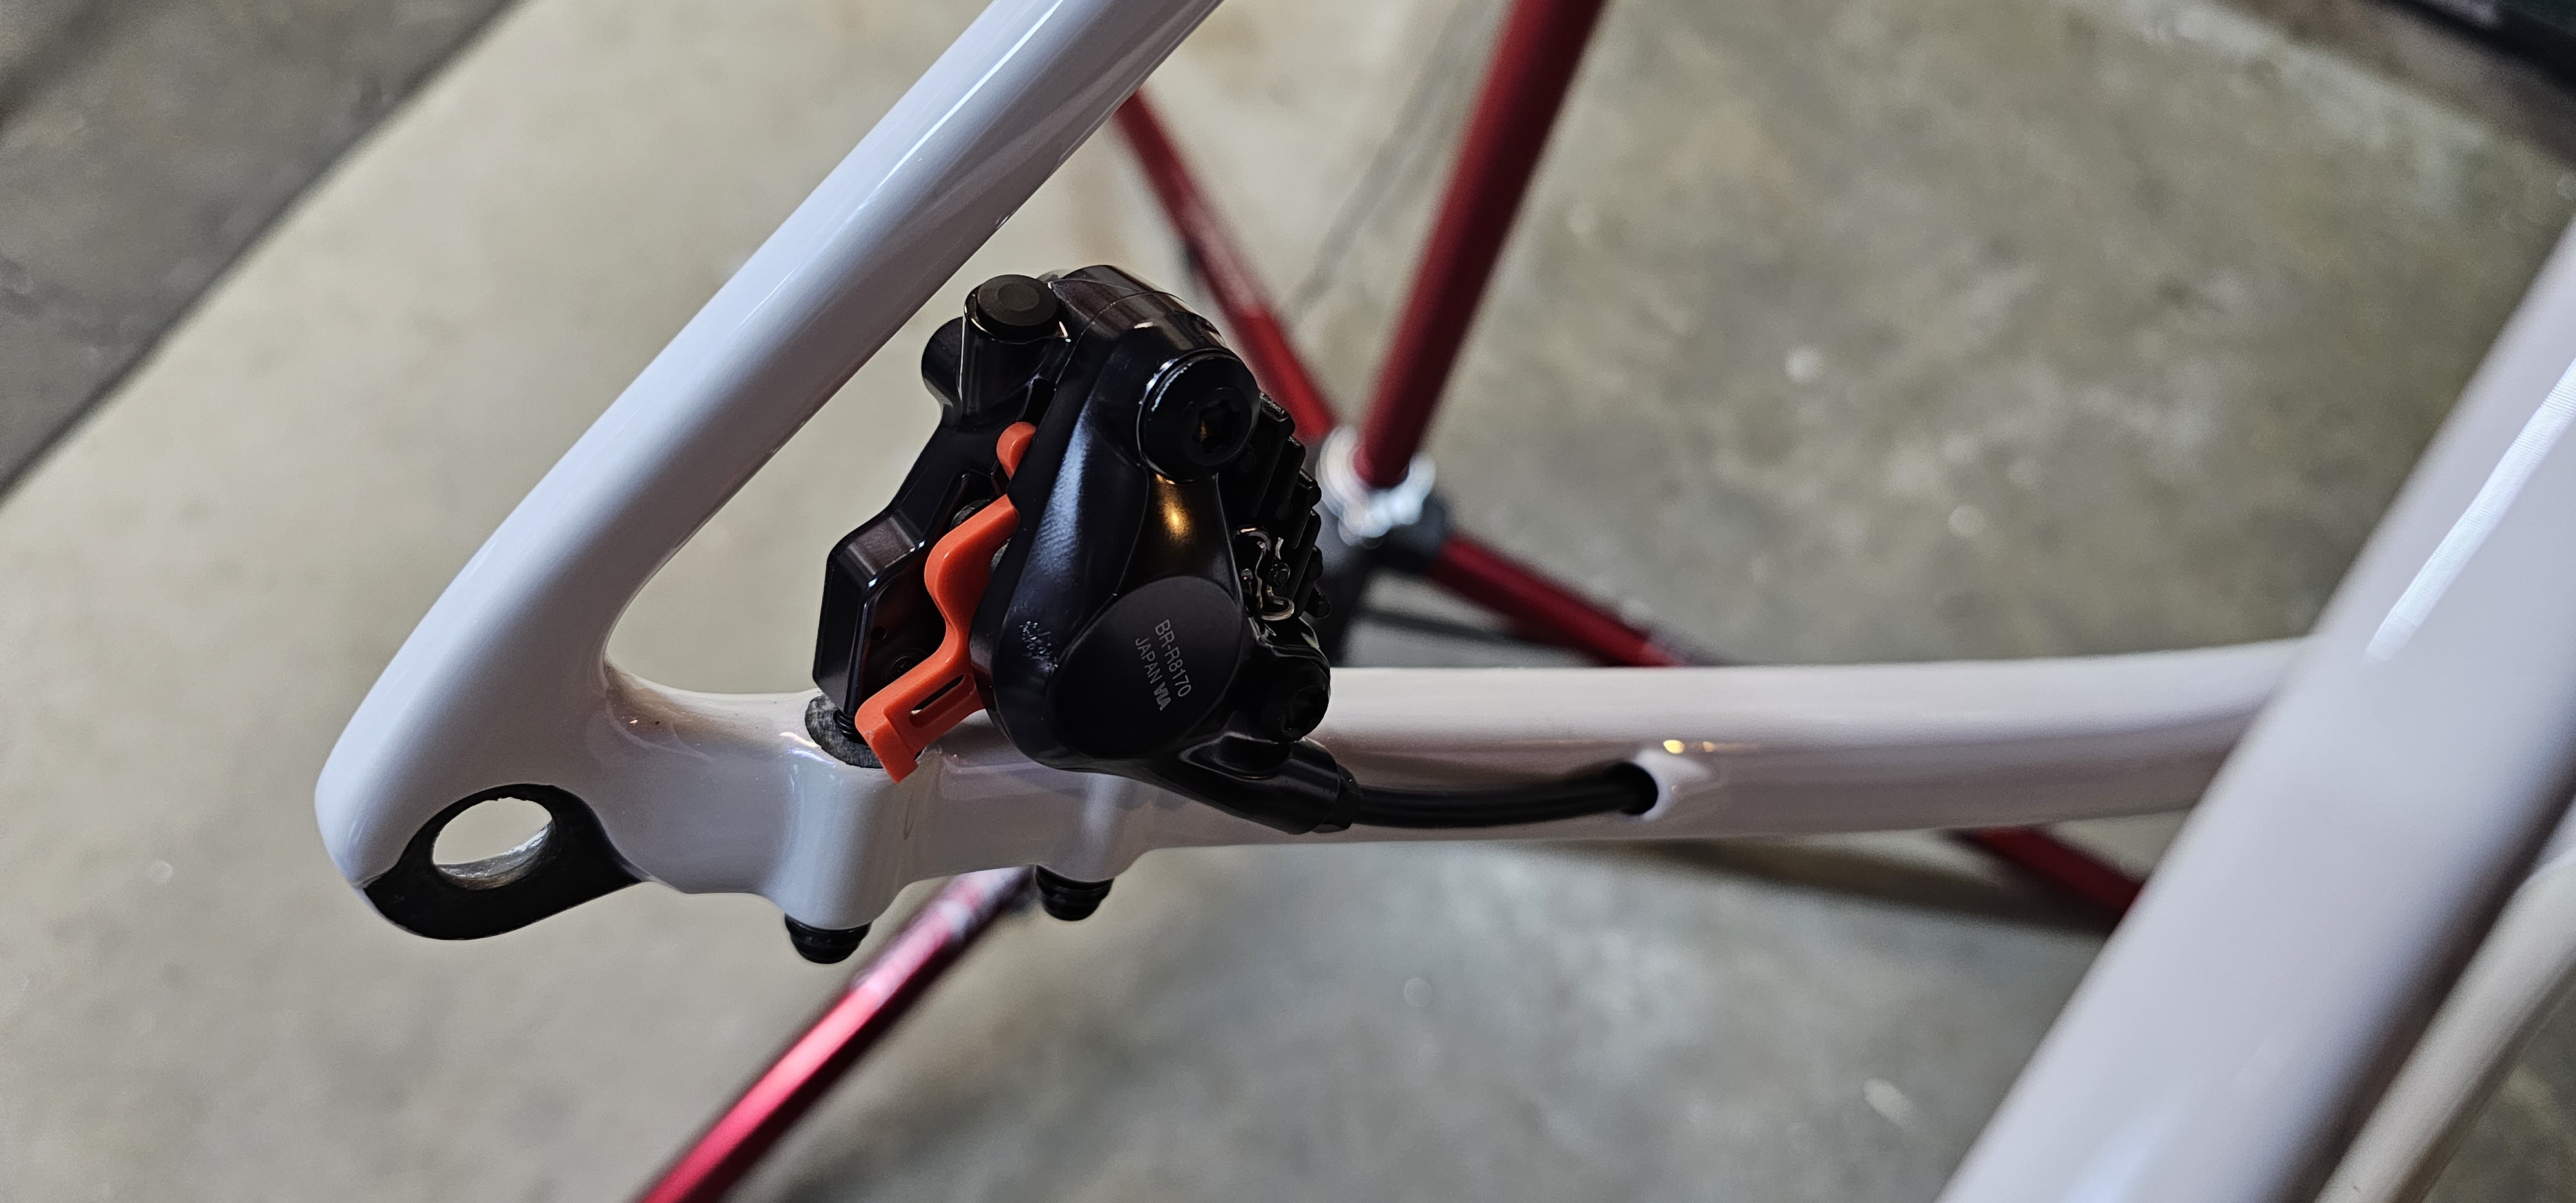 So to the build. (And for all the top tube clamp haters - only at the start of the build when there was no weight on things!). First the seat post was fitted and lightly held by the internal clamp. Then I fished in the hydraulic brake lines and lightly clamped the brake calipers front and rear.
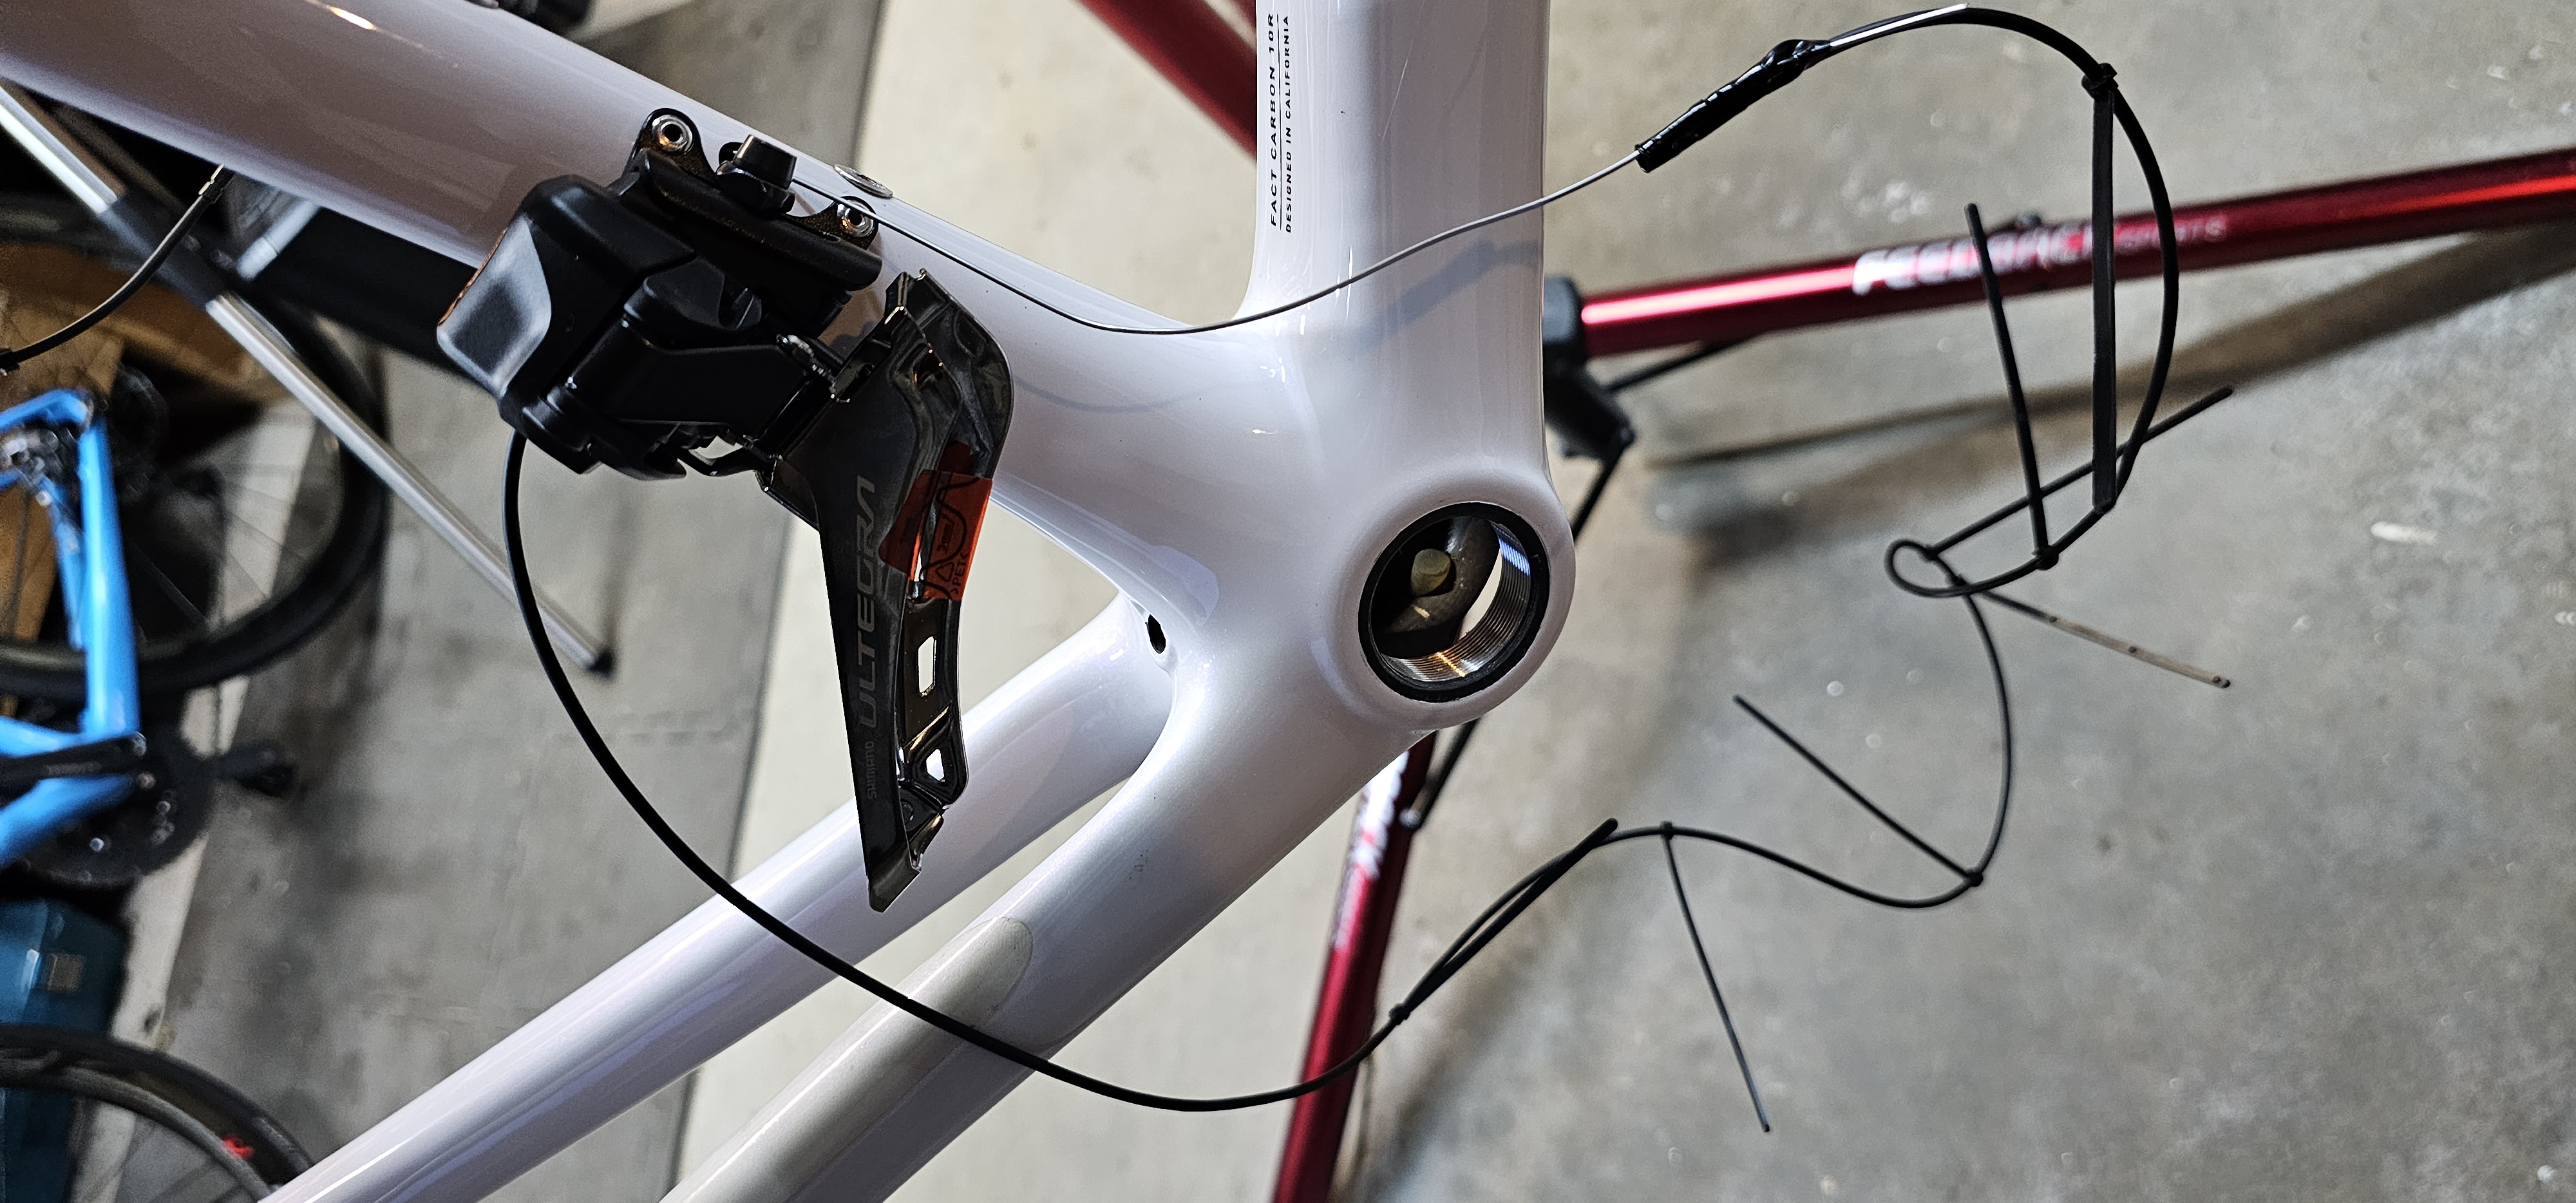
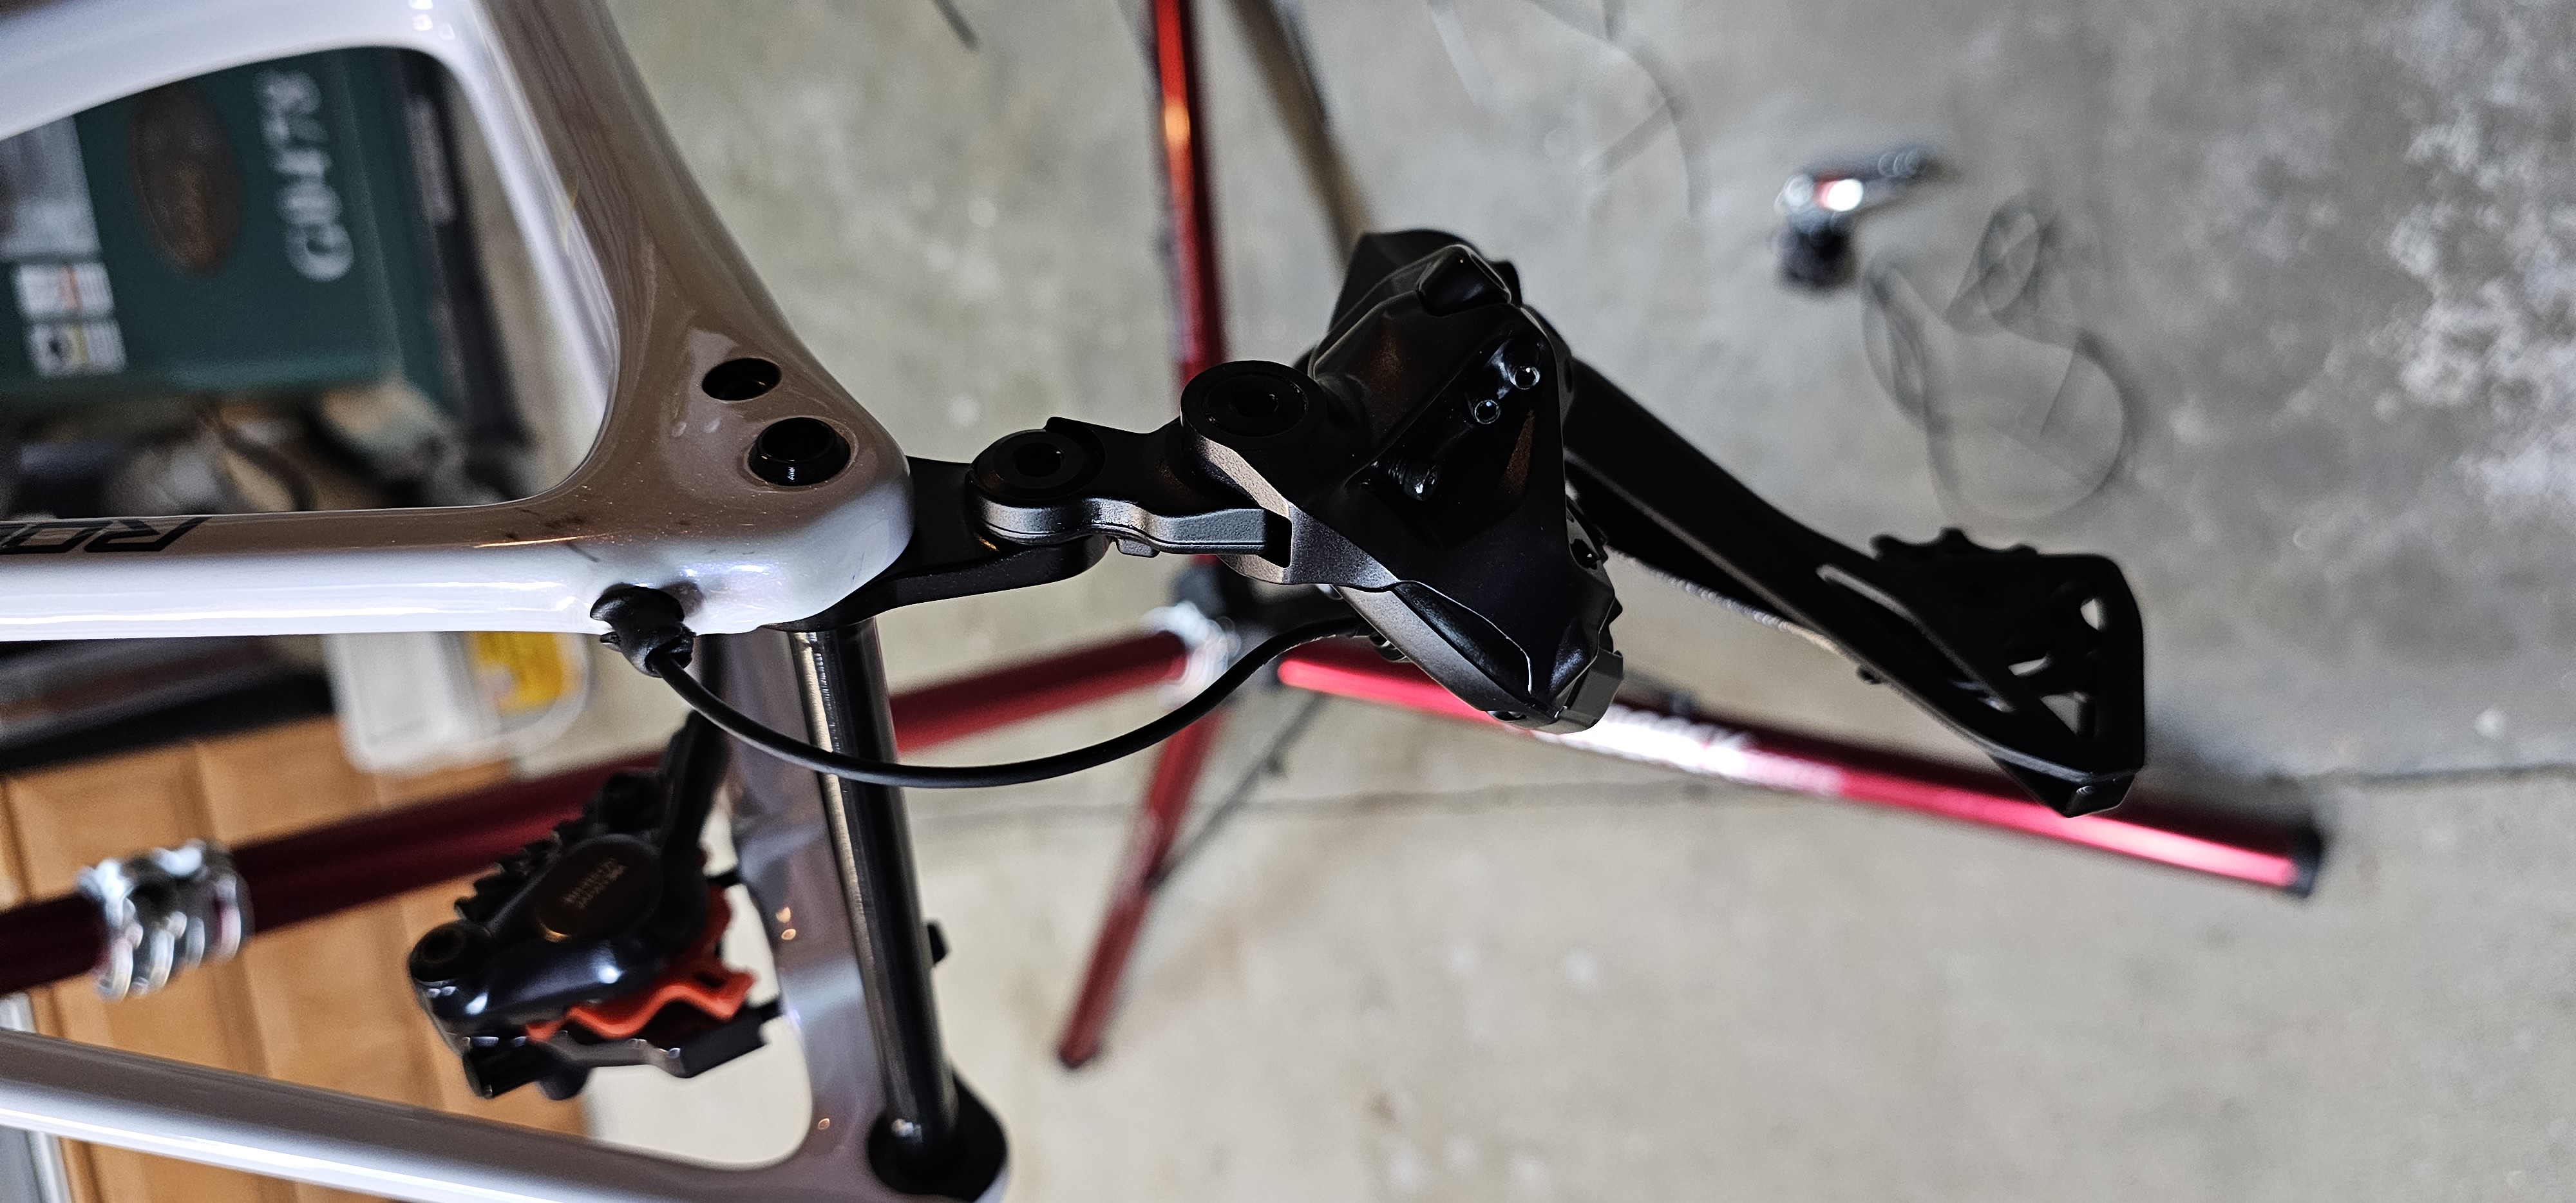
 Mounting the front and rear derailleurs and fishing the wiring for the battery pack to the derailleur motors. Prior to fitting the derailleurs - they had been set up on the bench and tested to be sure all was working - before committing to the frame!
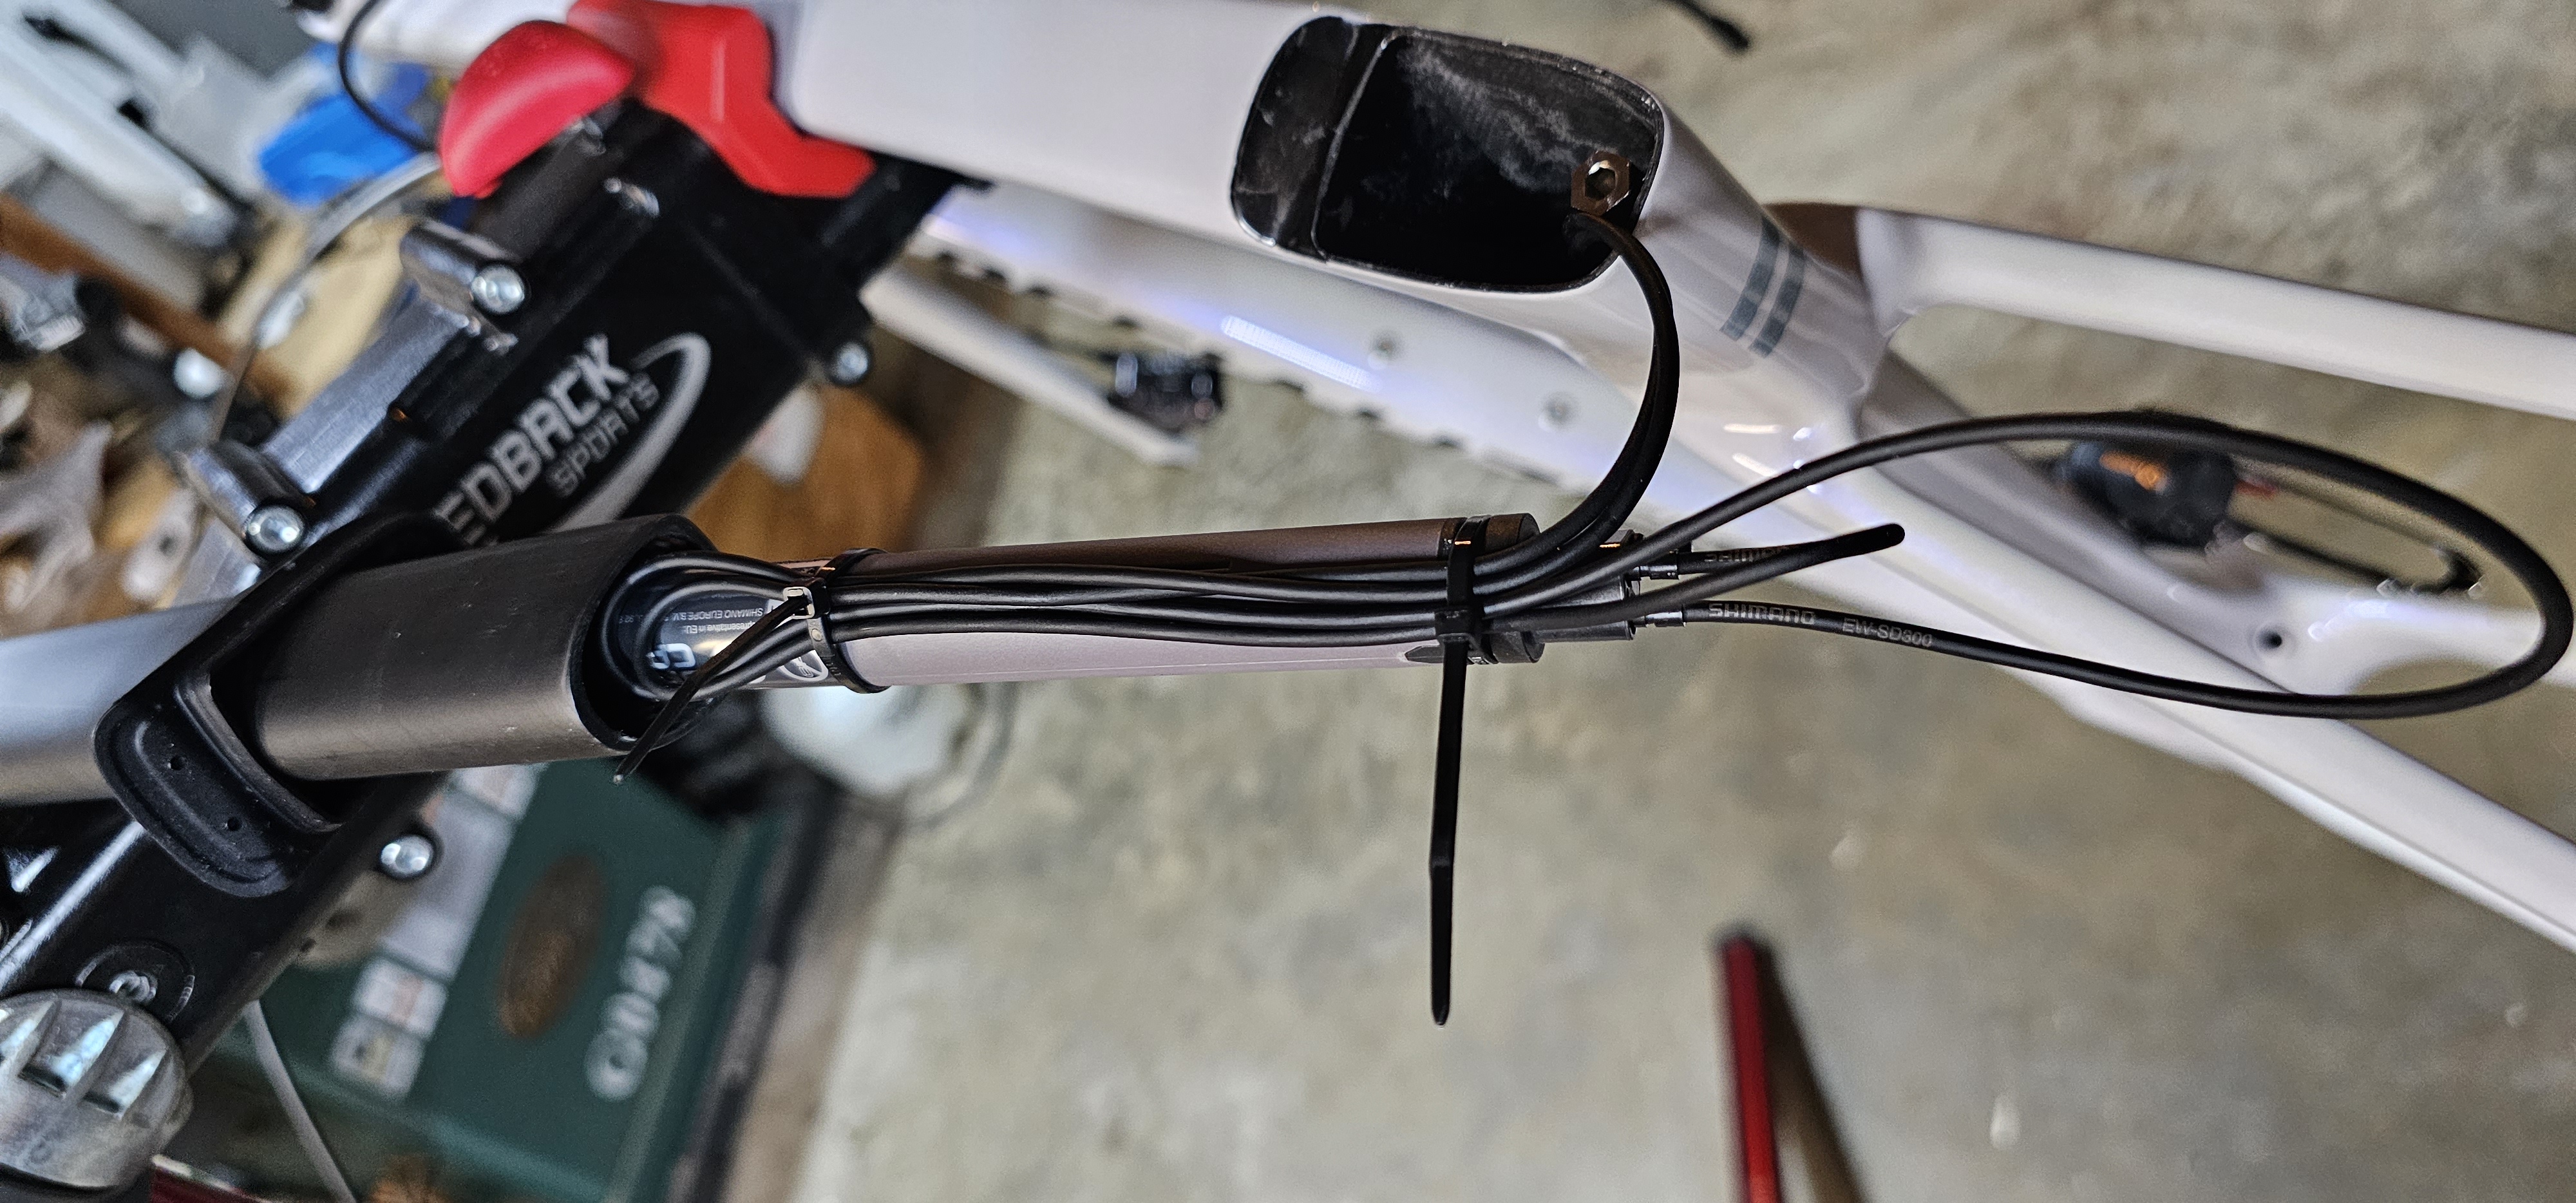
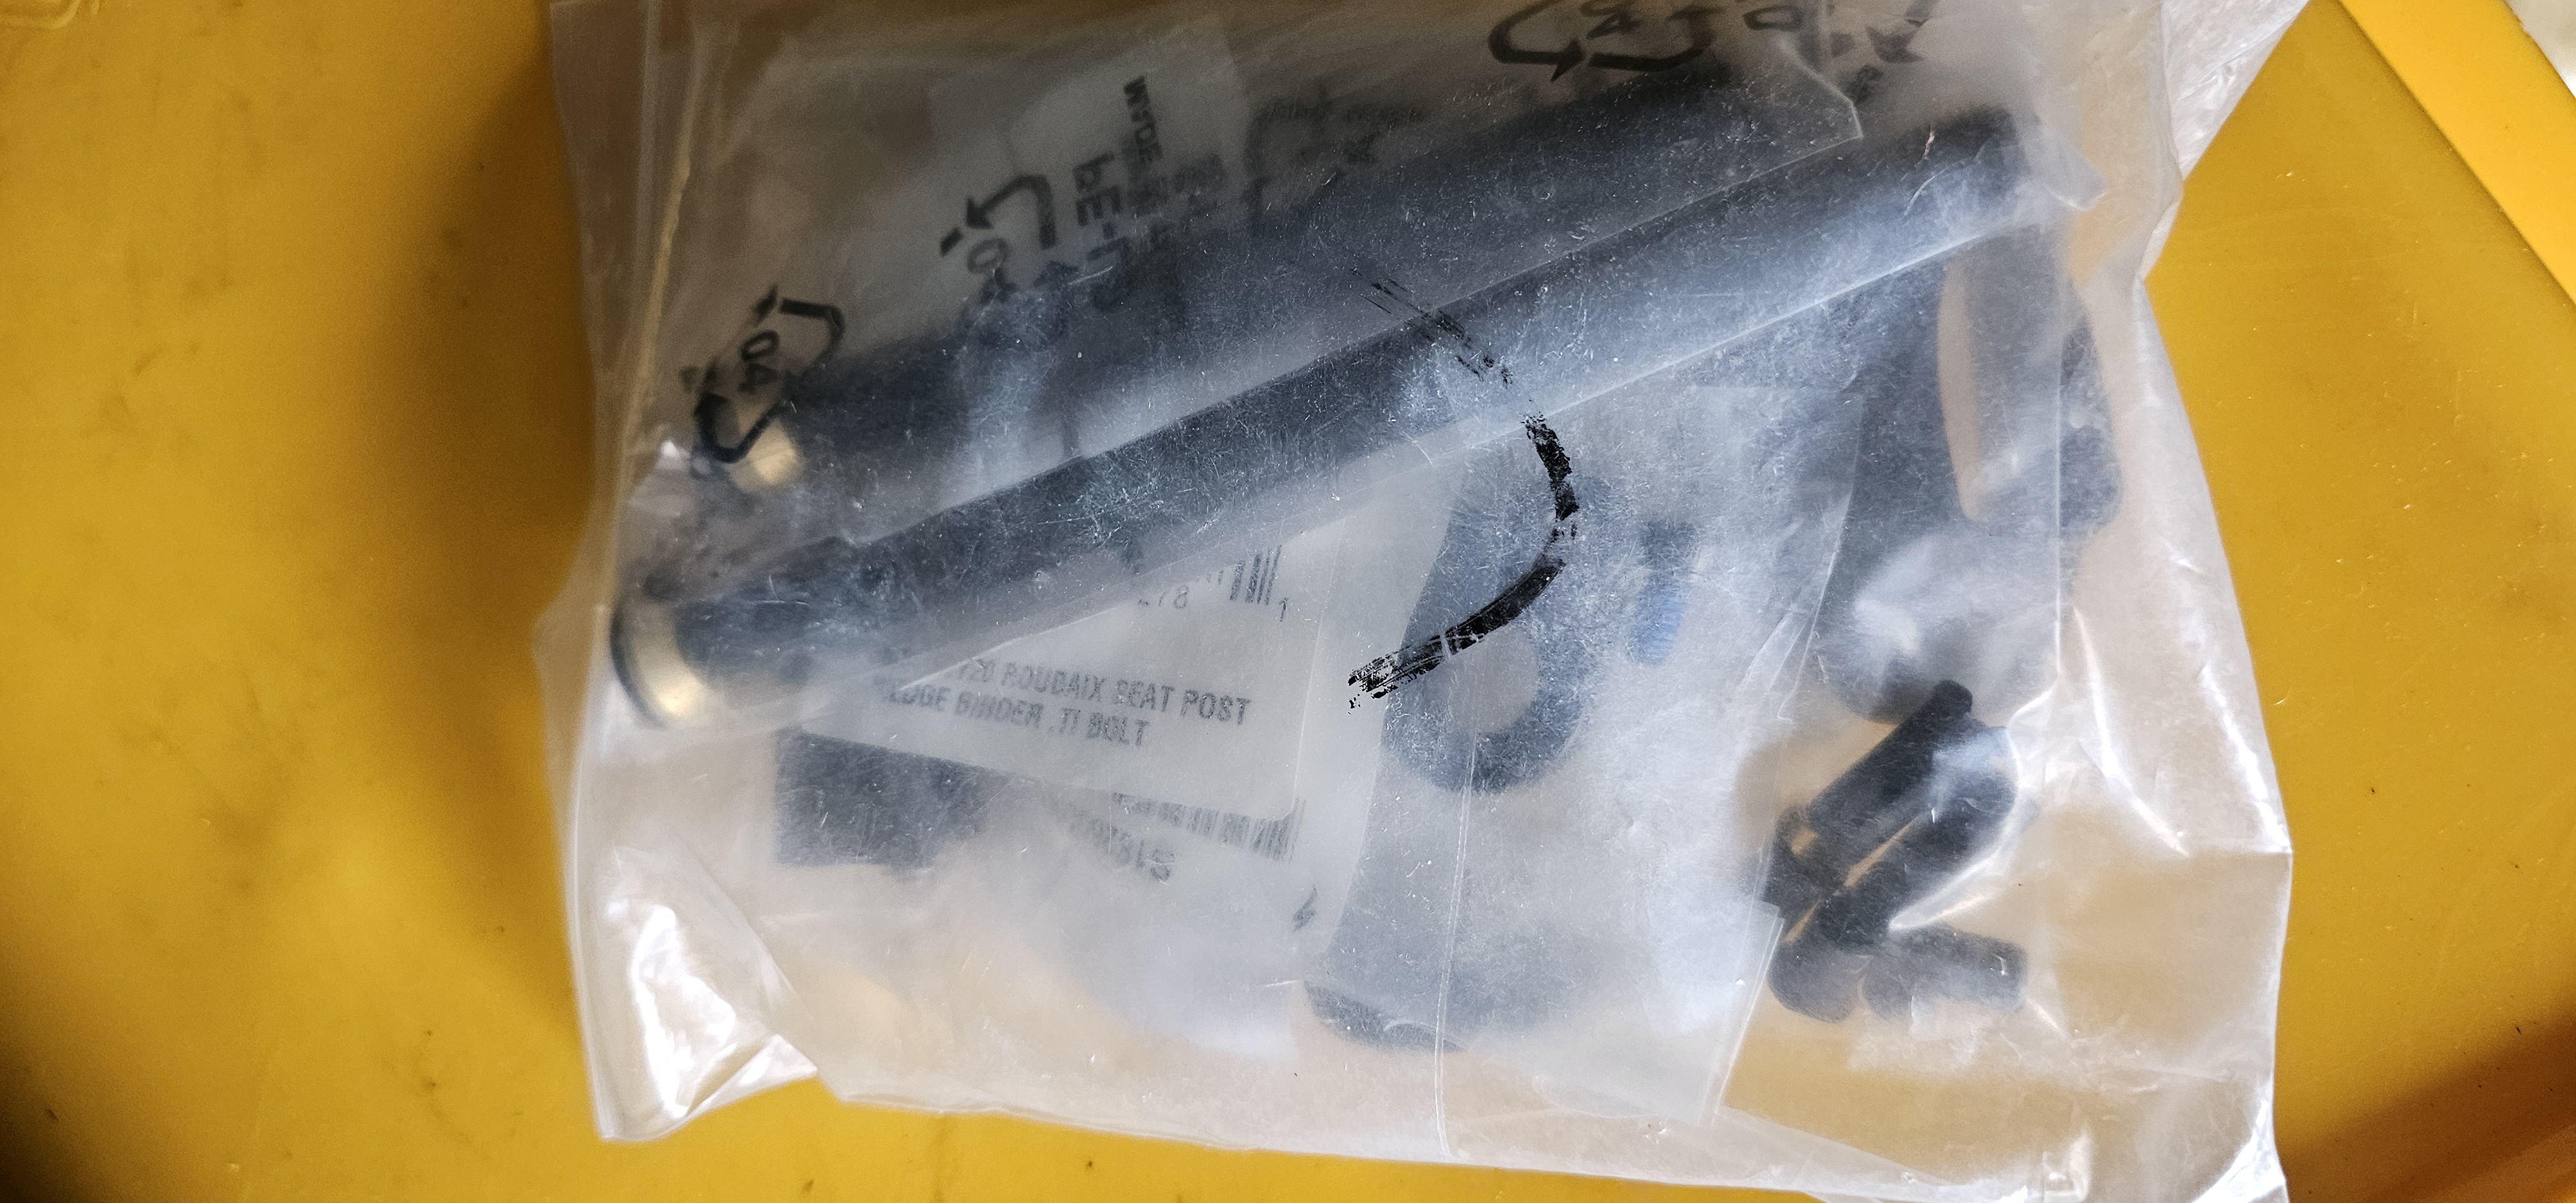
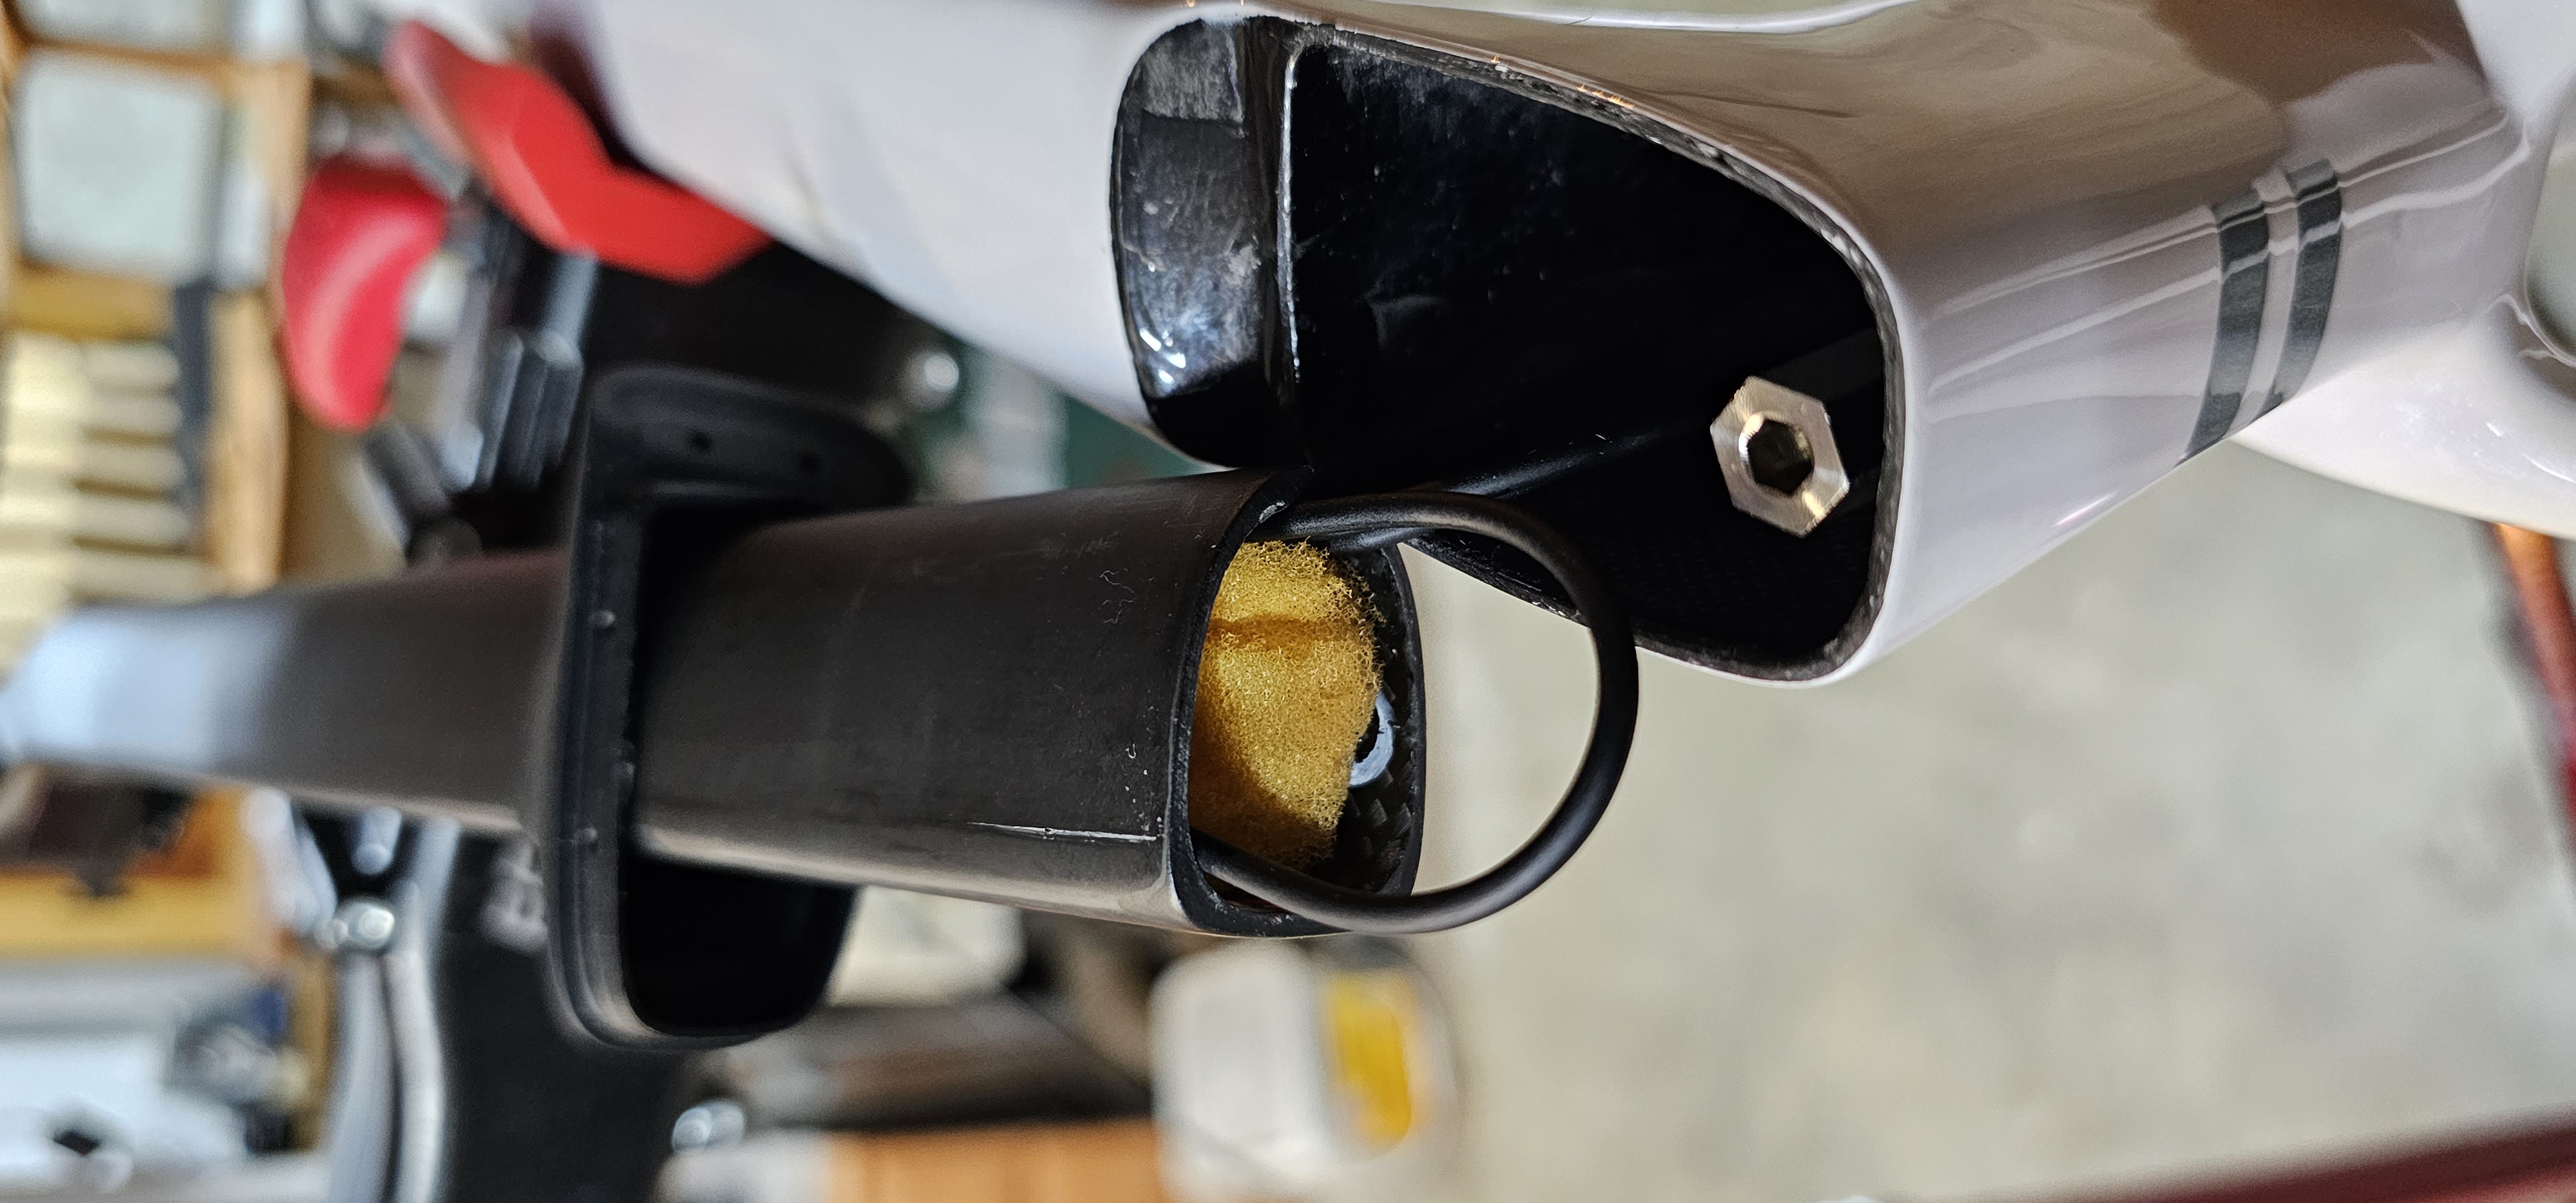 With everything in place the wiring was brought up through the seat tube, the battery/controller module fitted inside the seat post and secured with soft wedges. Then all plugged up and tested (again) before fitting the seat tube.
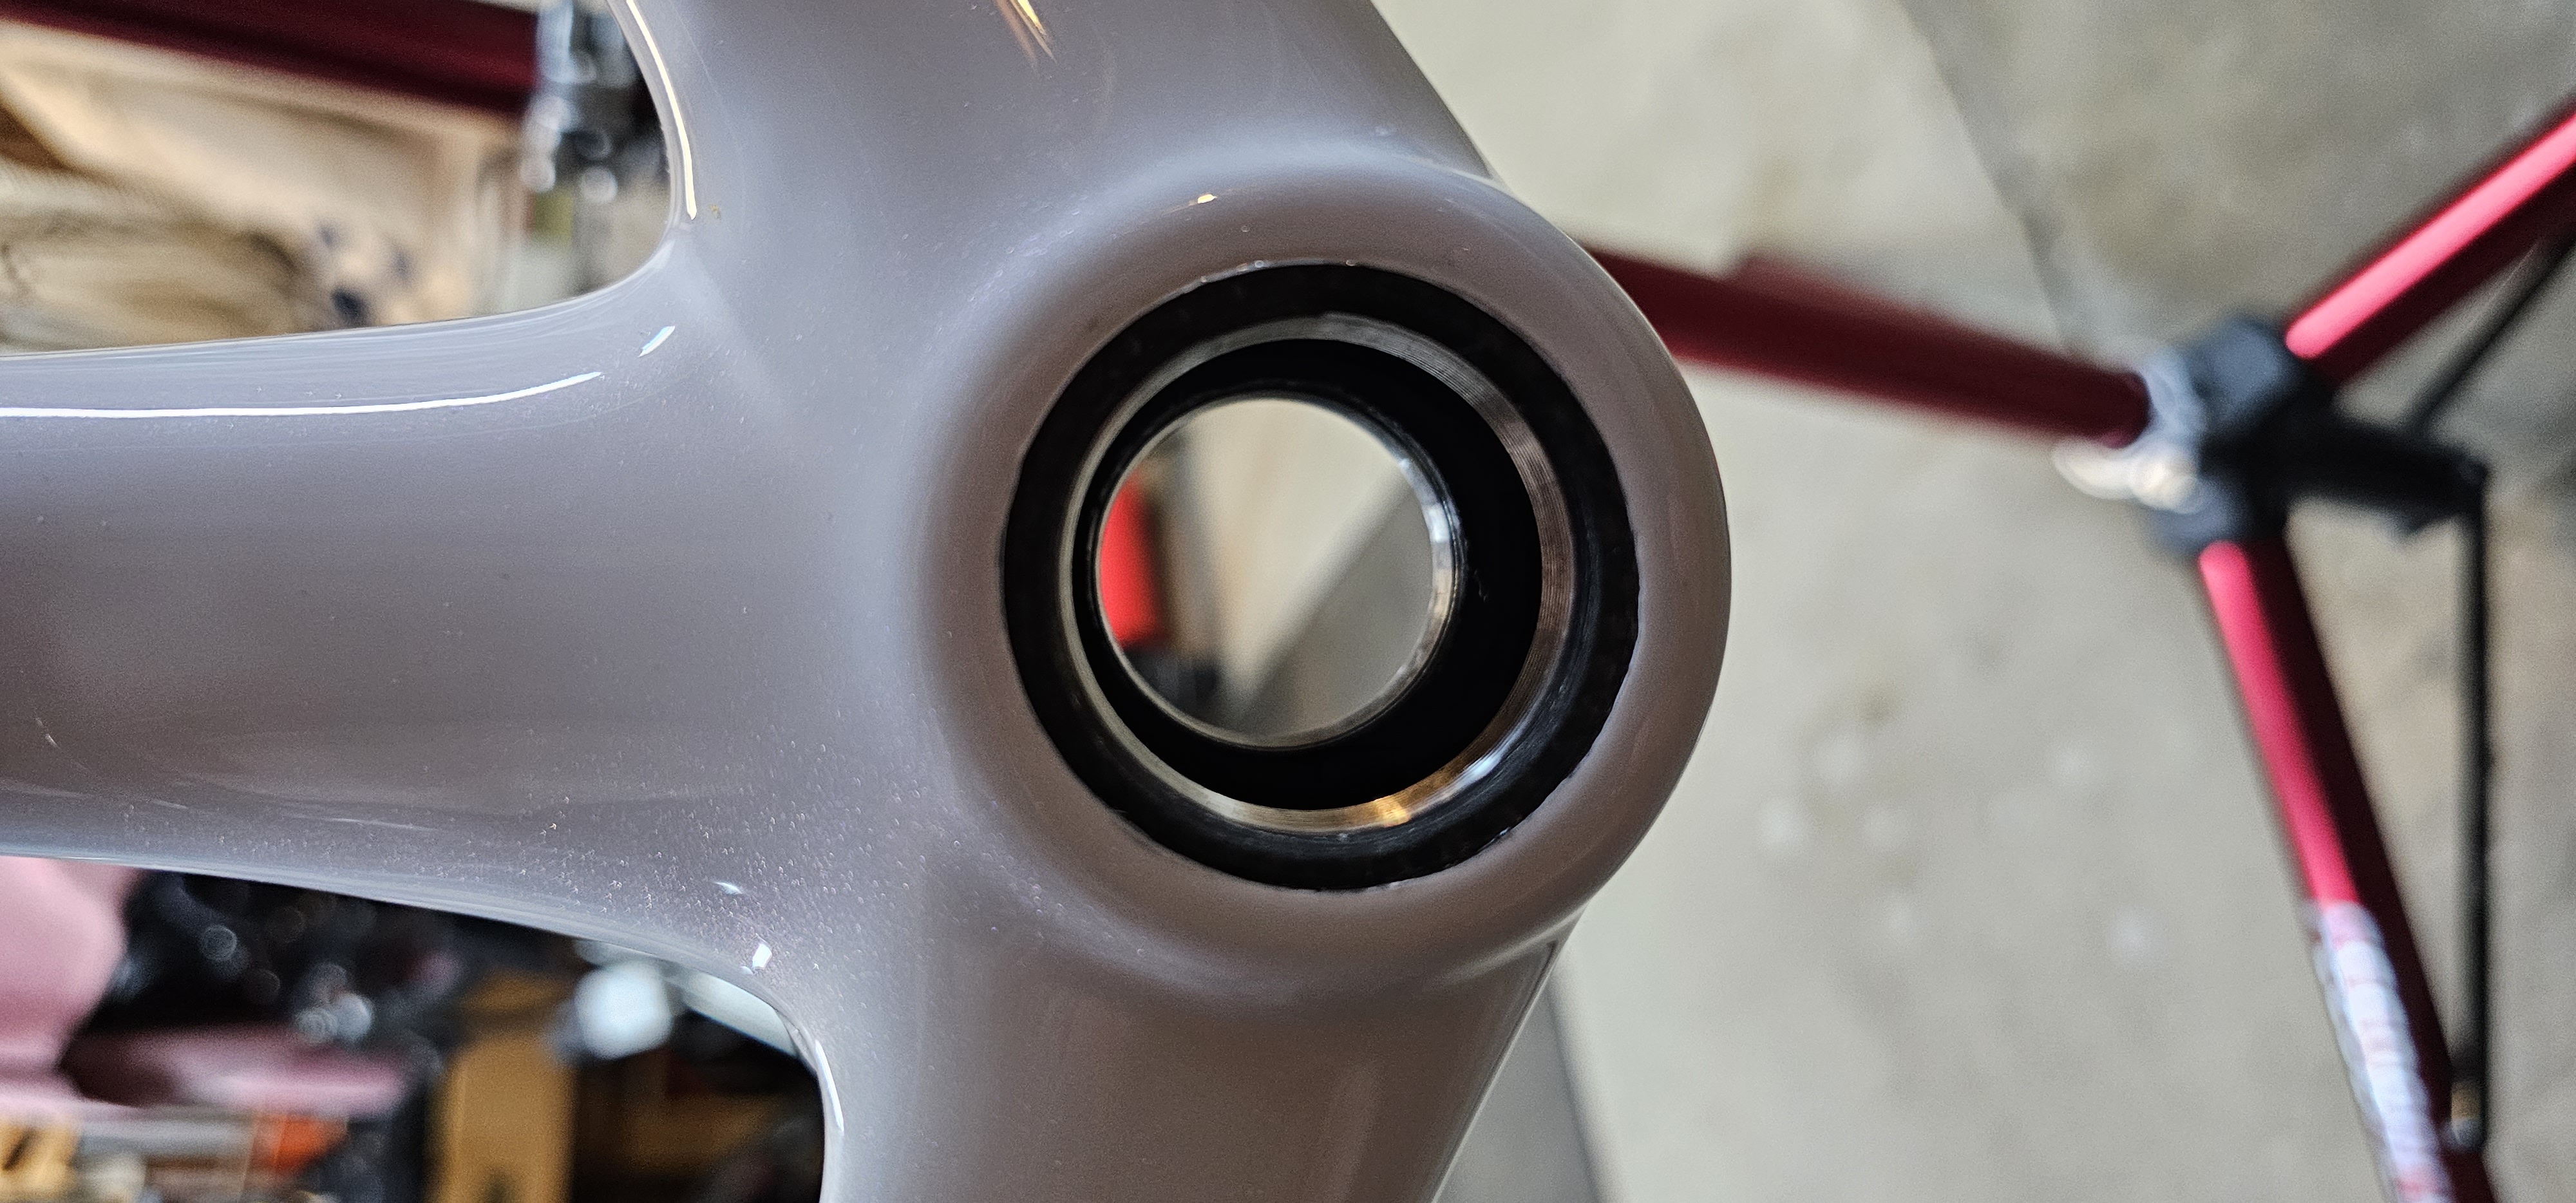
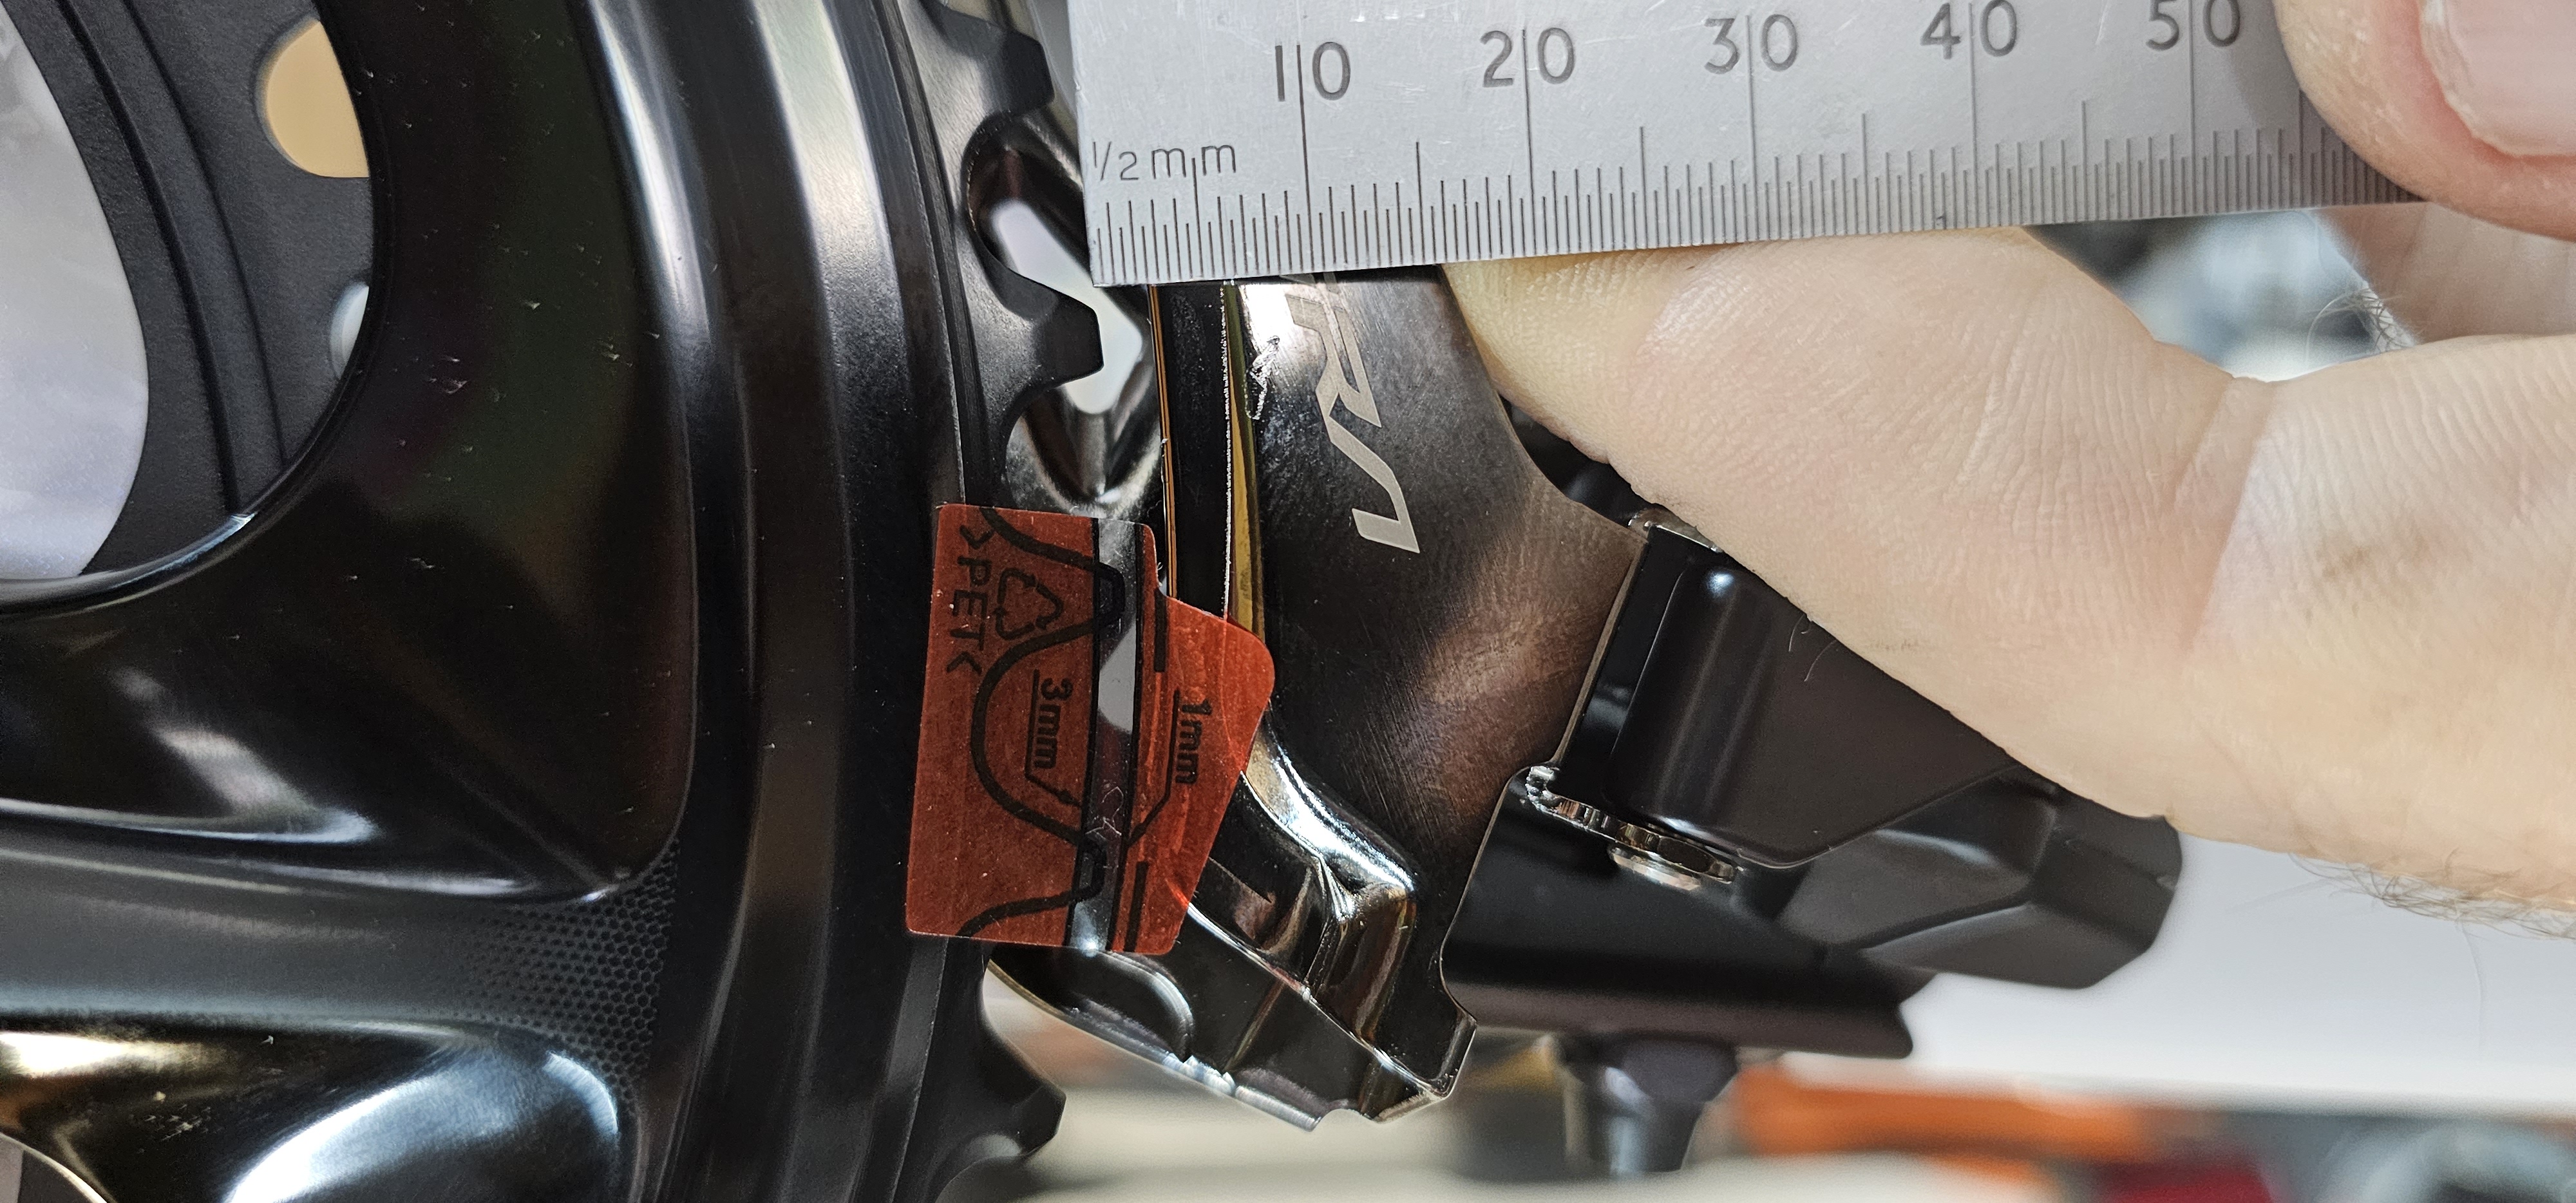 With all wiring and brake lines in place - I could now fit the bottom bracket bearings into the threaded bottom bracket. As it is threaded and not a press fit - there should be no creaking from the bearings. Then with the crank and front chainwheel fitted - the height of the front derailleur could now be set.
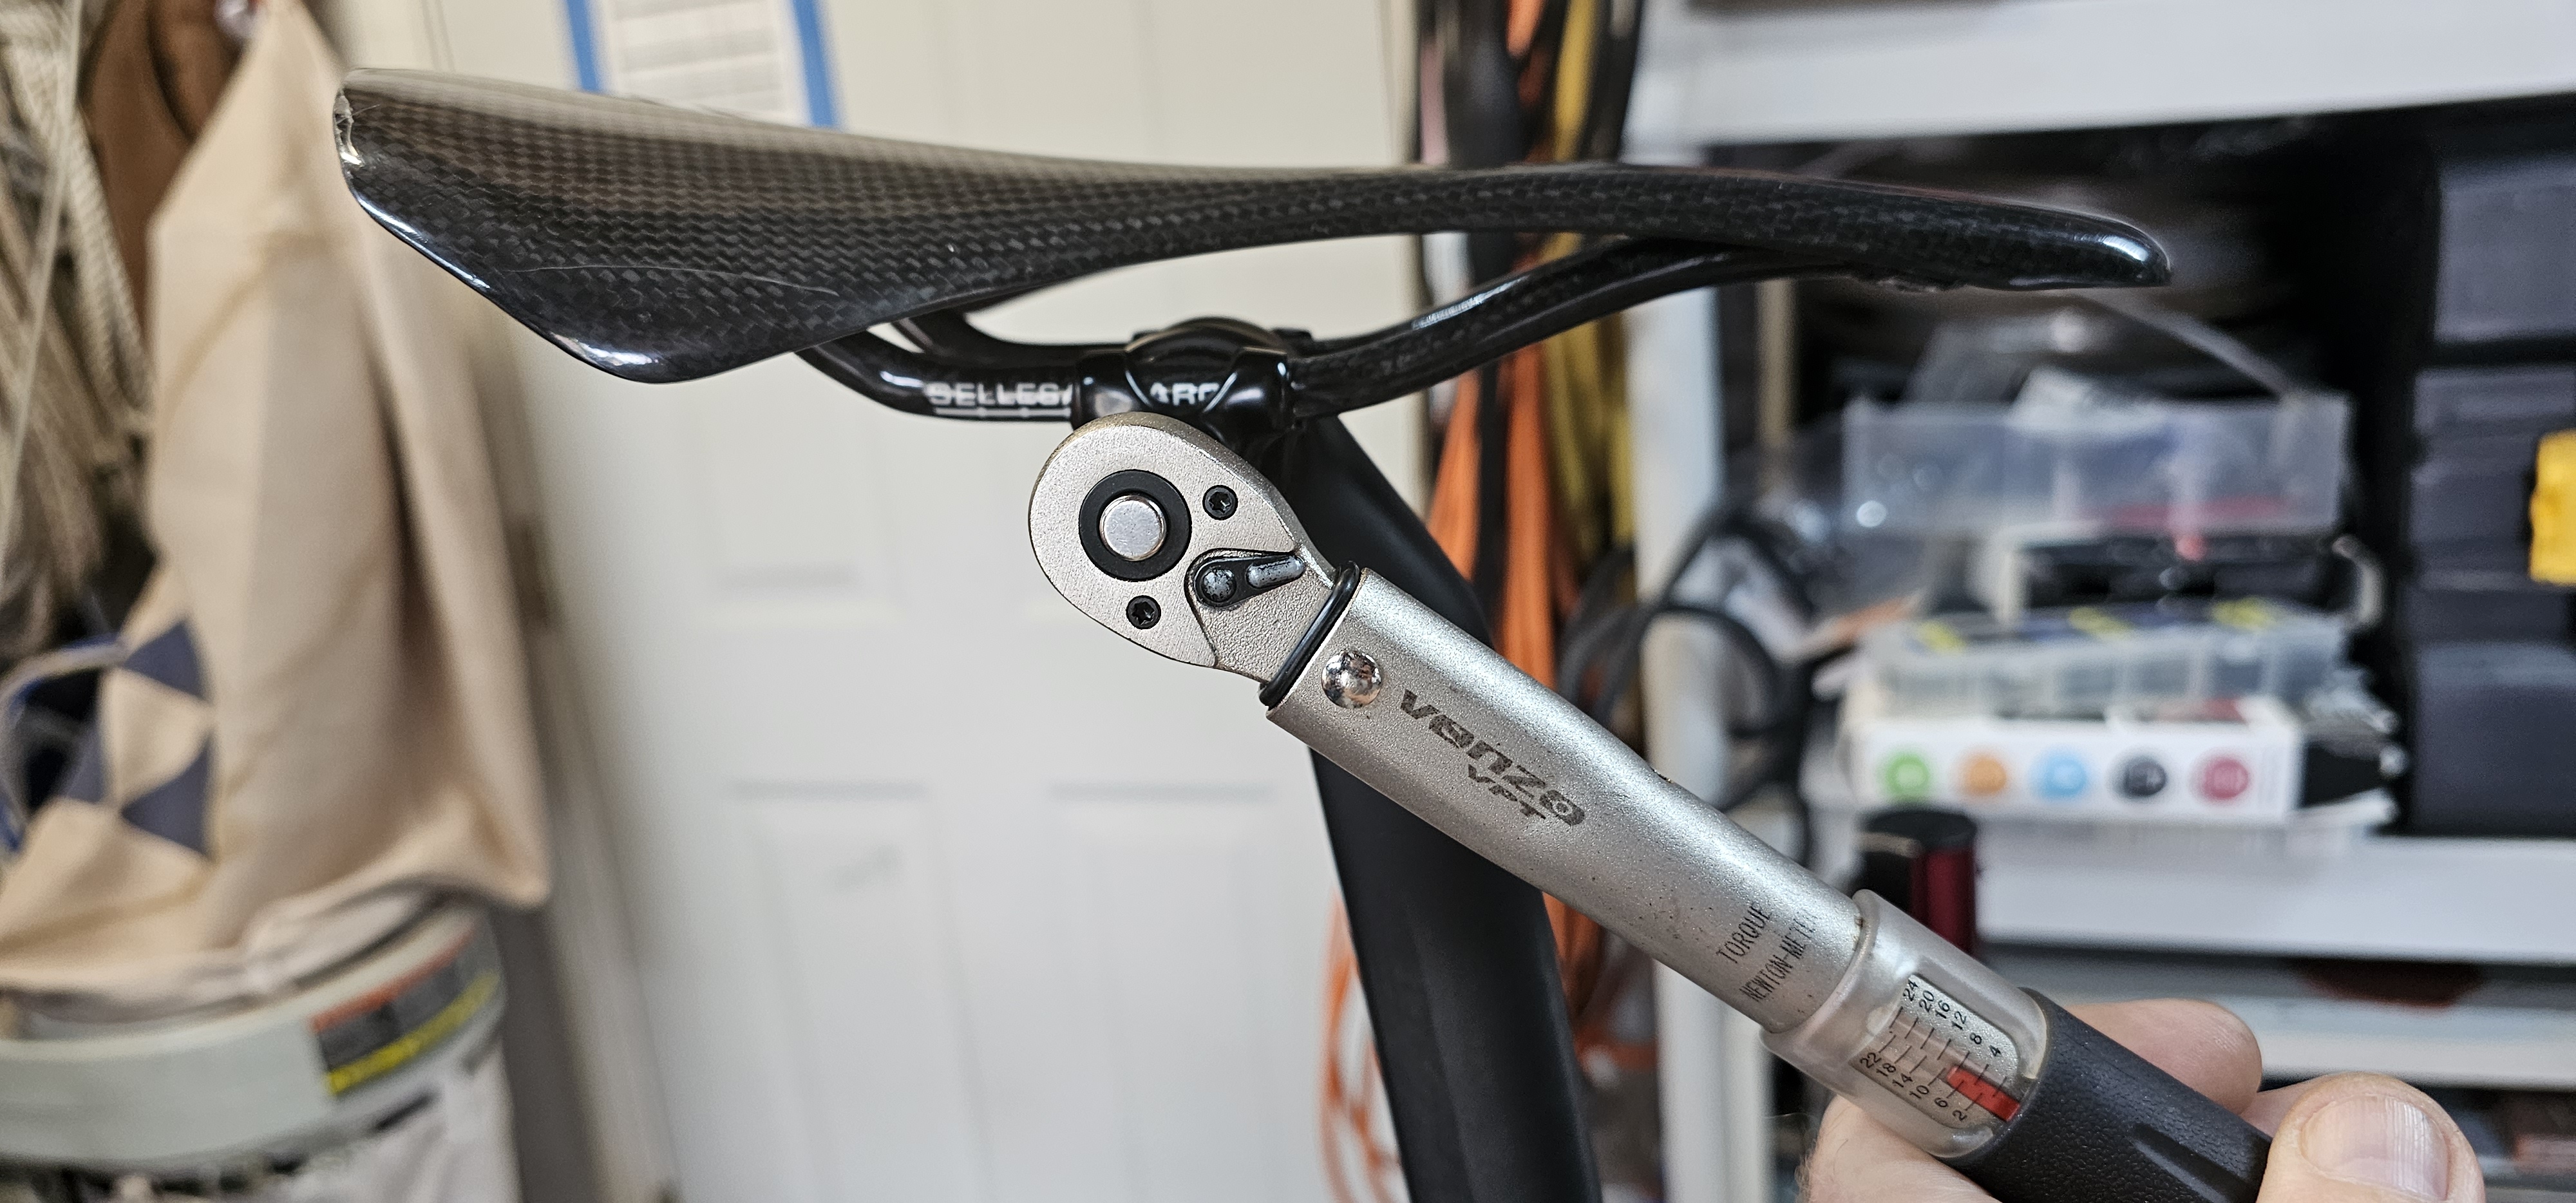
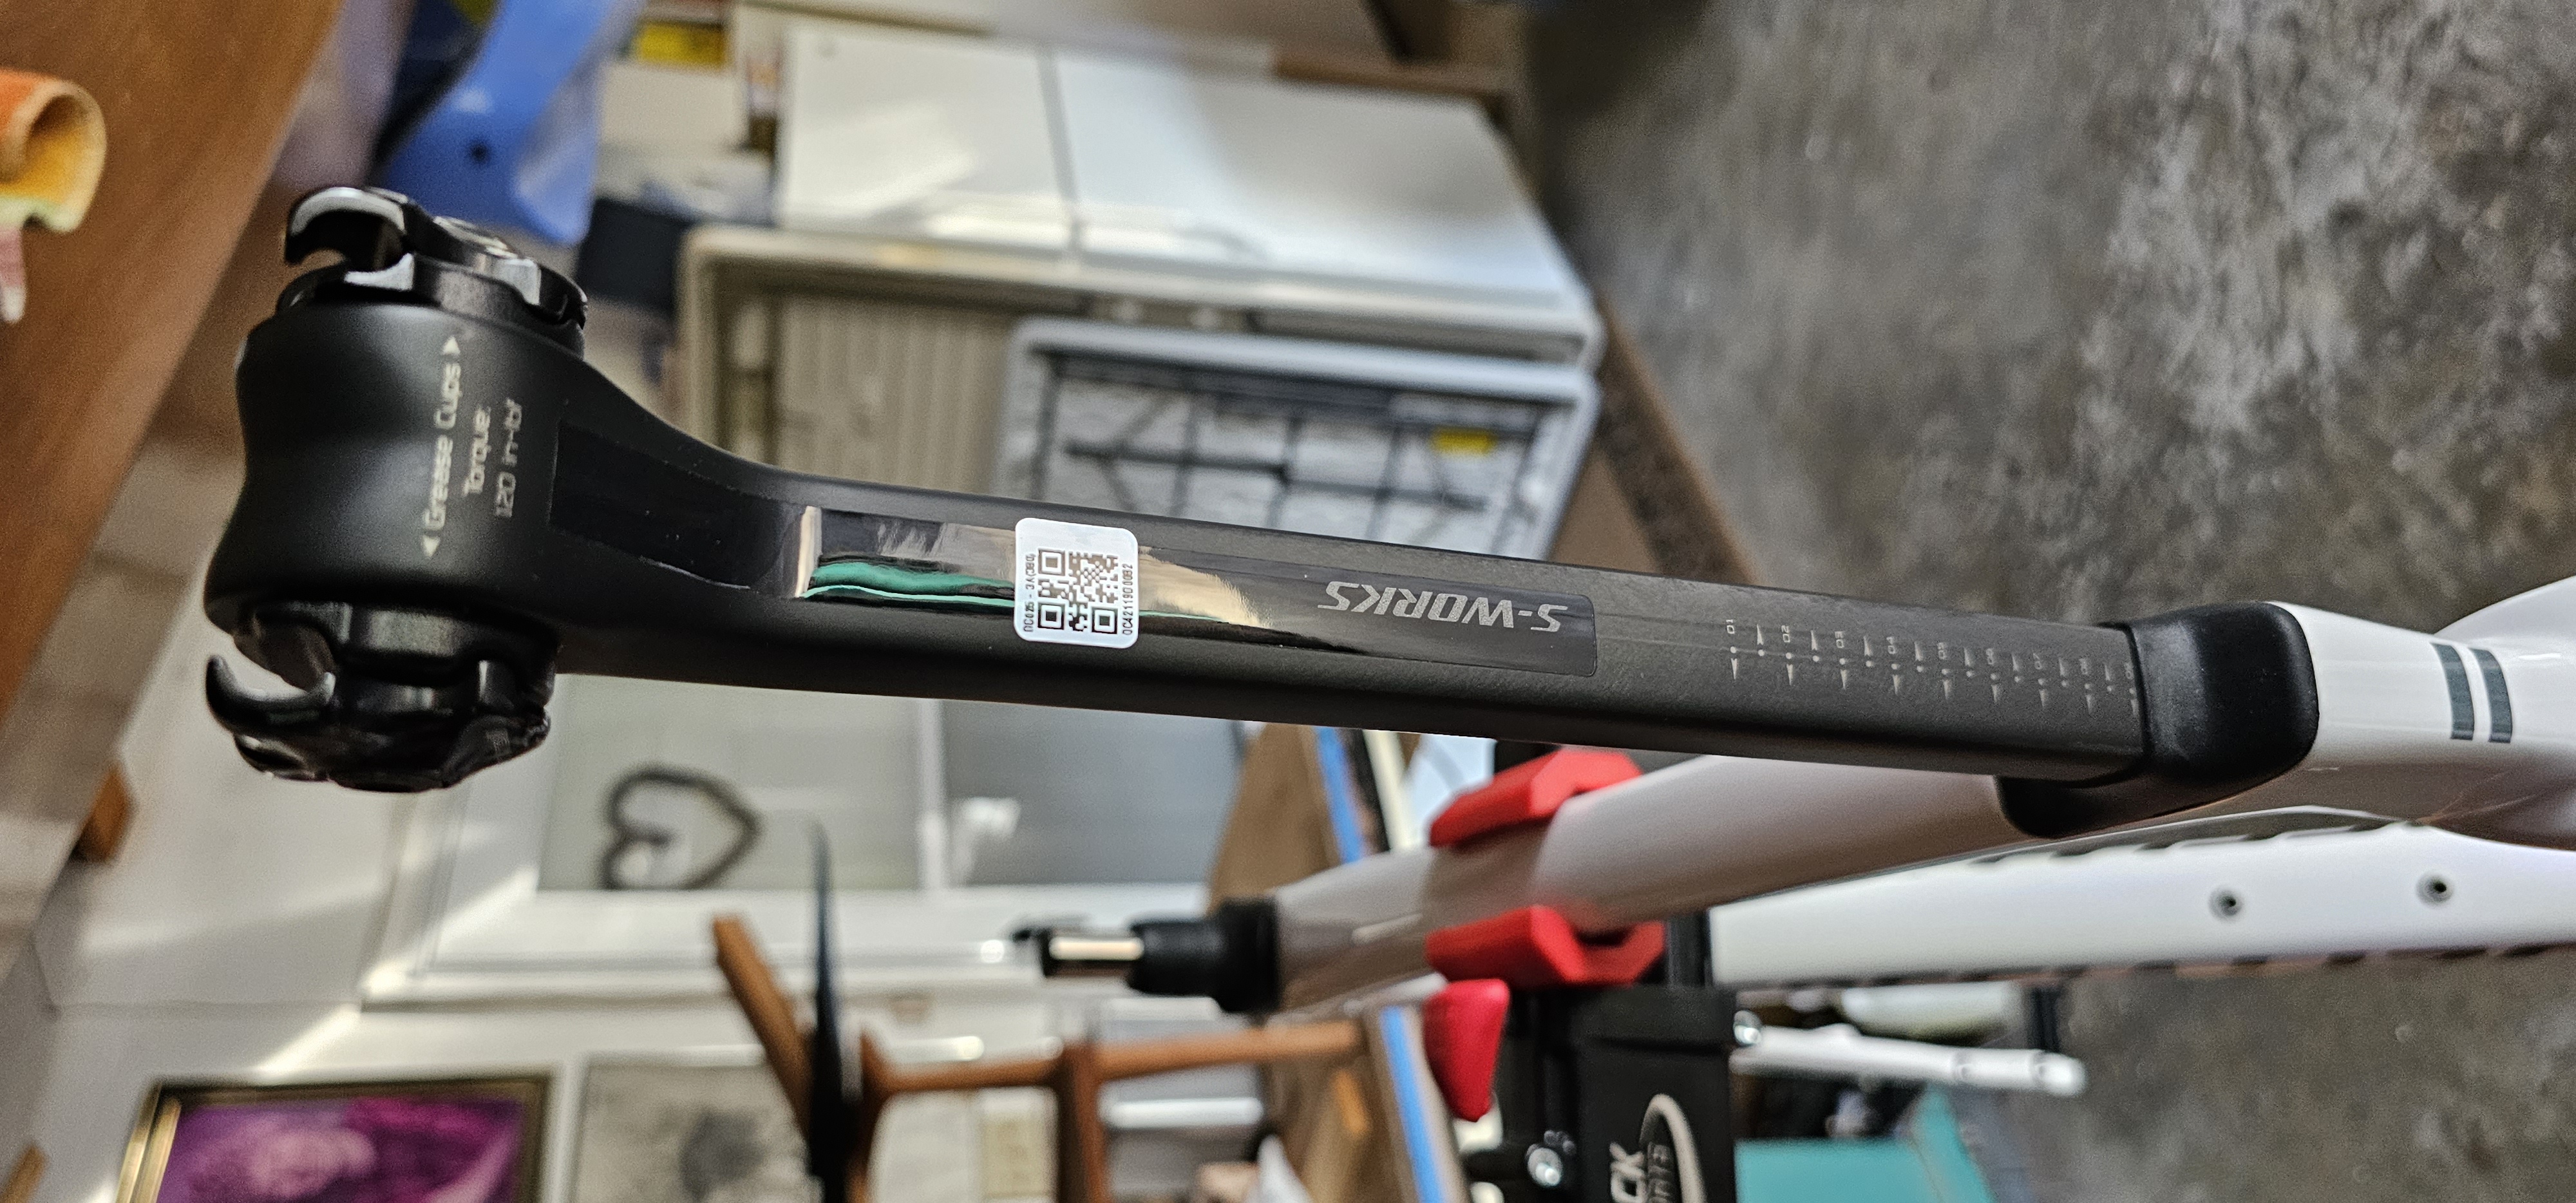
 The saddle went into place. Changing the top clamp for one designed for carbon rails. And carefully torquing the bolts to not over stress the rails. Everything all over the bike was torqued to correct specs. It is vital to ensure you don't break anything or have anything come loose - but it is especially important on carbon saddle rails. Then the "aero" narrow (380mm) handlebars
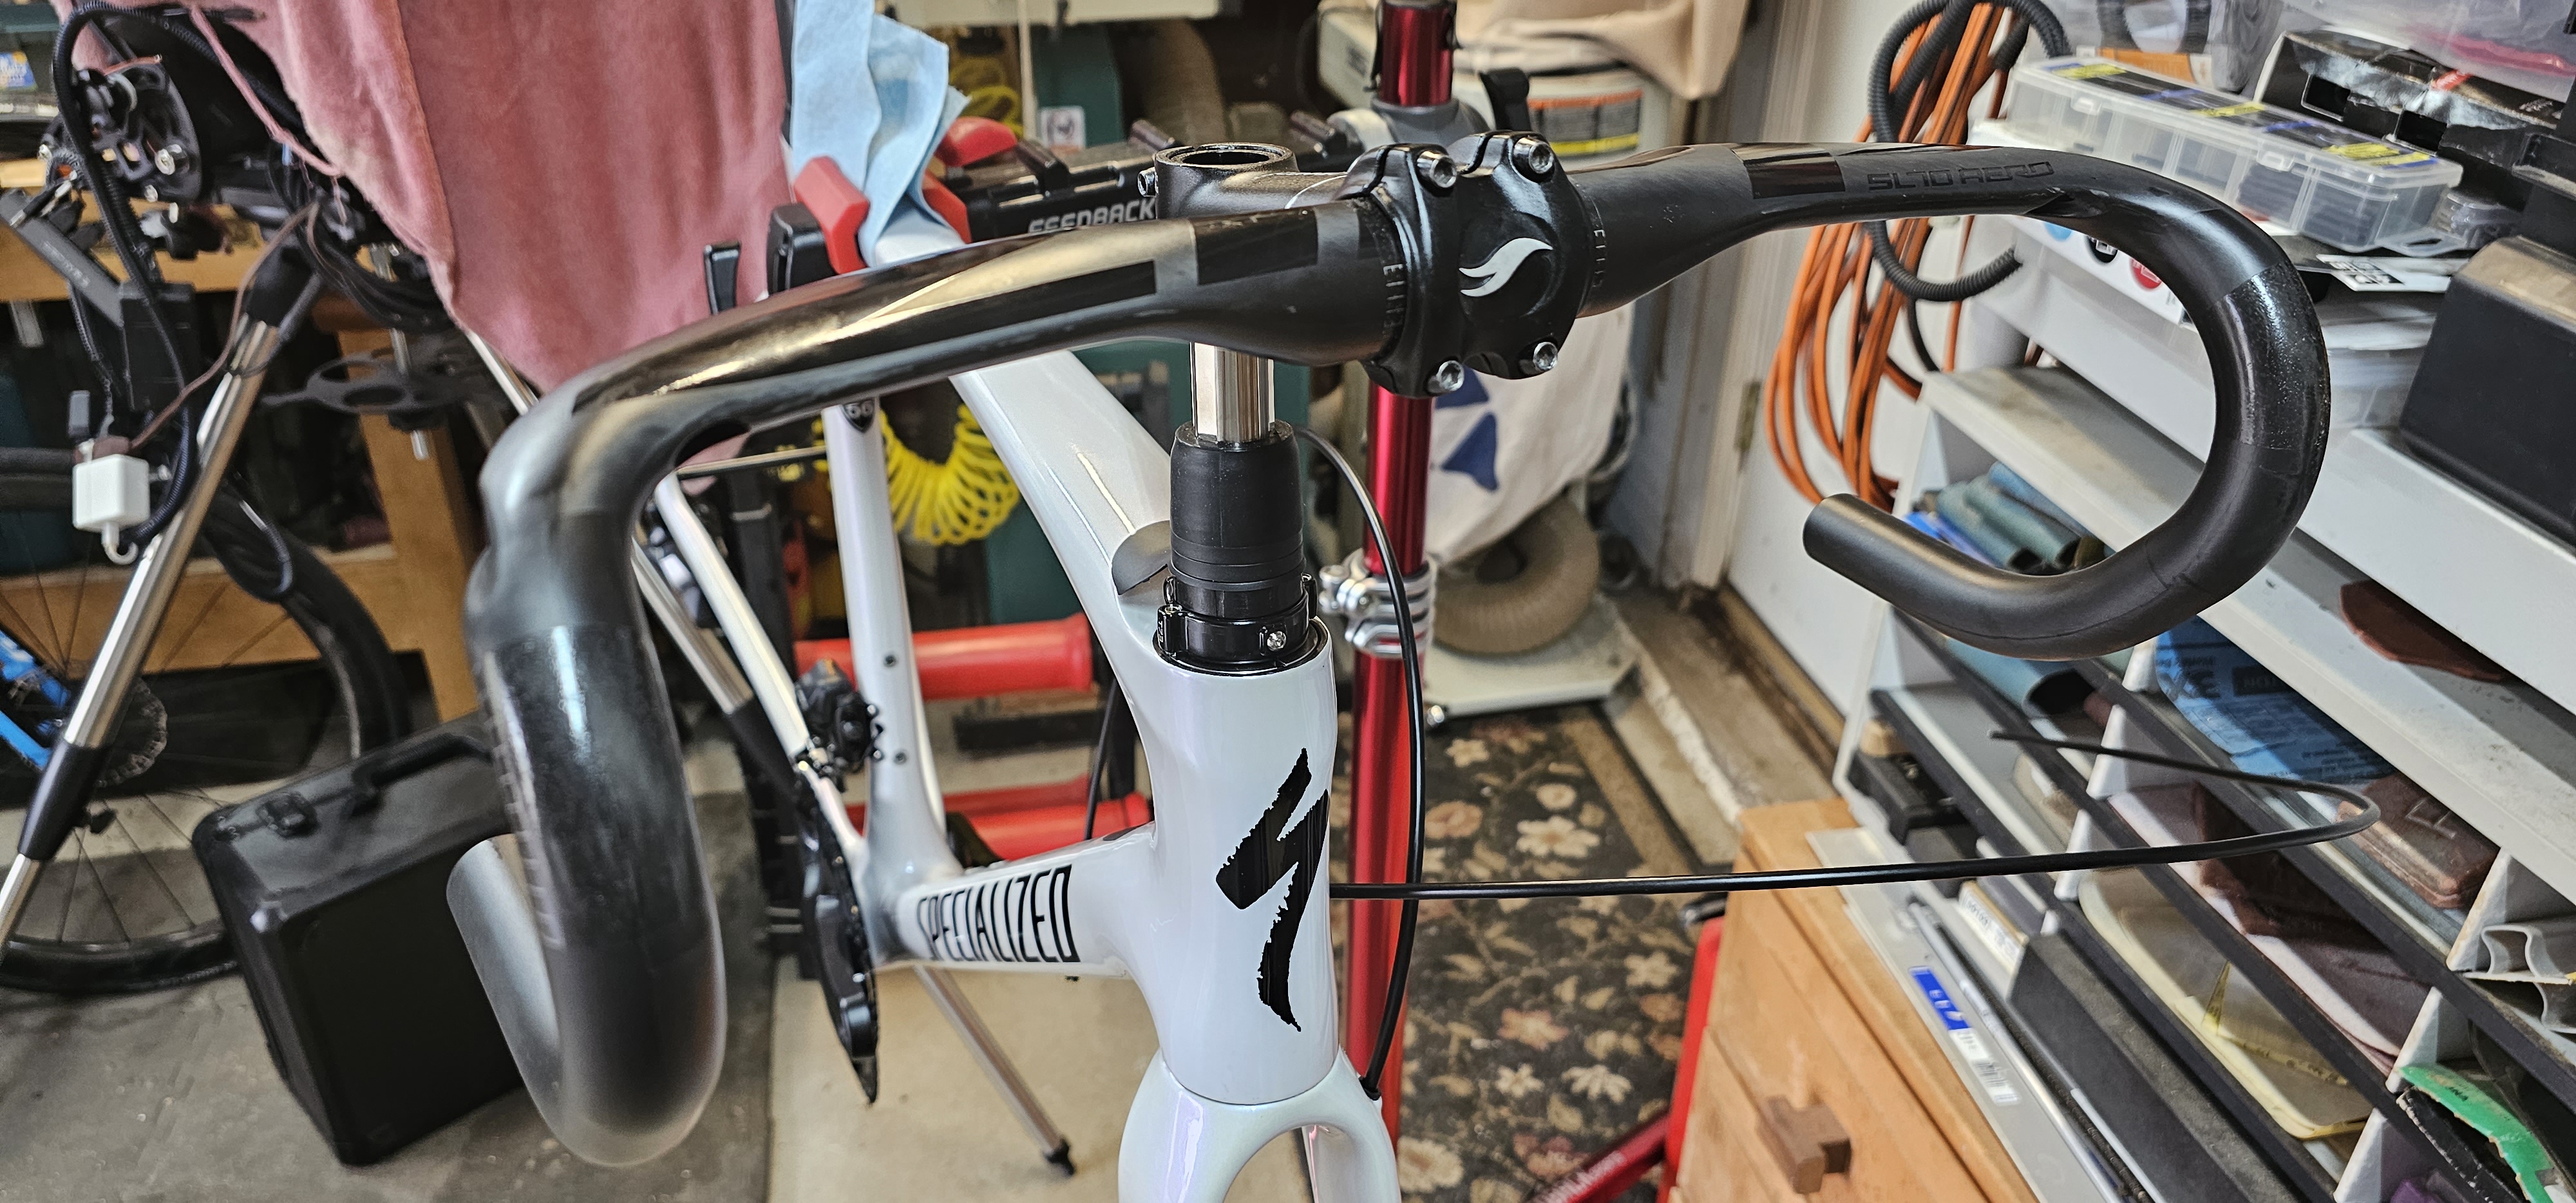
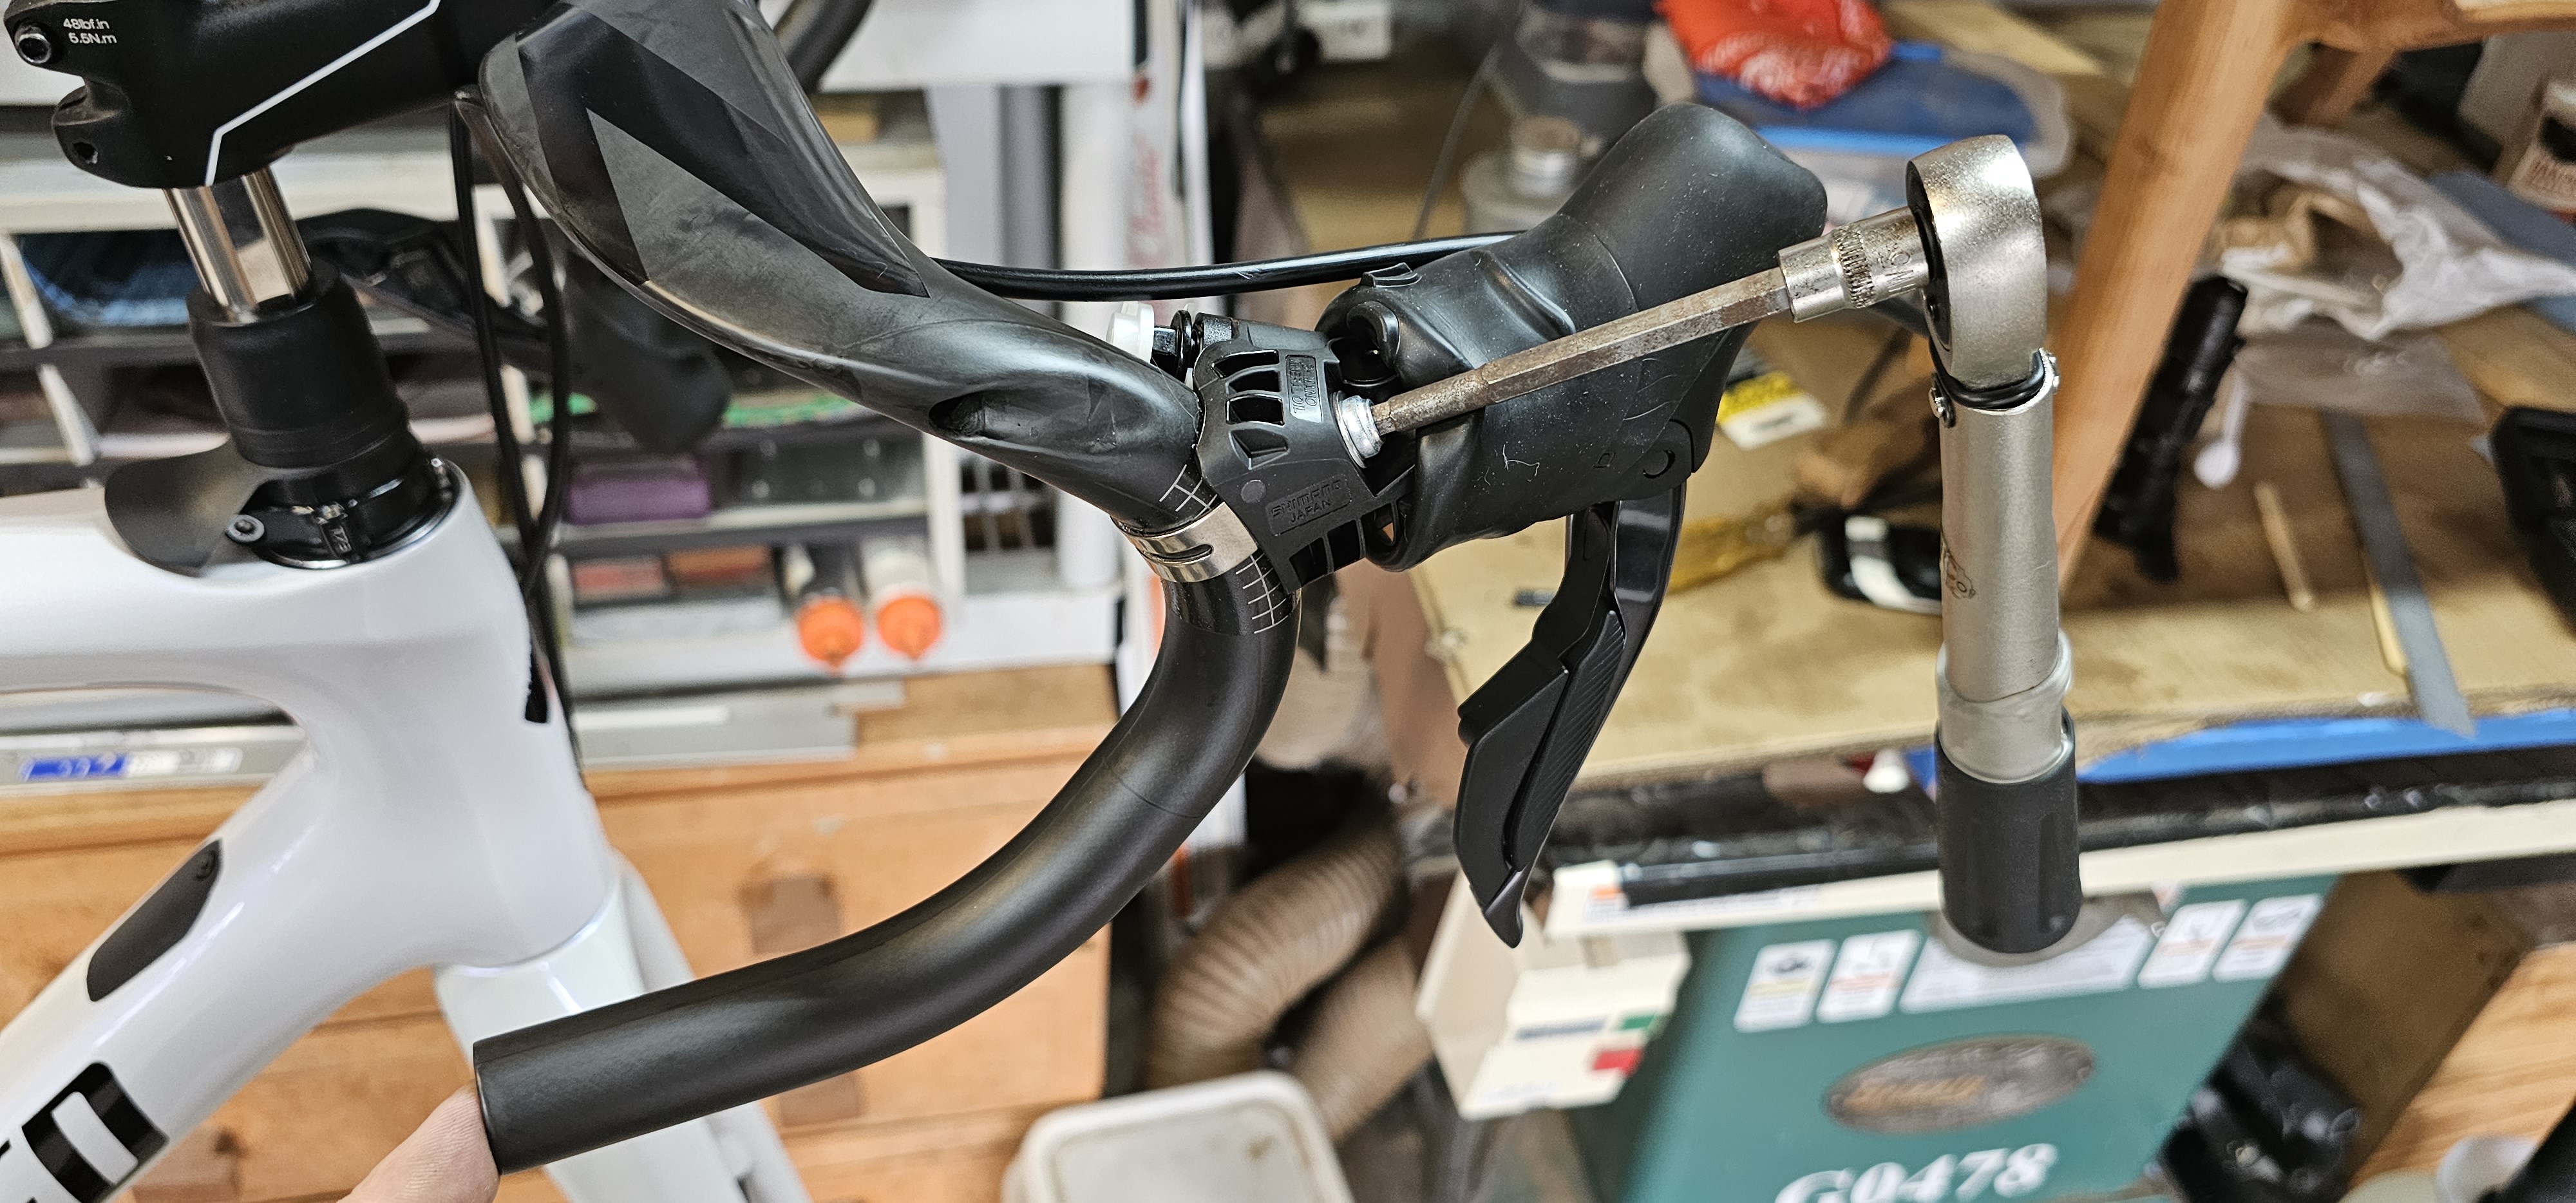
With the brake lines fed through the internal channels in the handlebars - the hoods could be roughly placed. Final placement will come with the bike fit - but right now it is about getting them close so the brake lines can be trimmed to length. The hood contains two micros switches for gears up and down, a battery holder, a wireless transmitter, a brake lever and hydraulic master cylinder - all crammed into that small space!
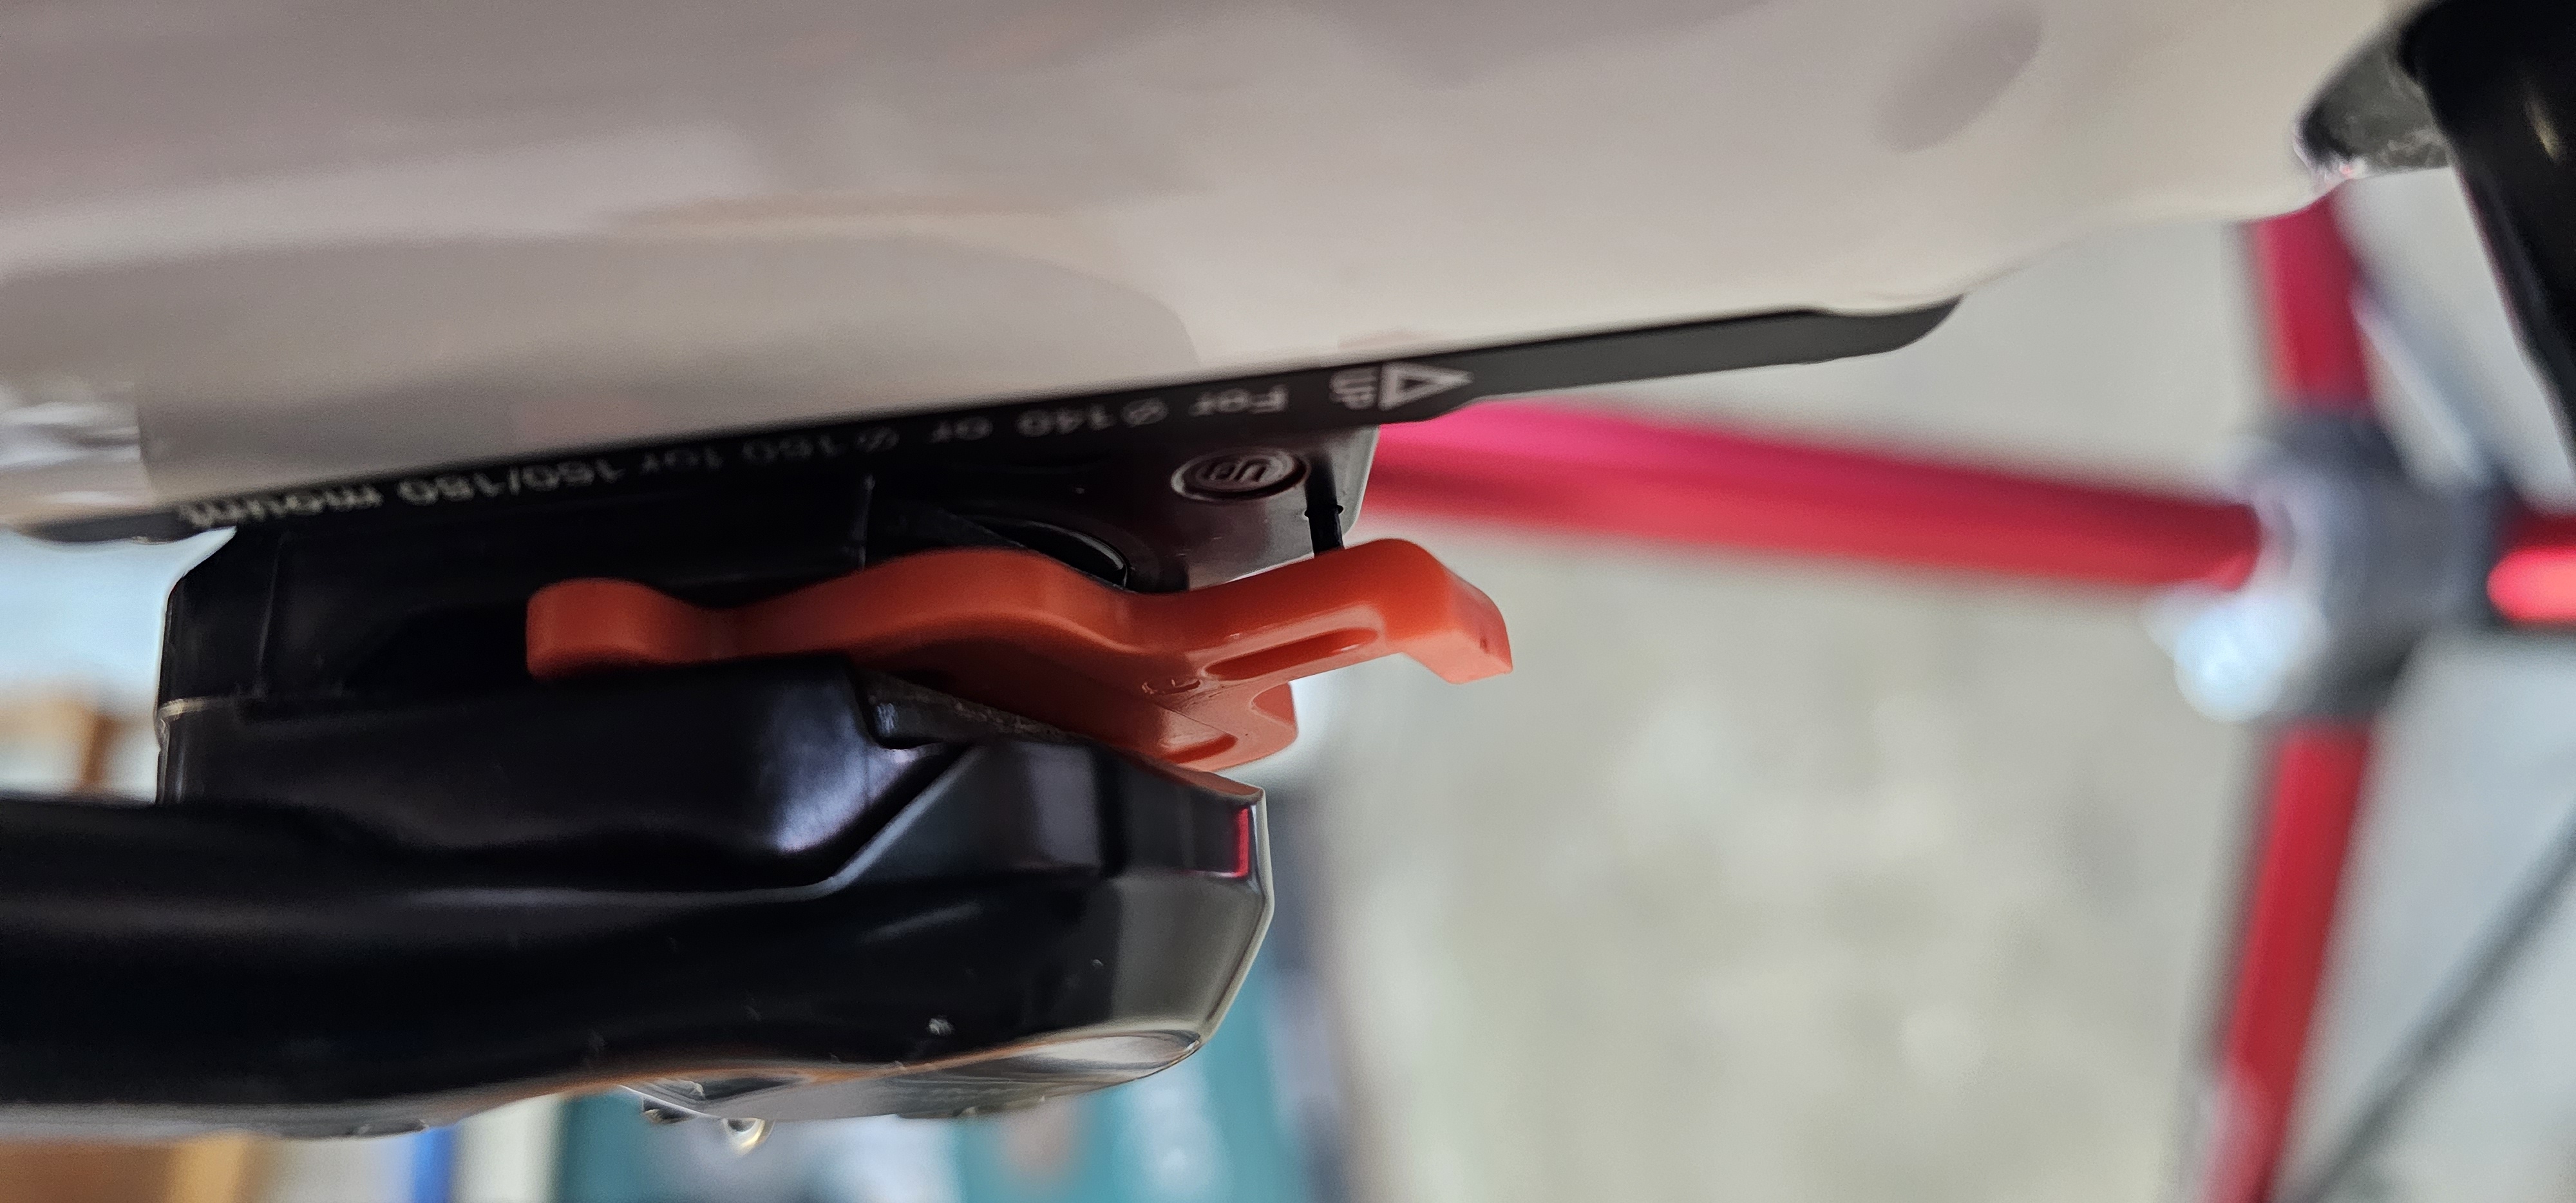 | 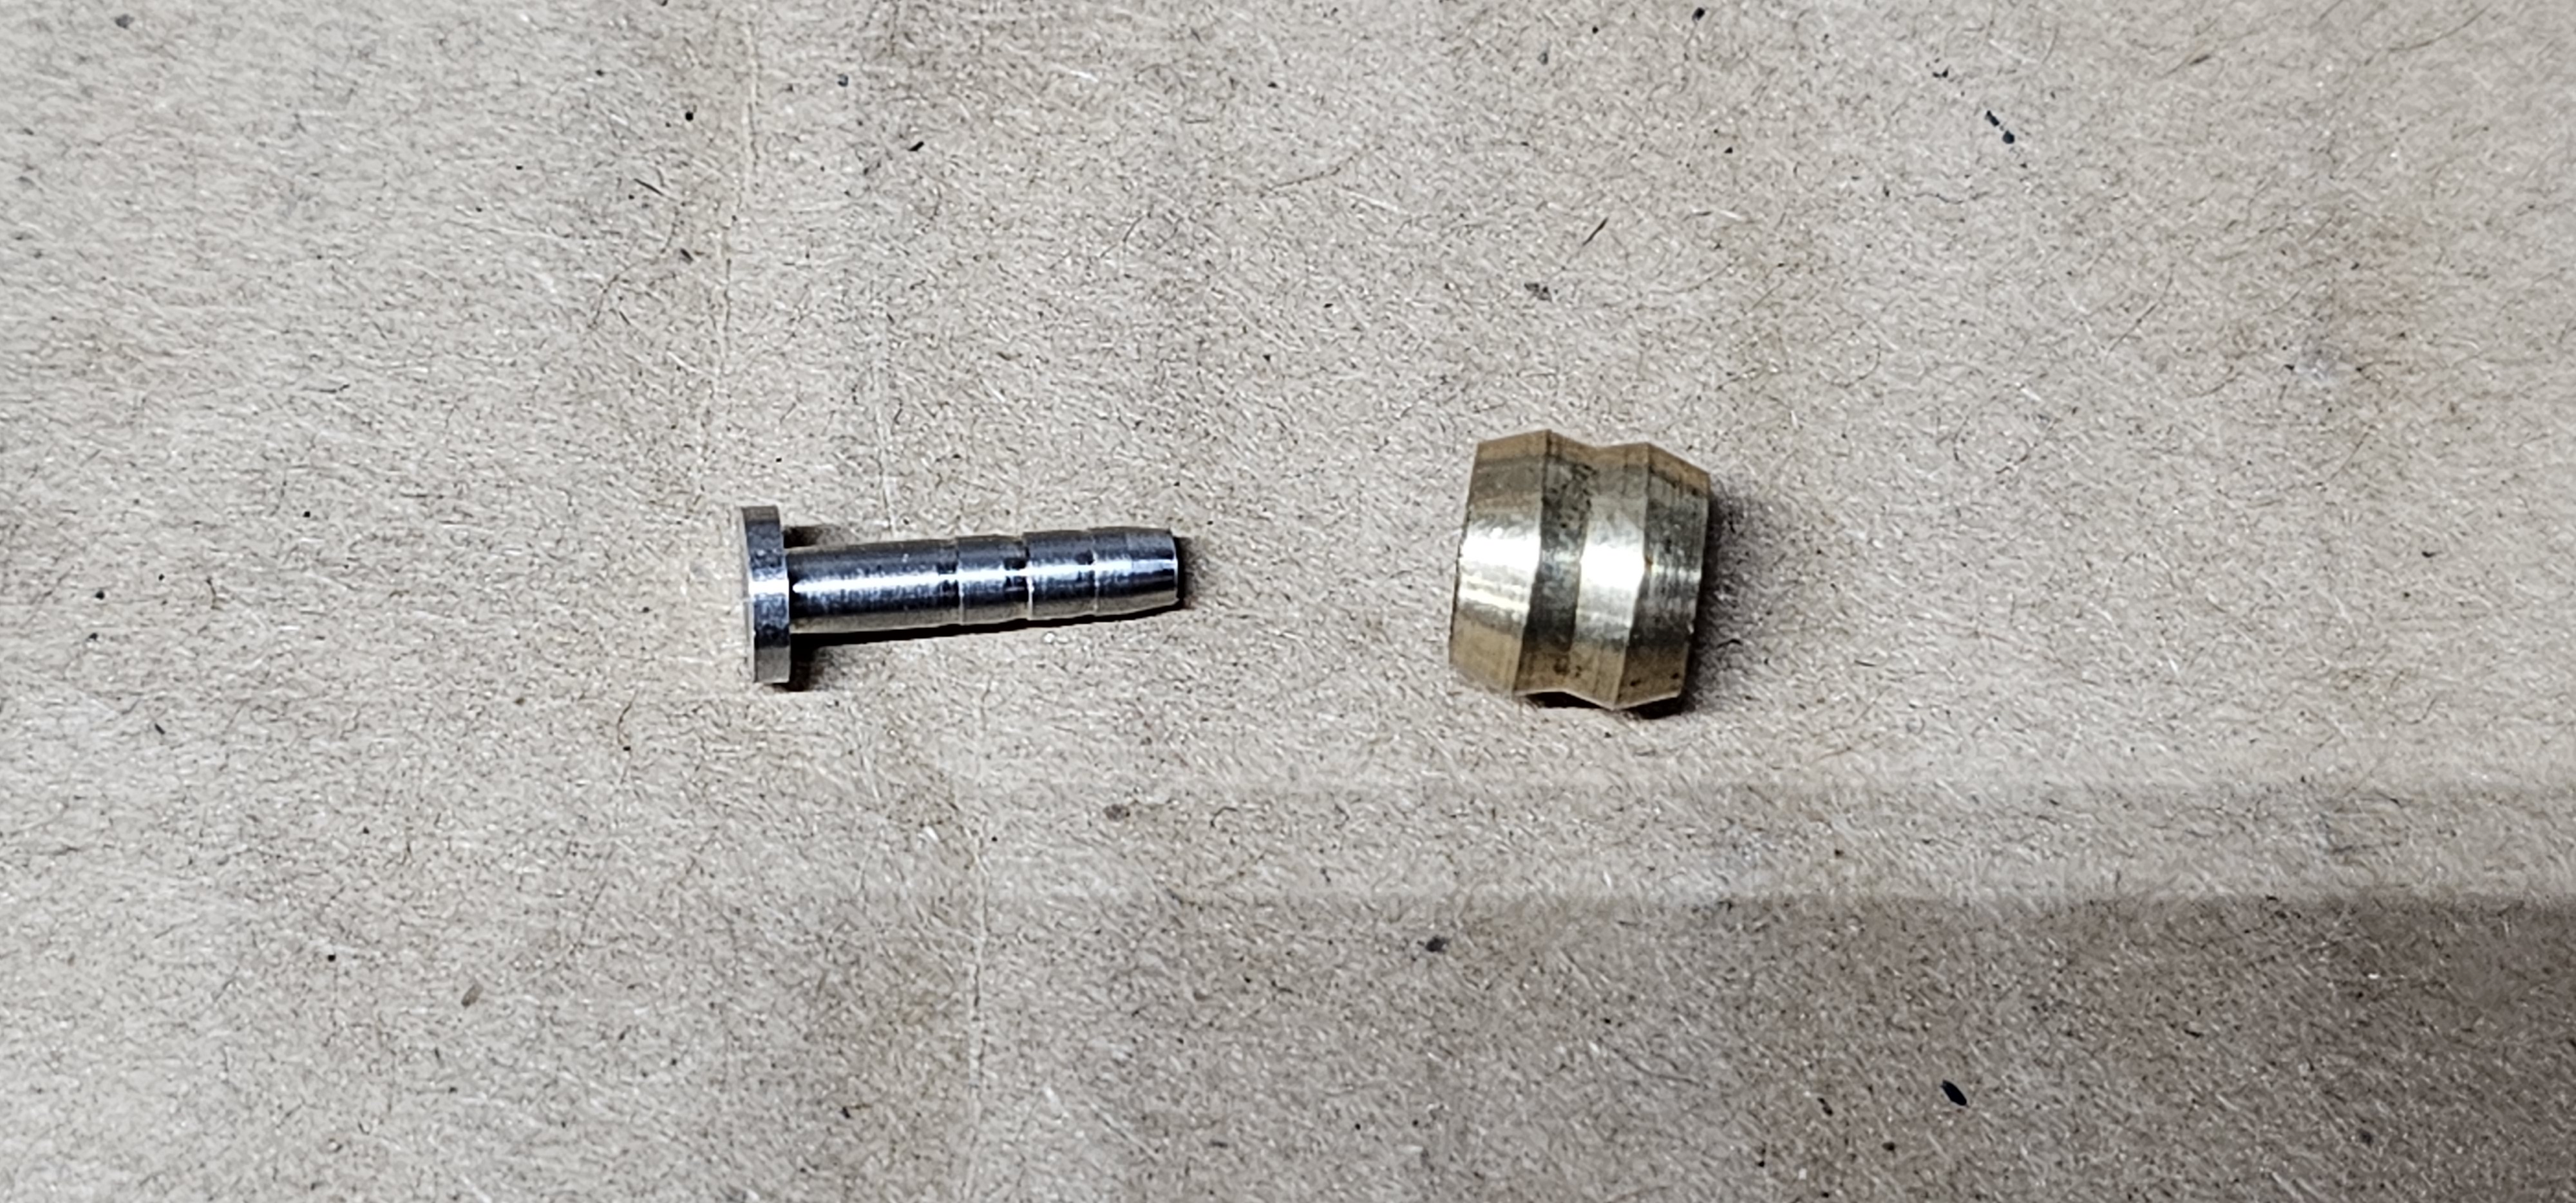 | 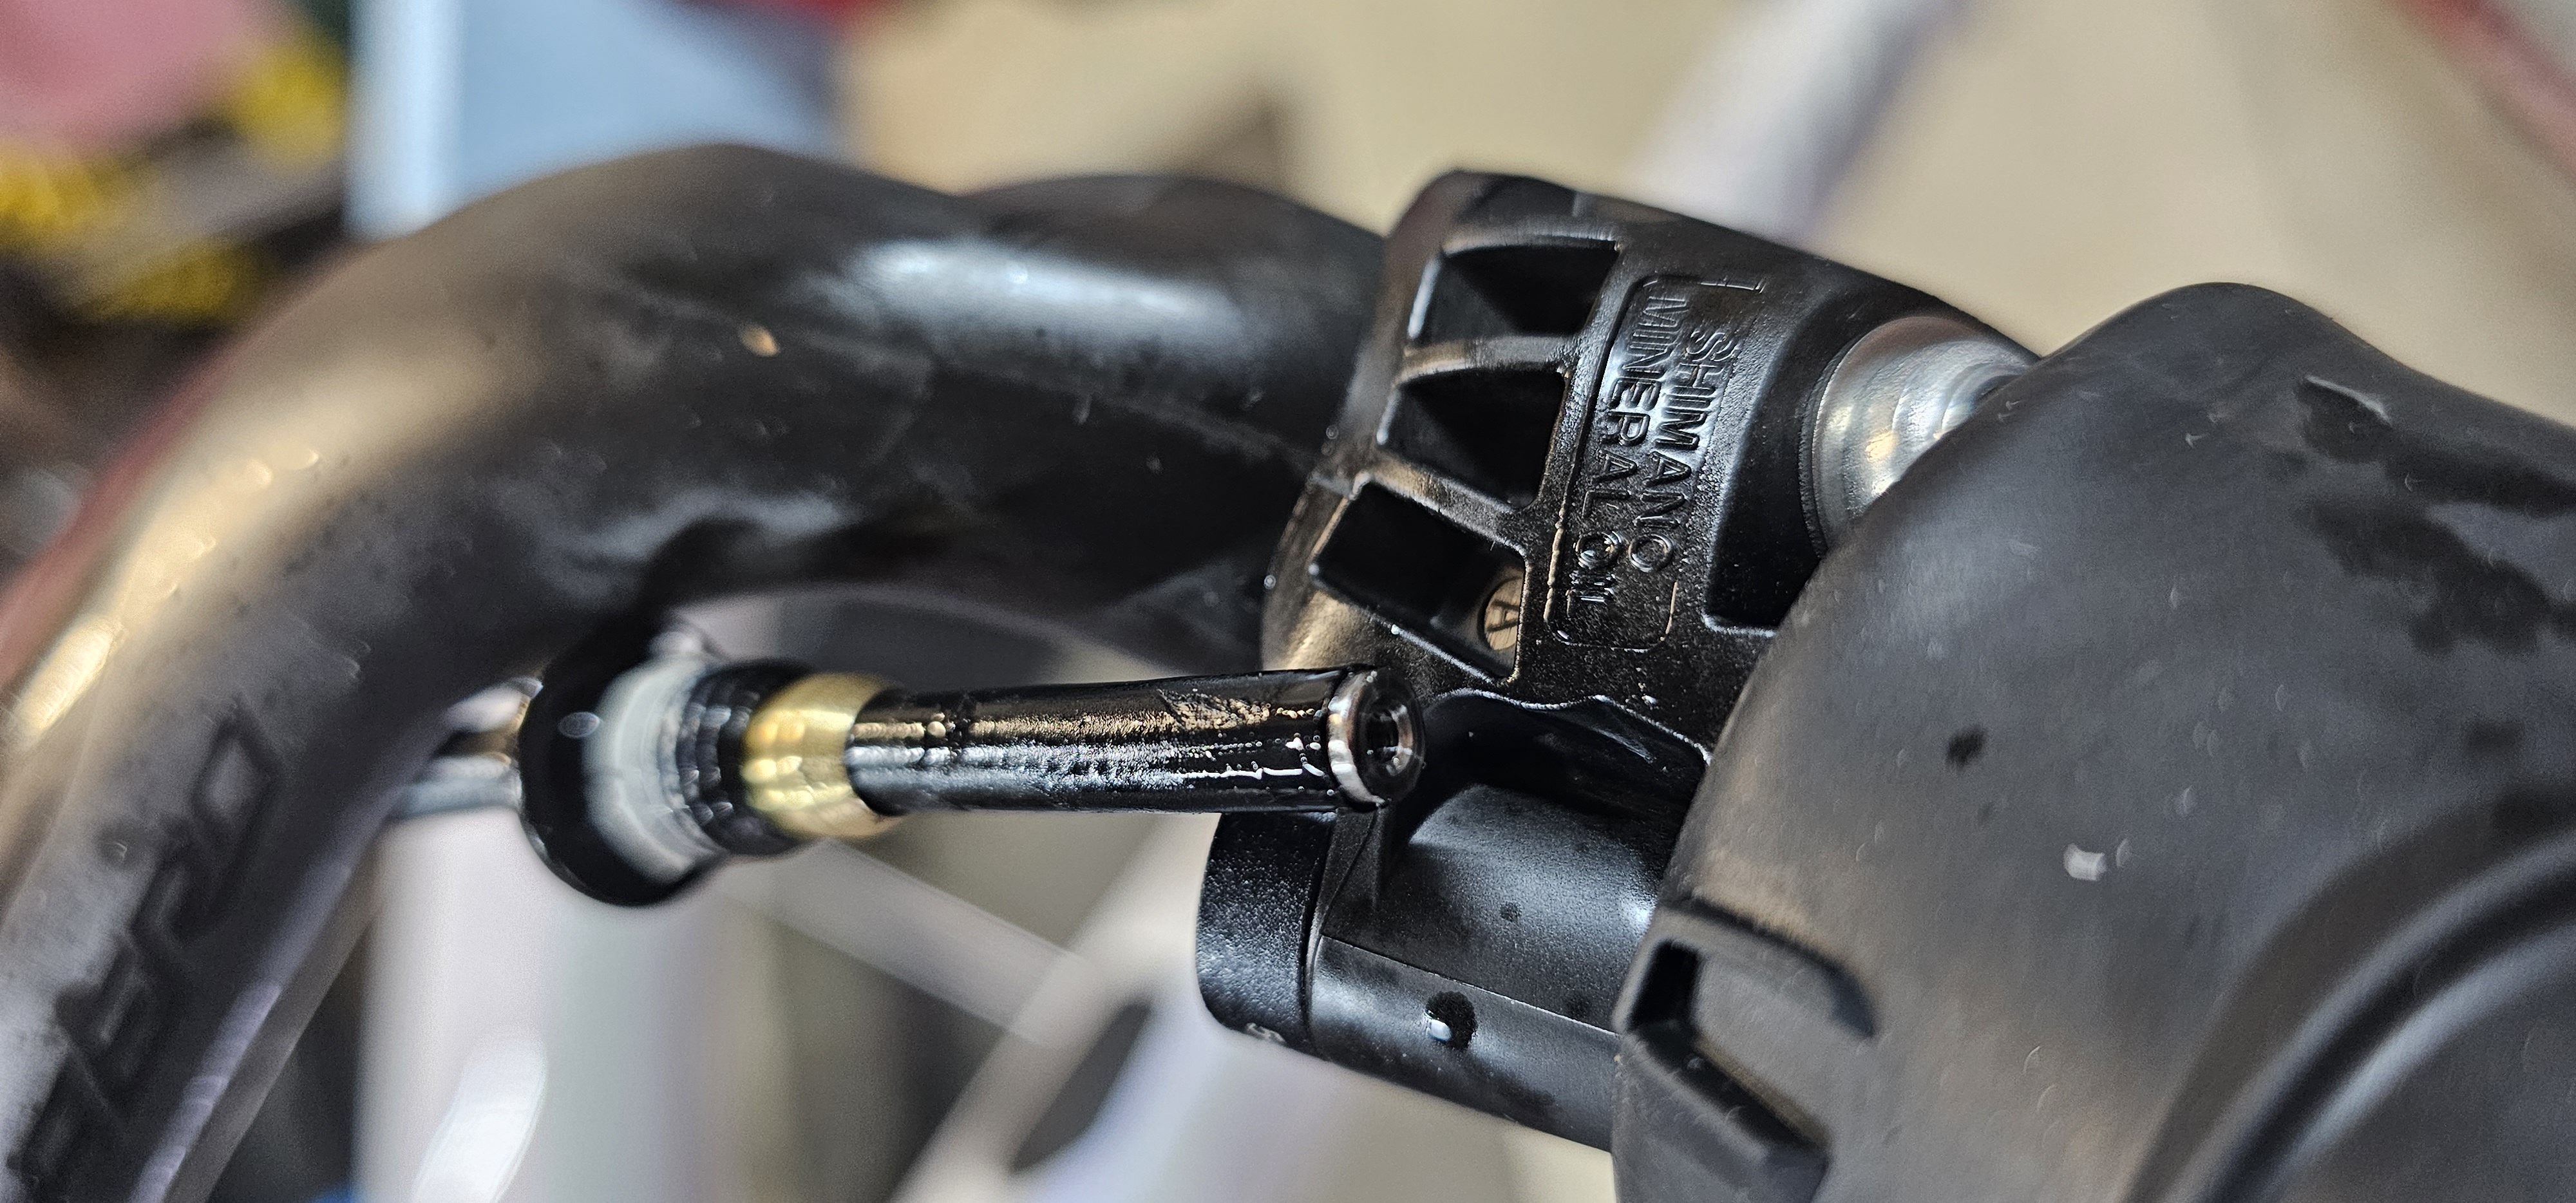 |
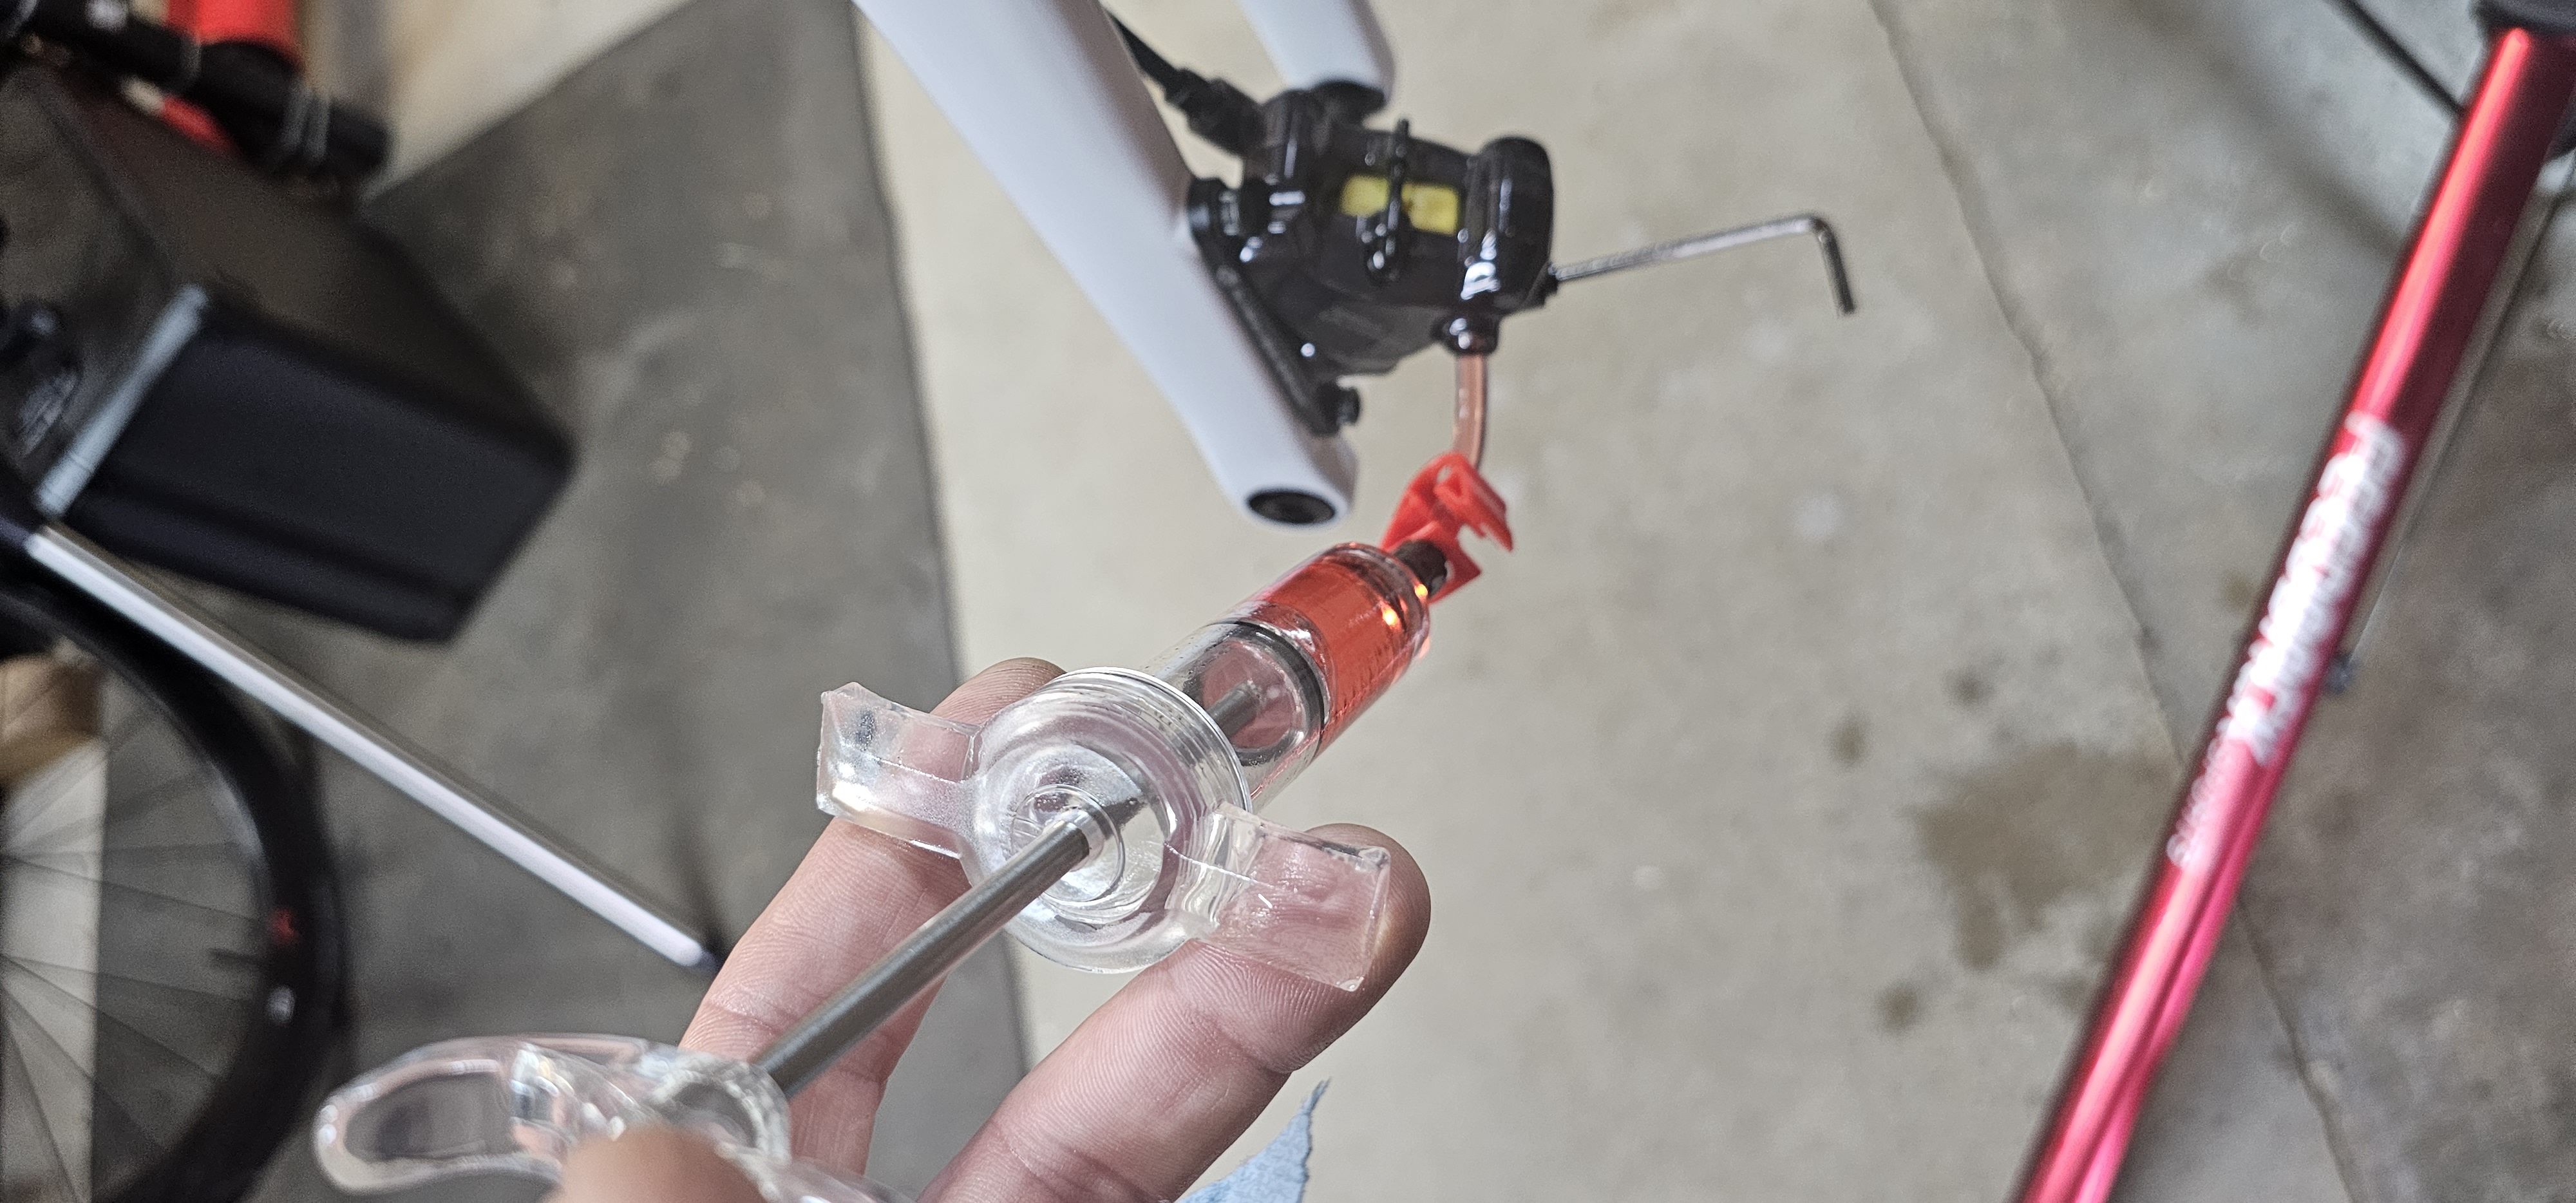 | Next - wedge the brake pads to stop the cylinders from overextending. Trim the cables. Fit the tiny olives and barbs. Fit to the lever and finally bleed the brakes. Once for the front brake and again for the rear brake. | 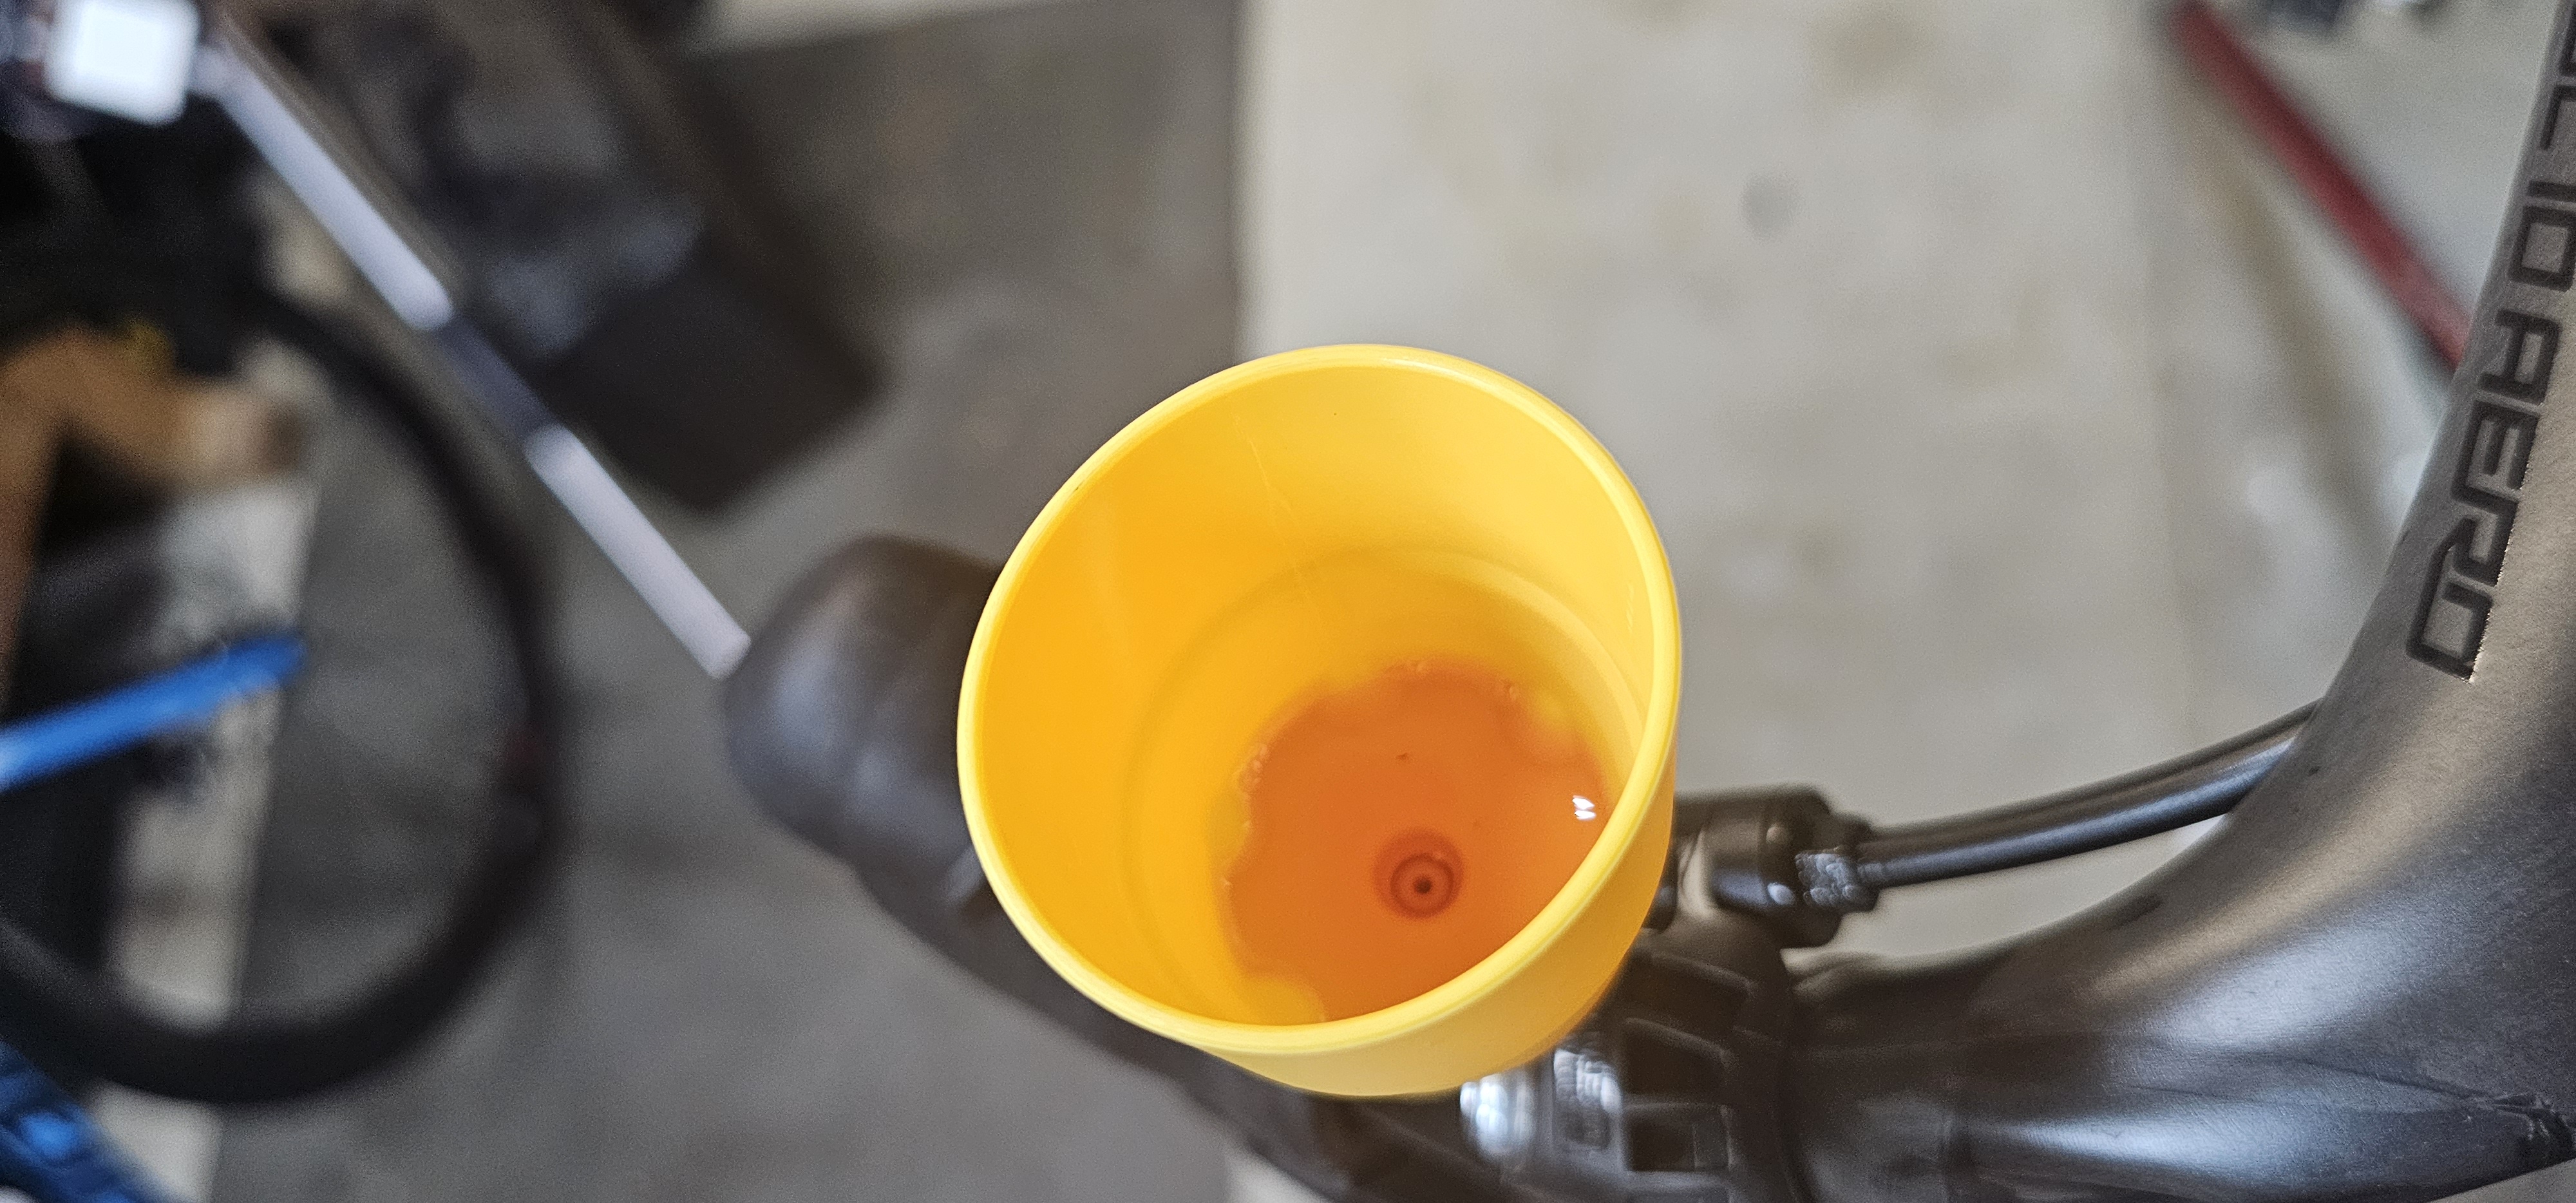 |
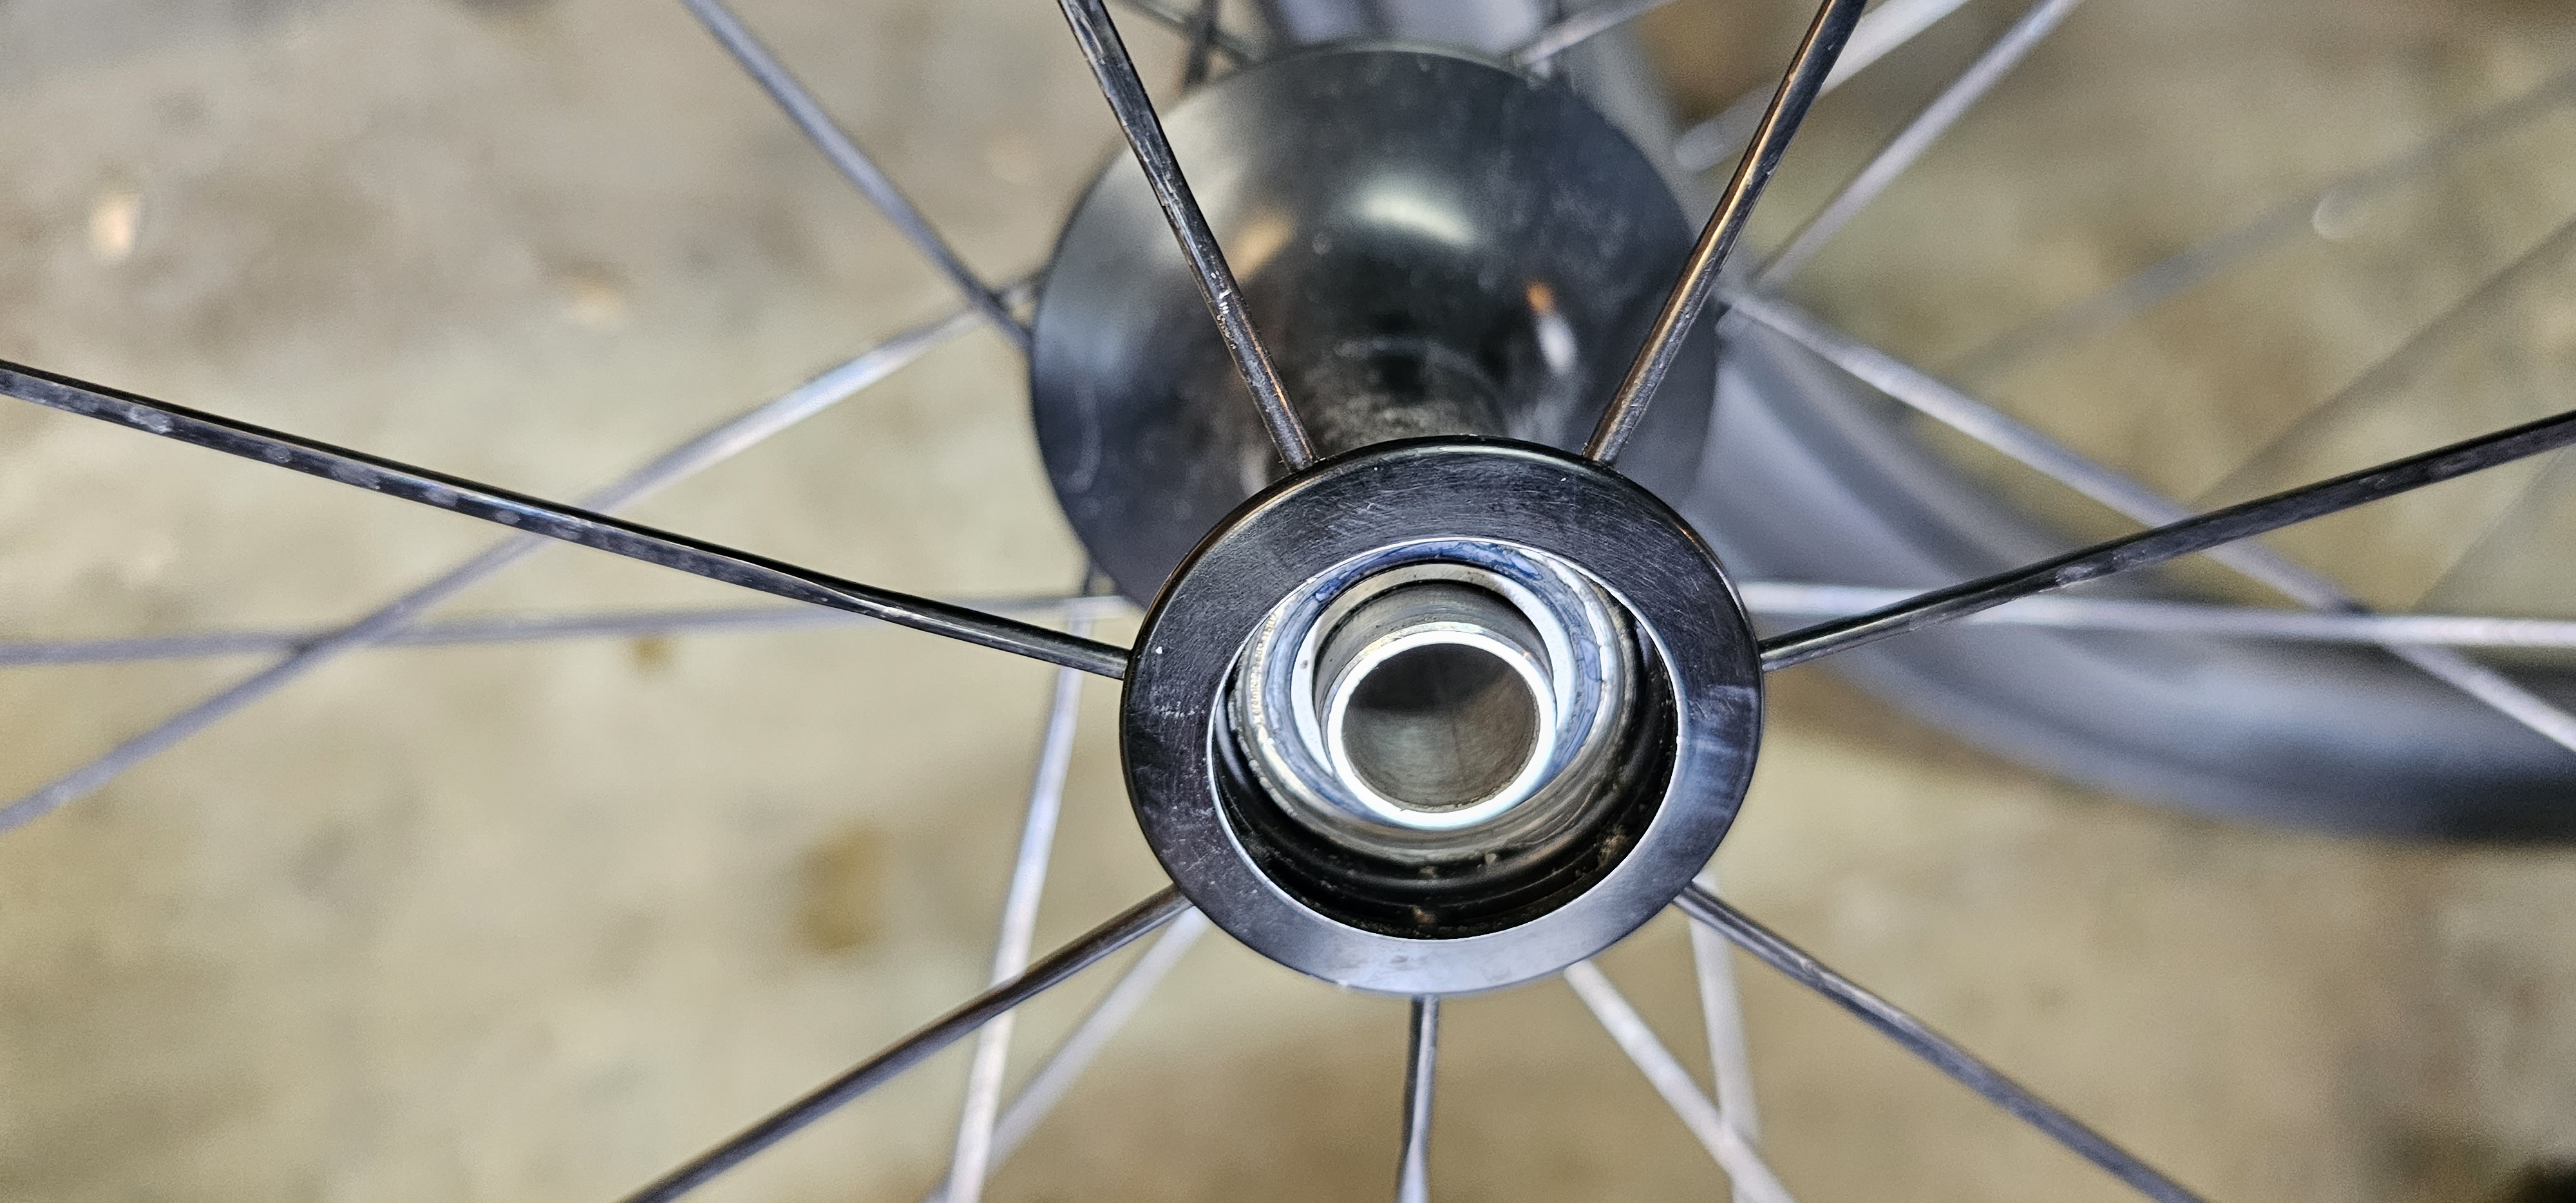
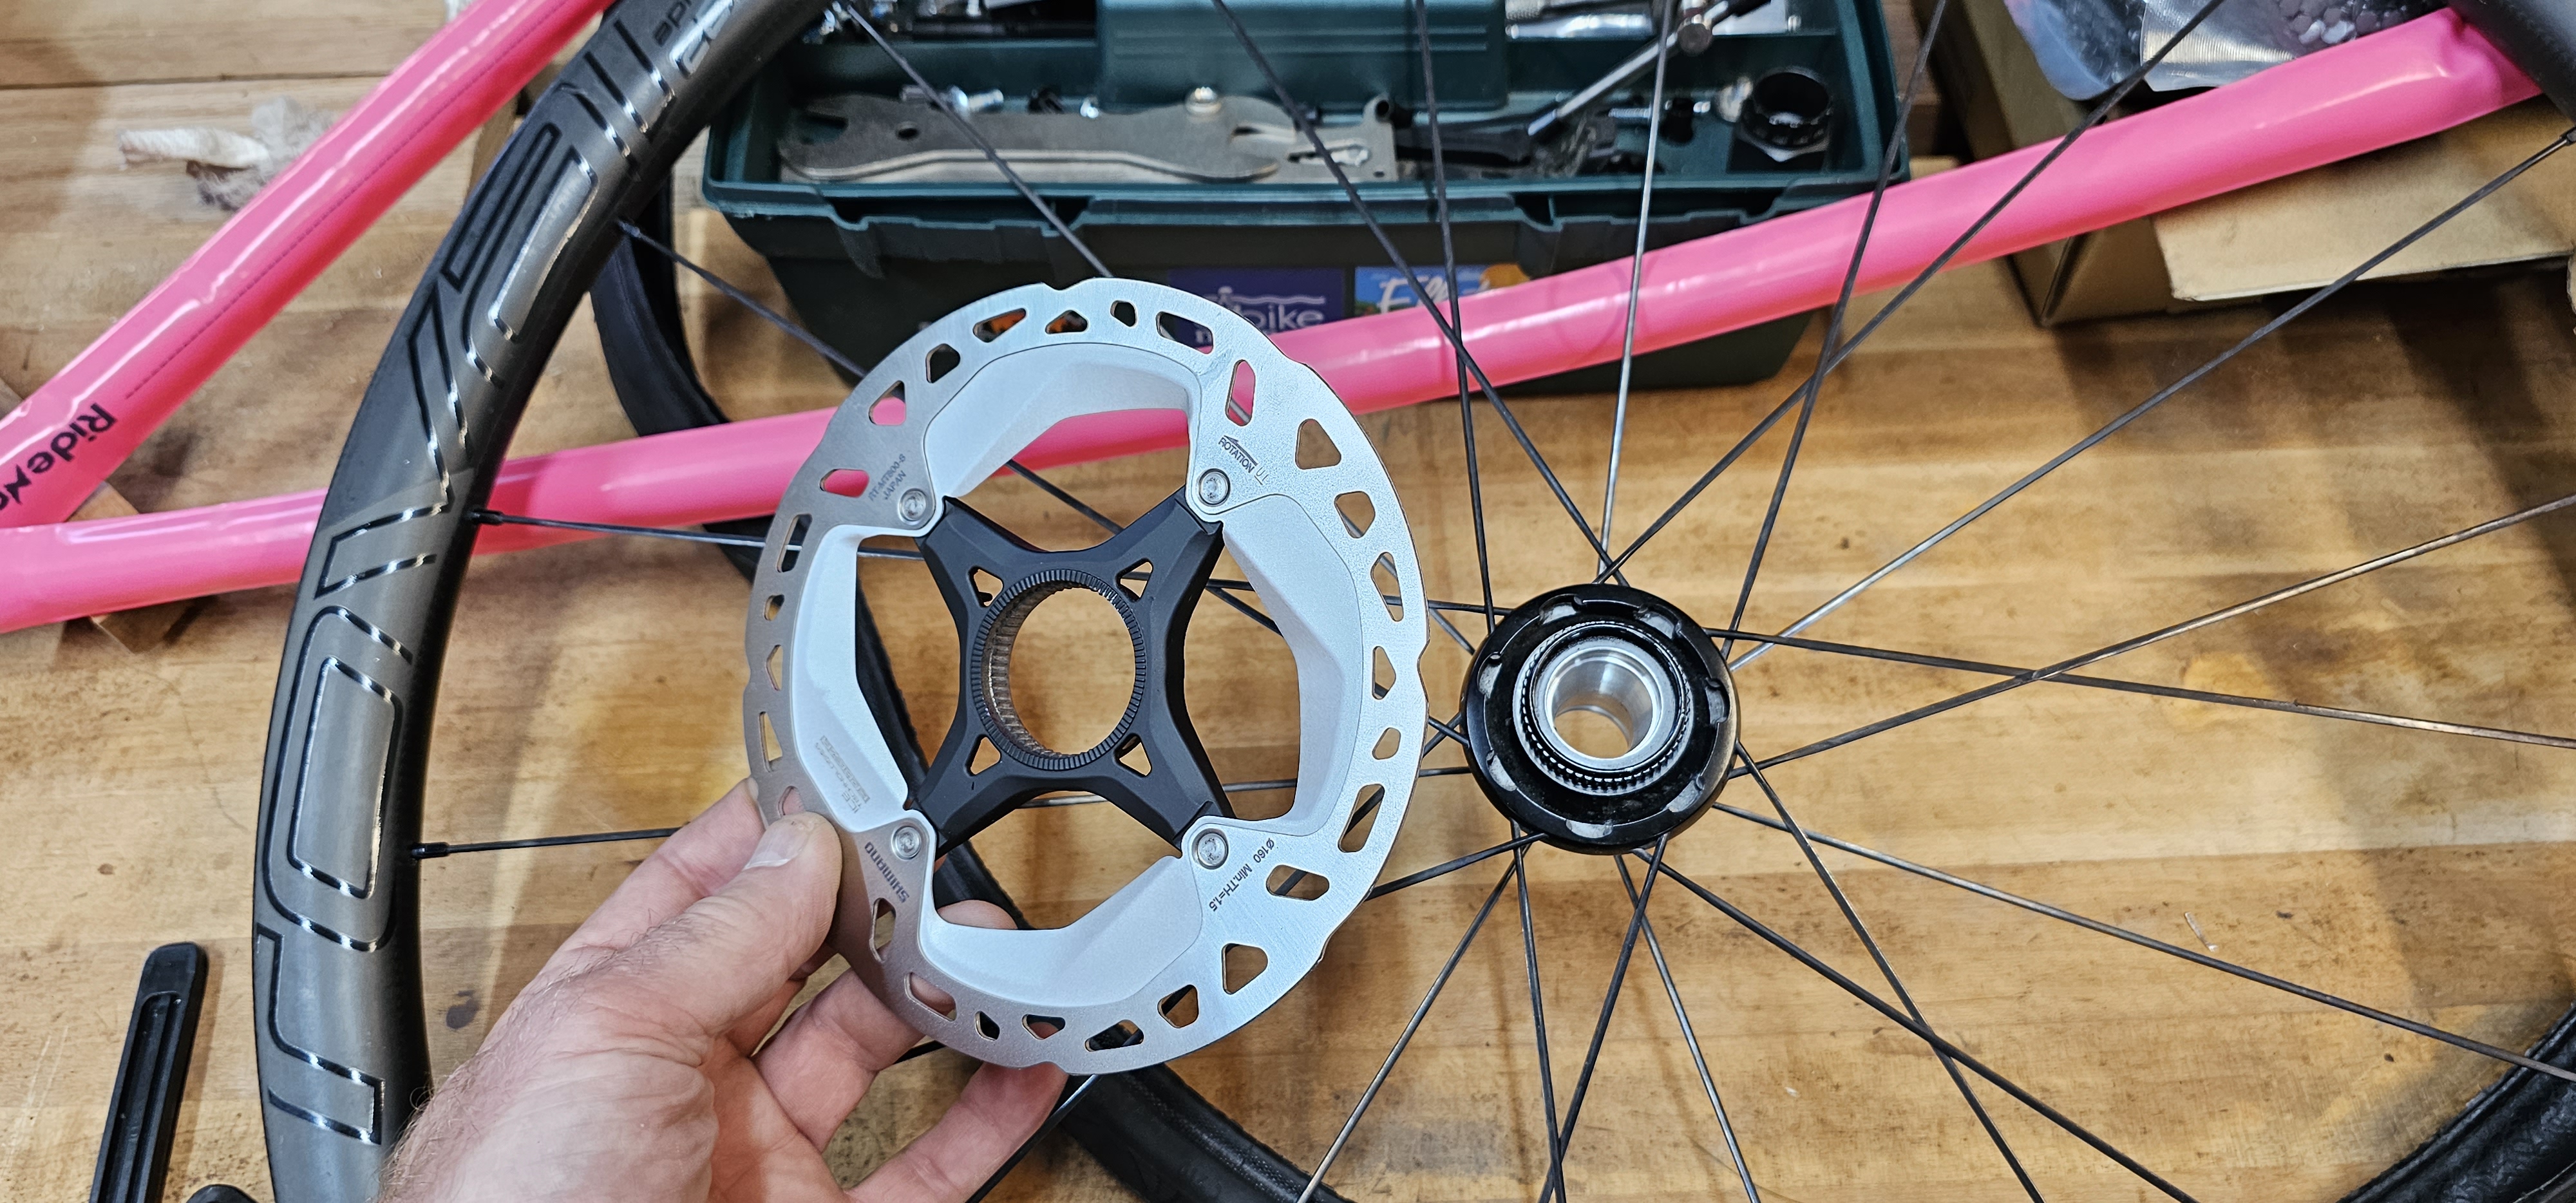
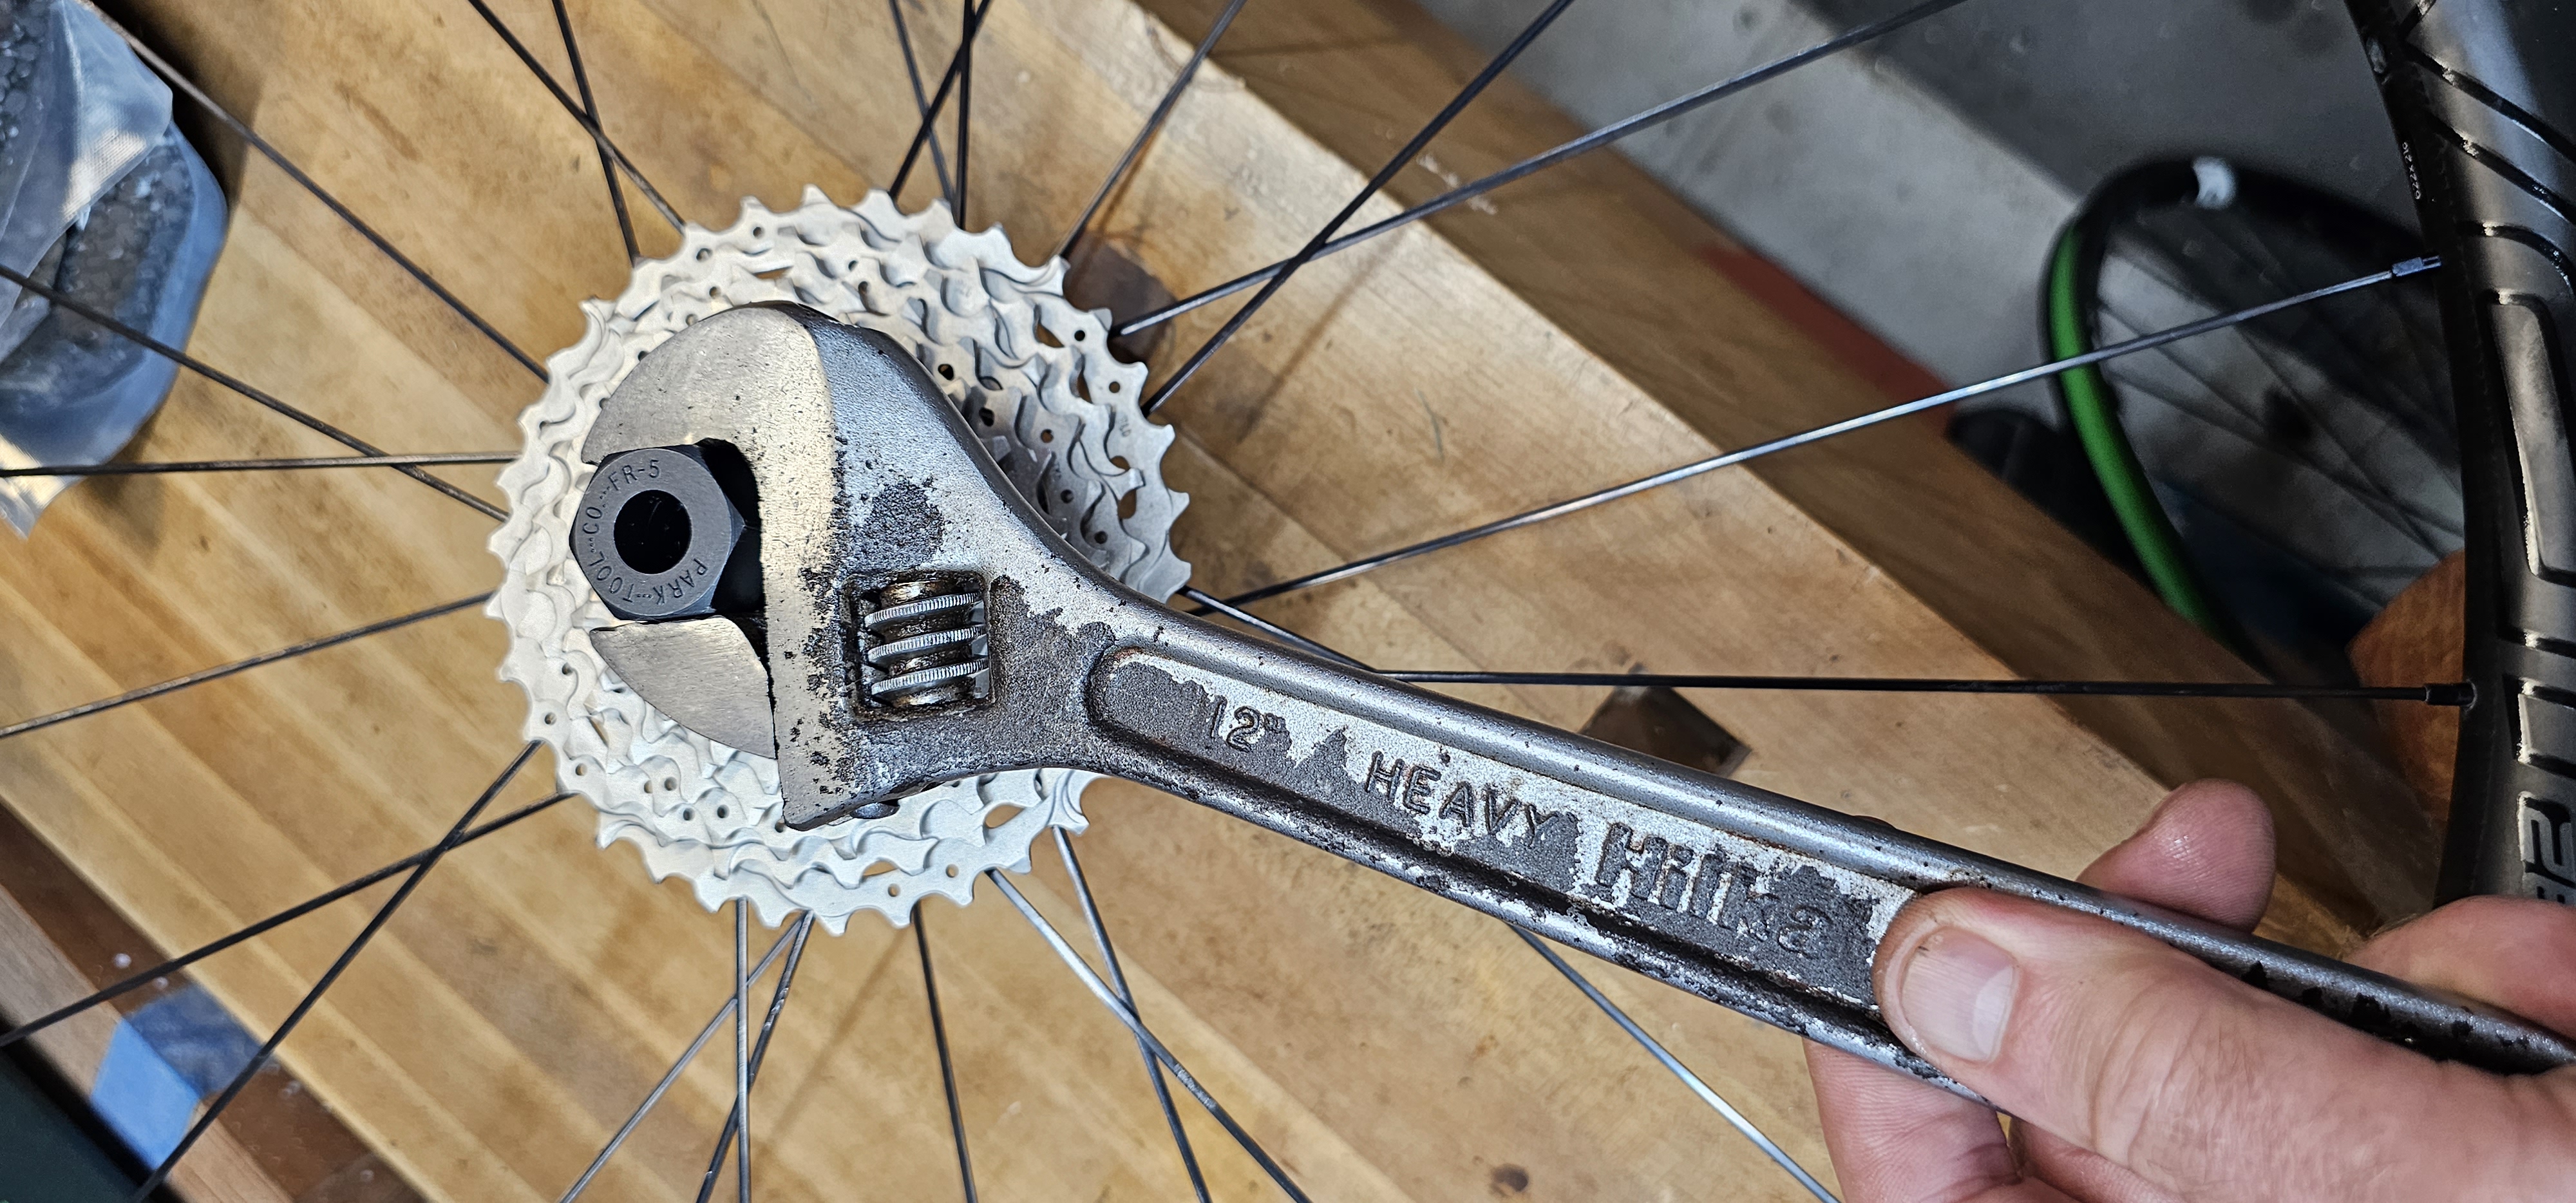
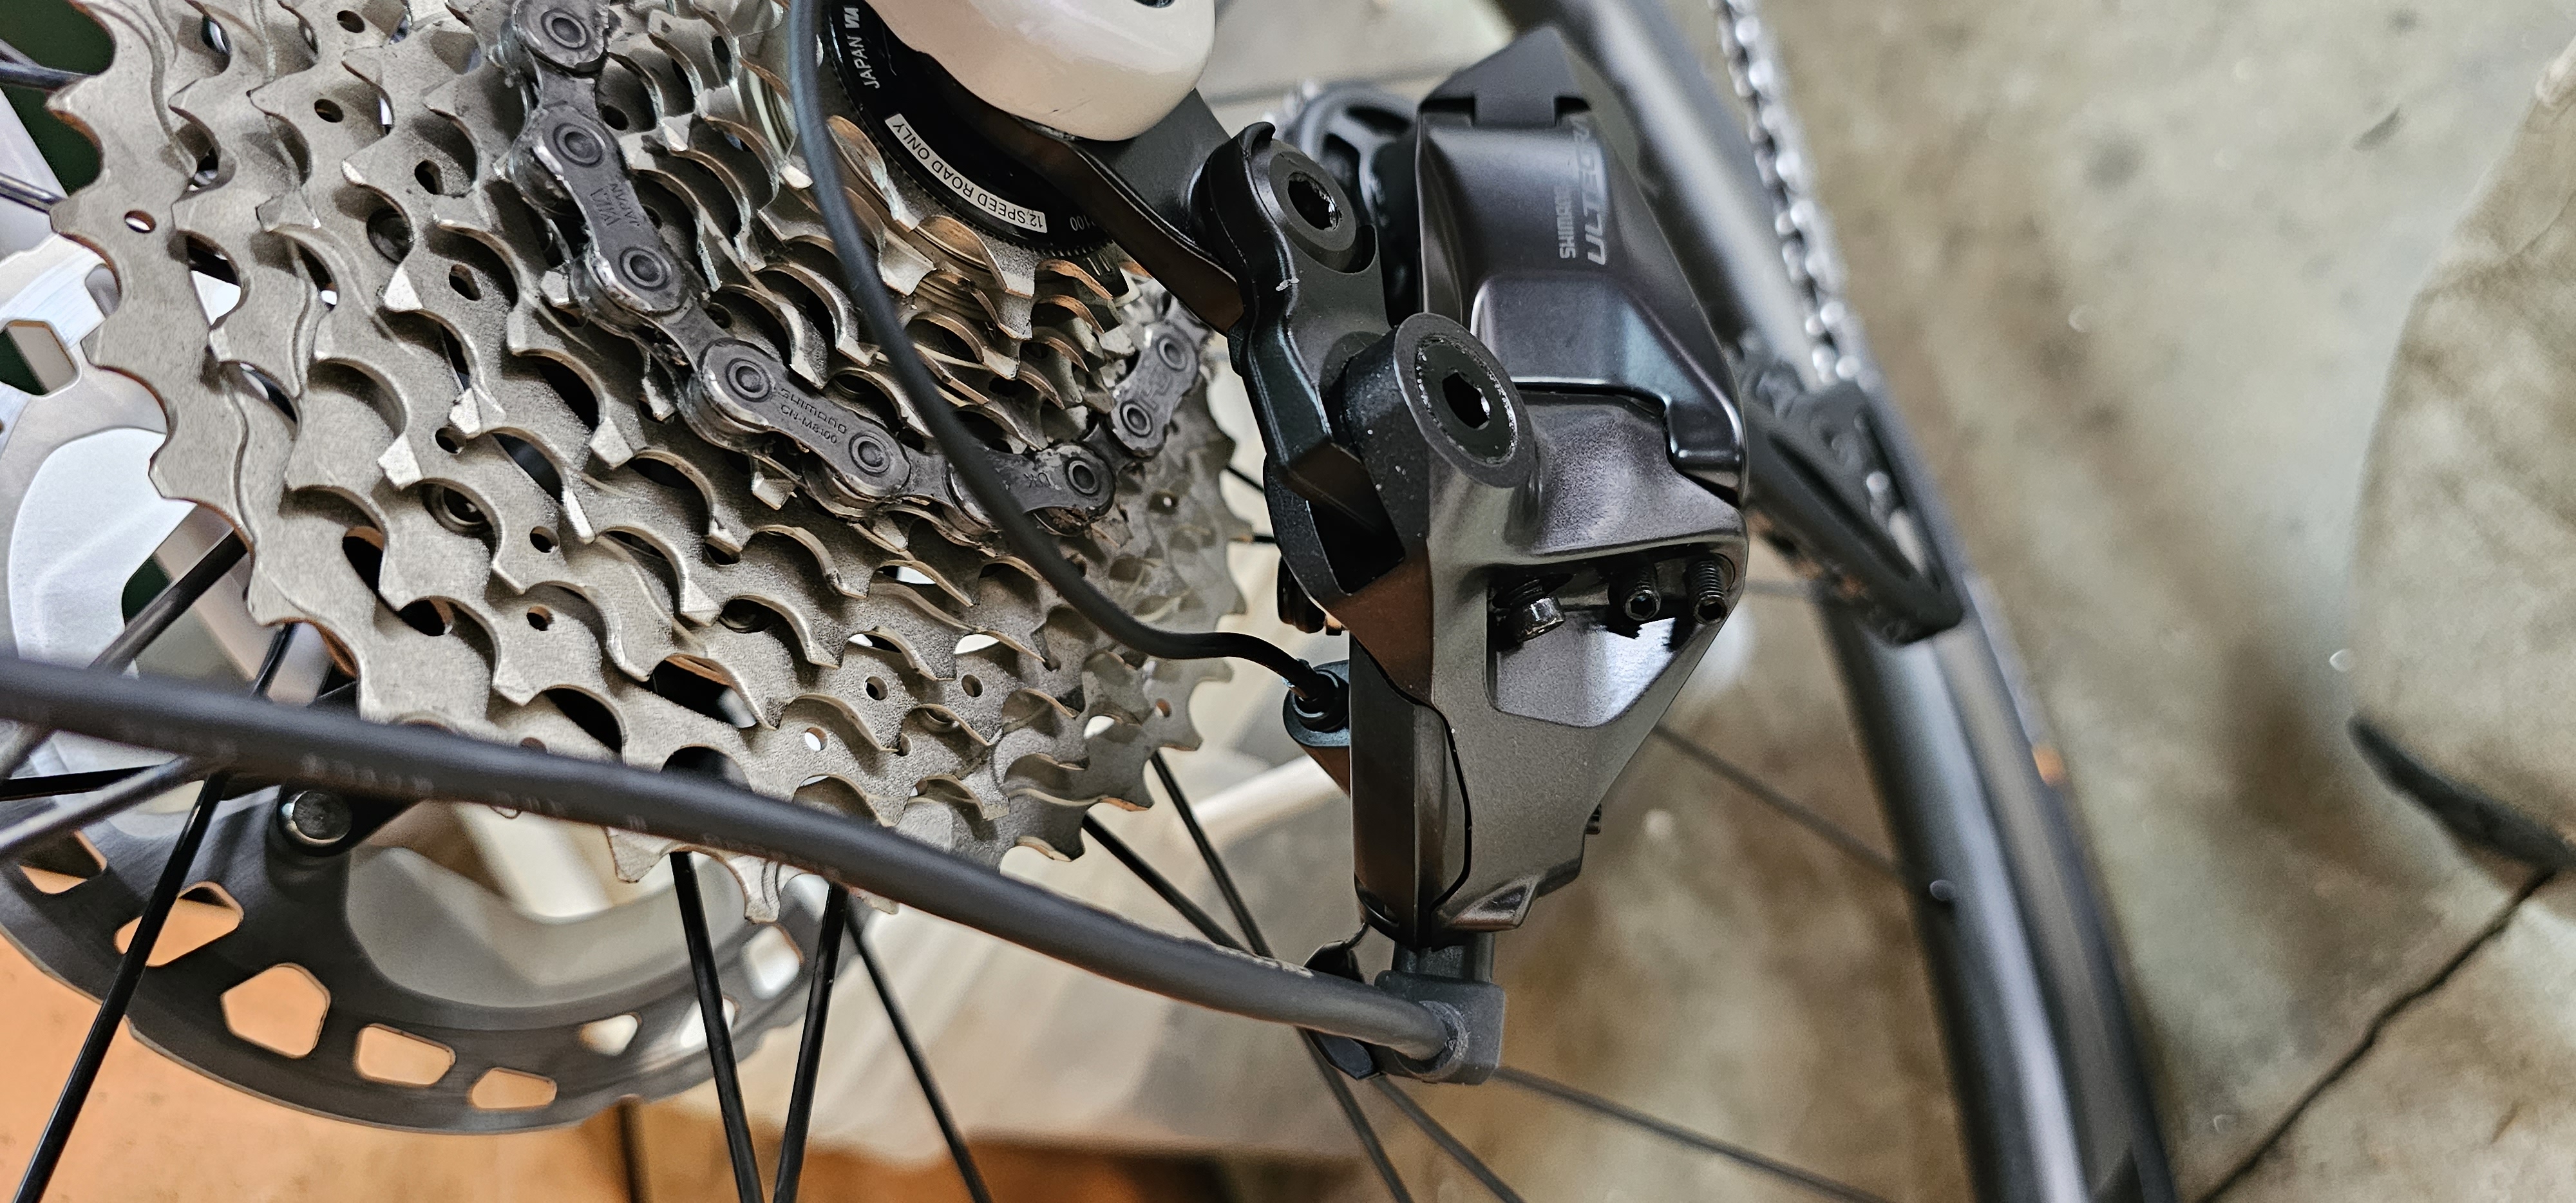
I stripped the wheelset bearings and repacked them, then serviced the freehub before fitting the cassette and brake disks
 |  |
 |  |
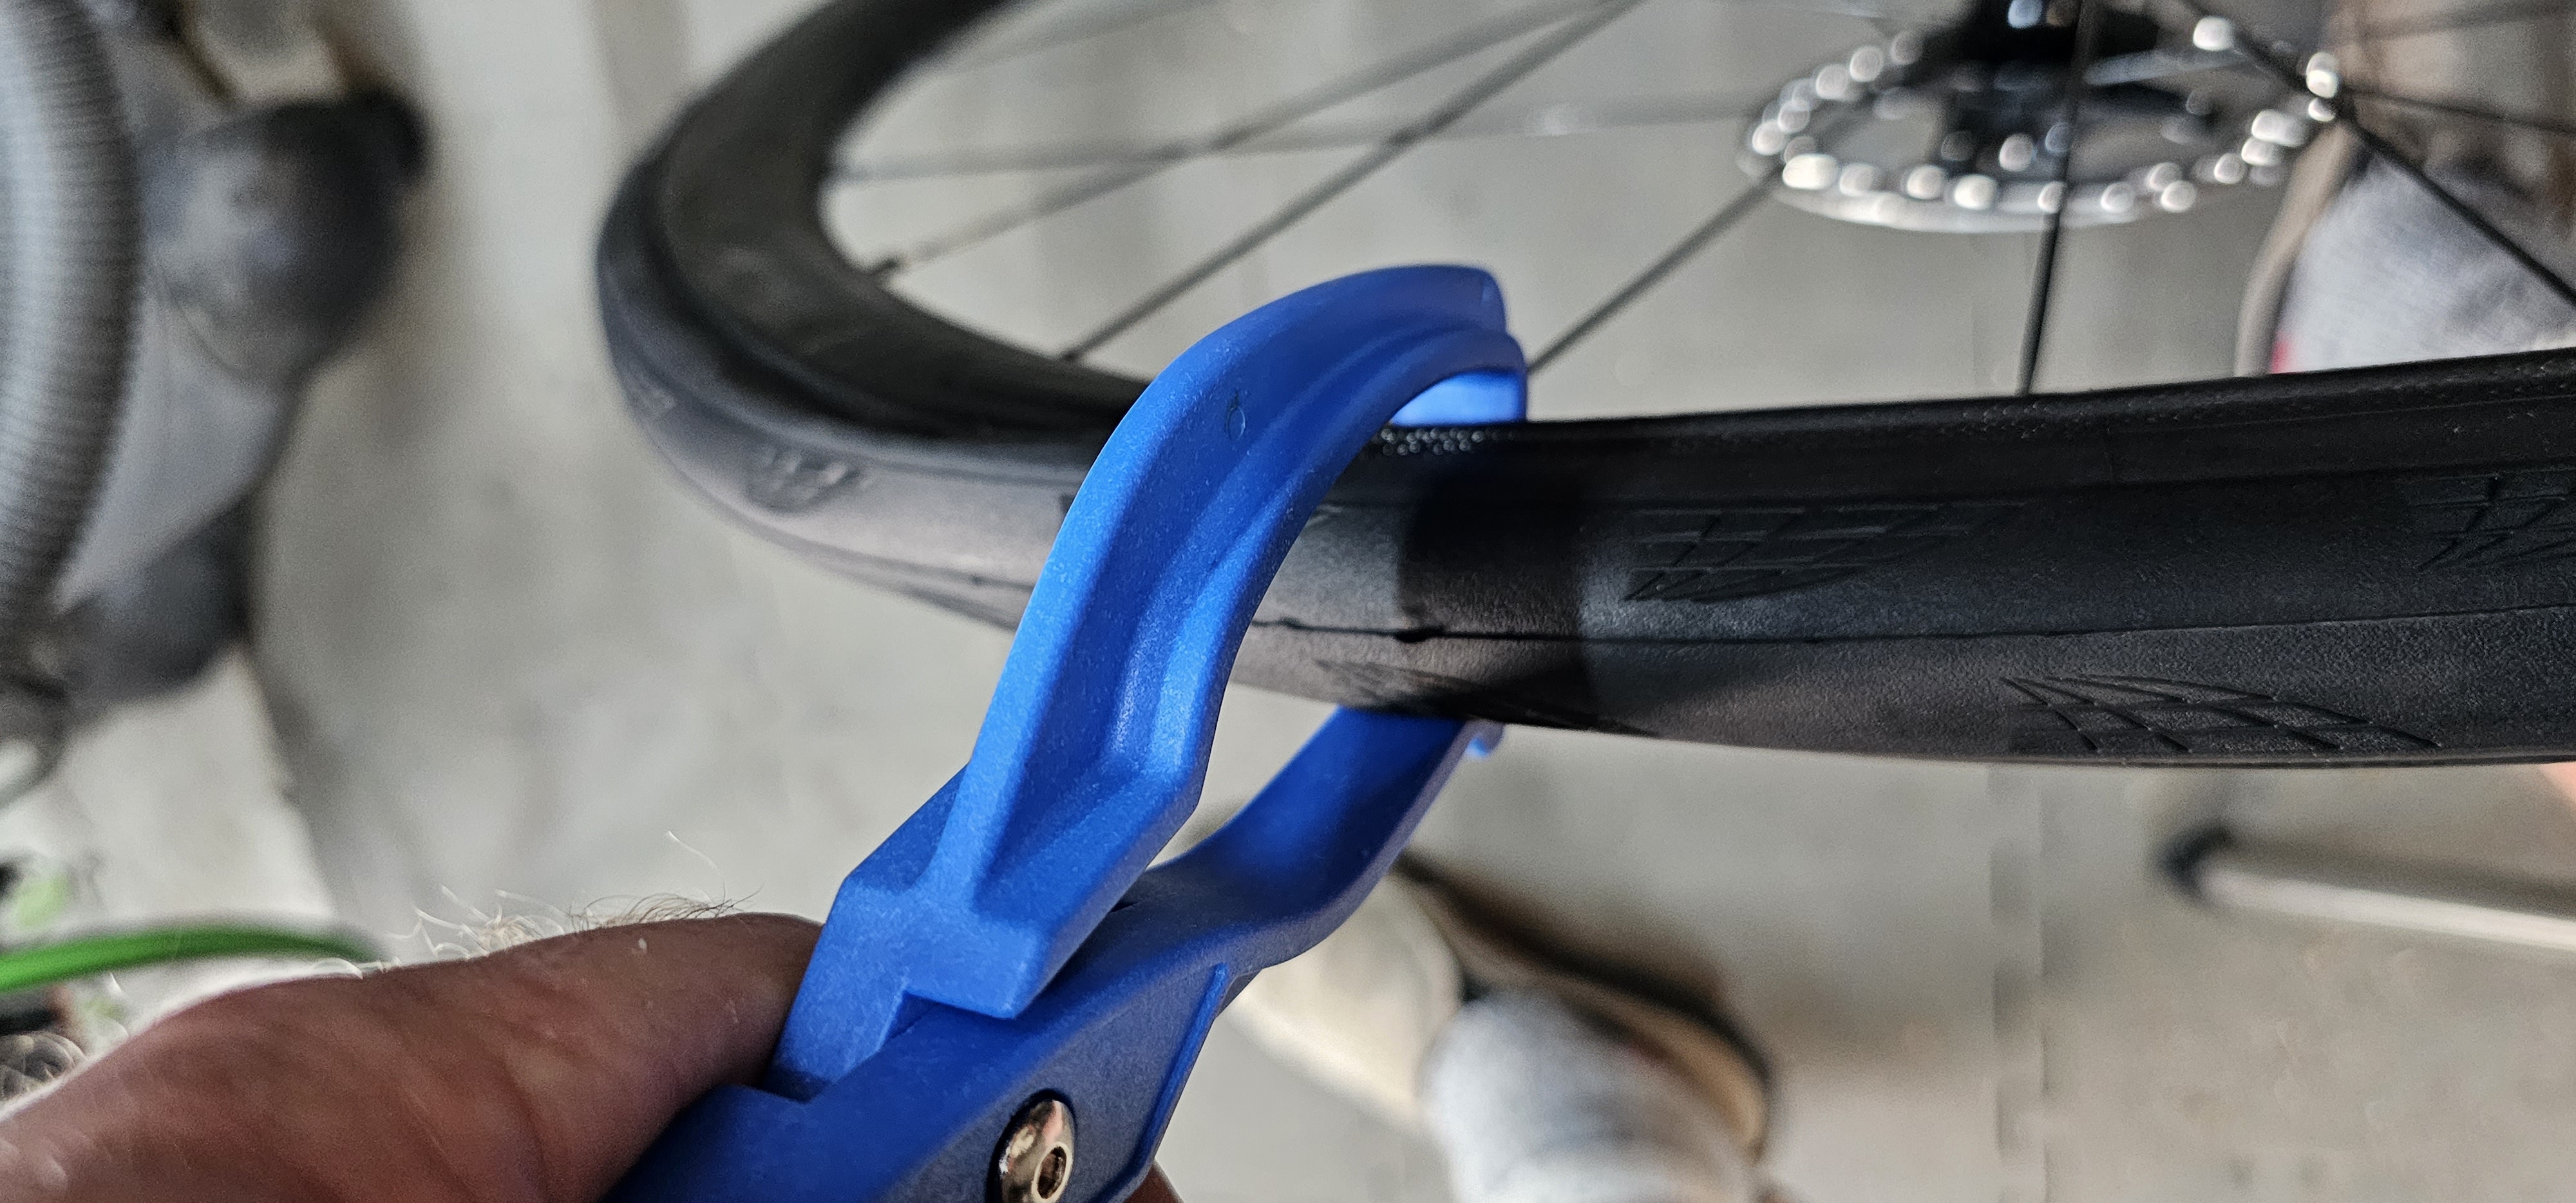
Then the tires. Initially while I set it up - I went with tubed tires but now the bike is running tubeless. Continental GP5000 28mm rear and 26mm front at 85psi and 80psi respectively. Really low rolling resistance and very comfortable.
 |  |
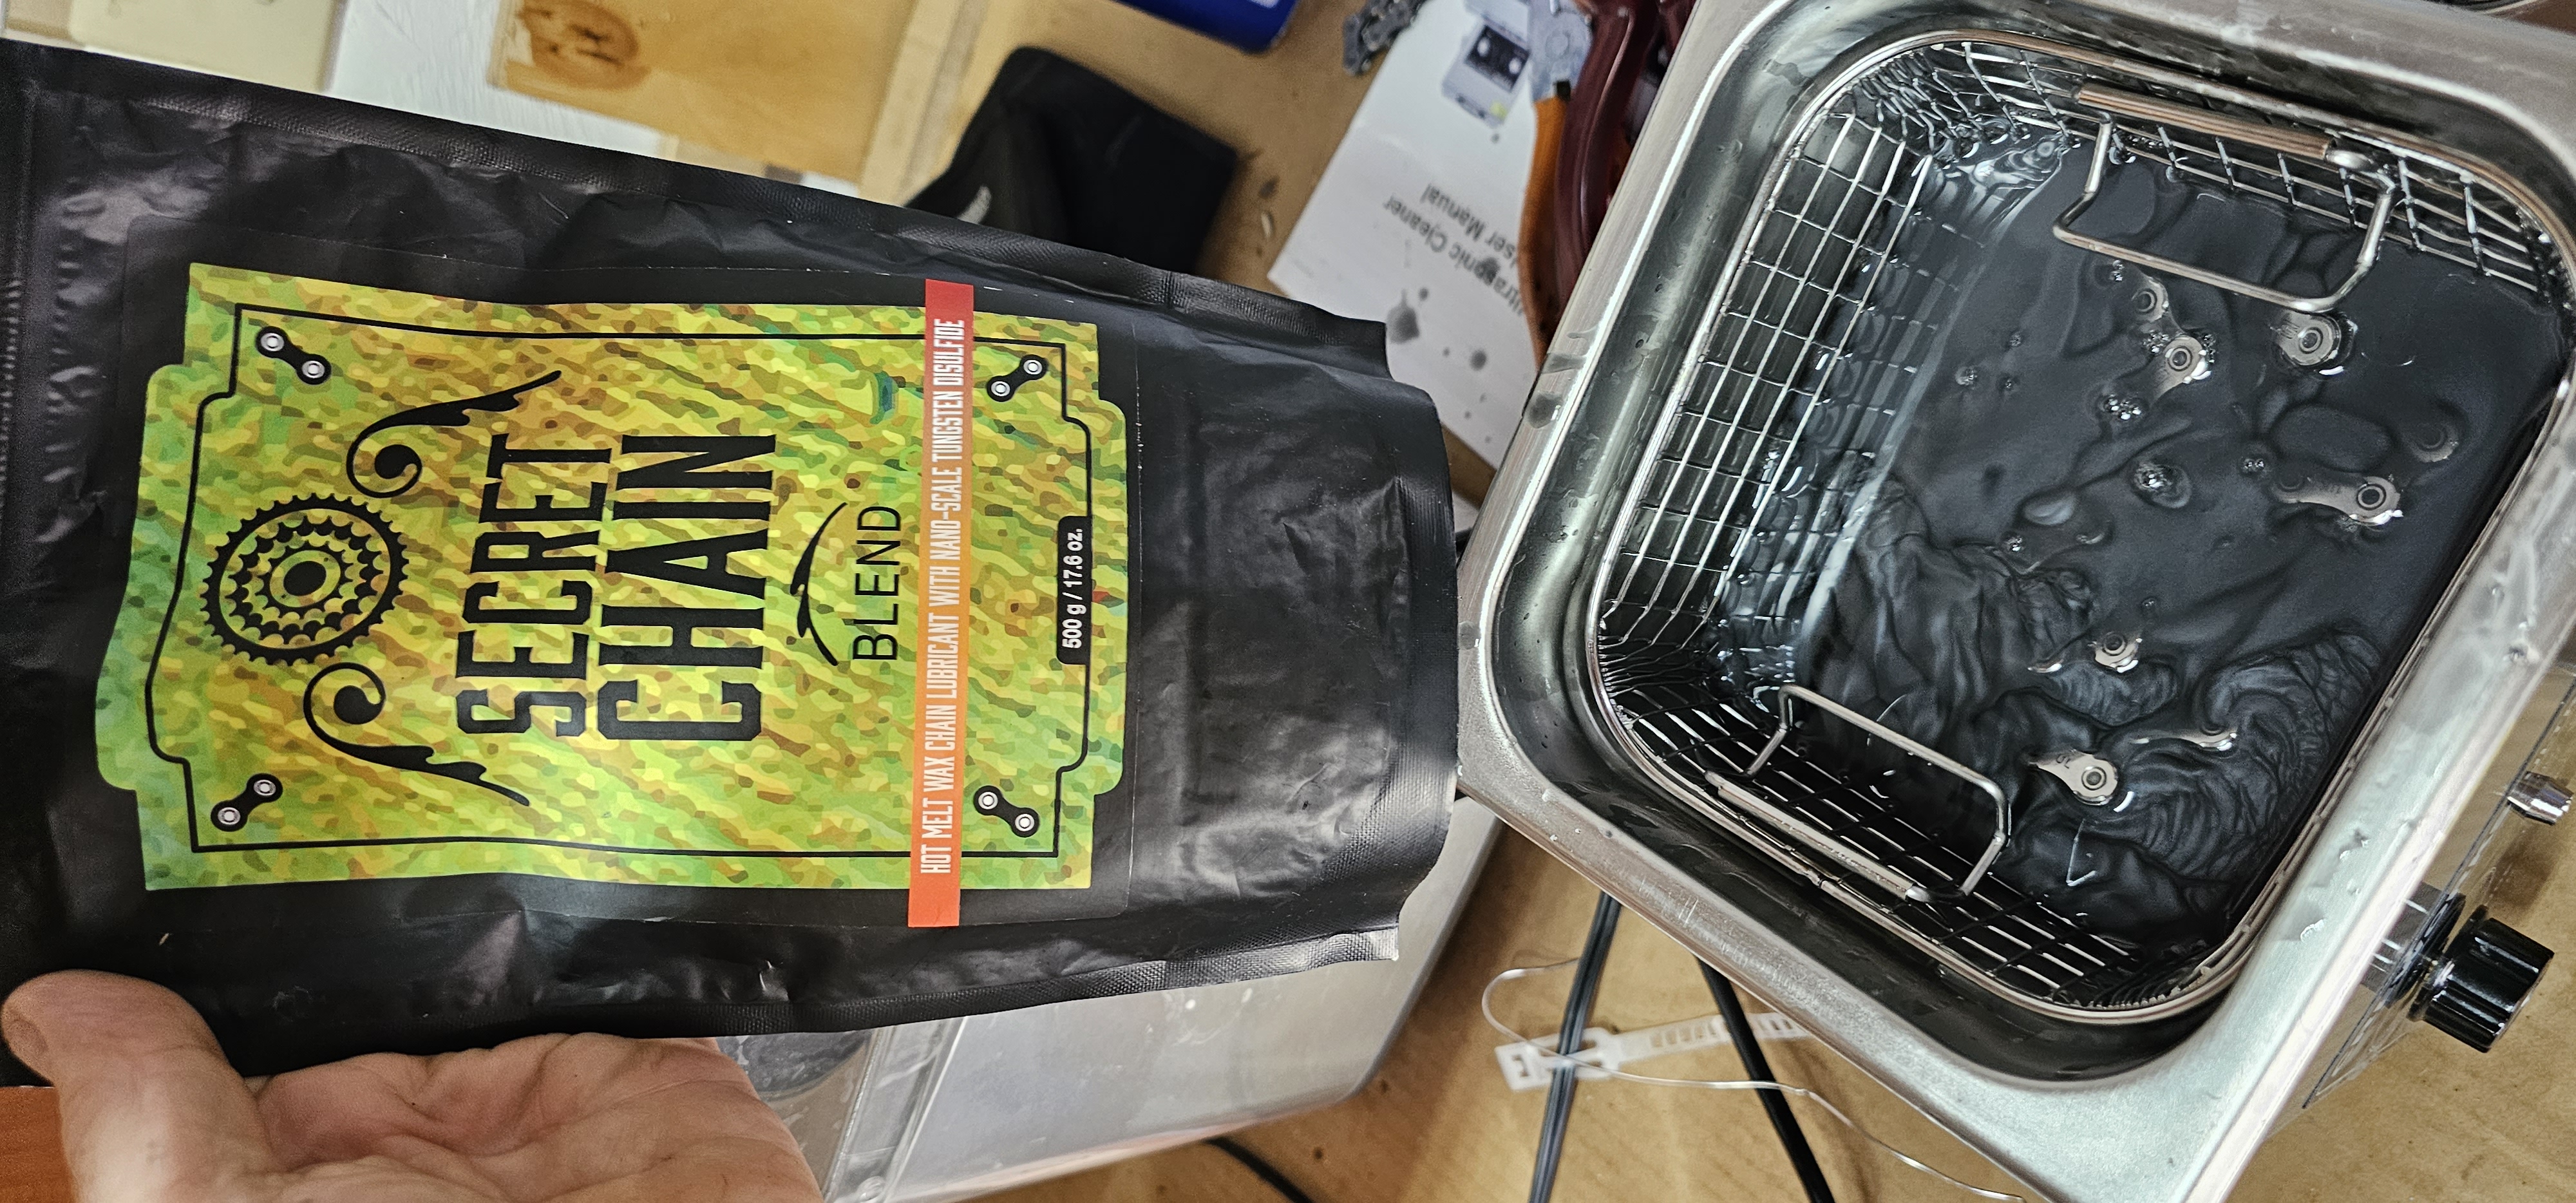
The chain is hot melt waxed. Super clean. Though it needs reapplying about every 500 miles.
 |  |
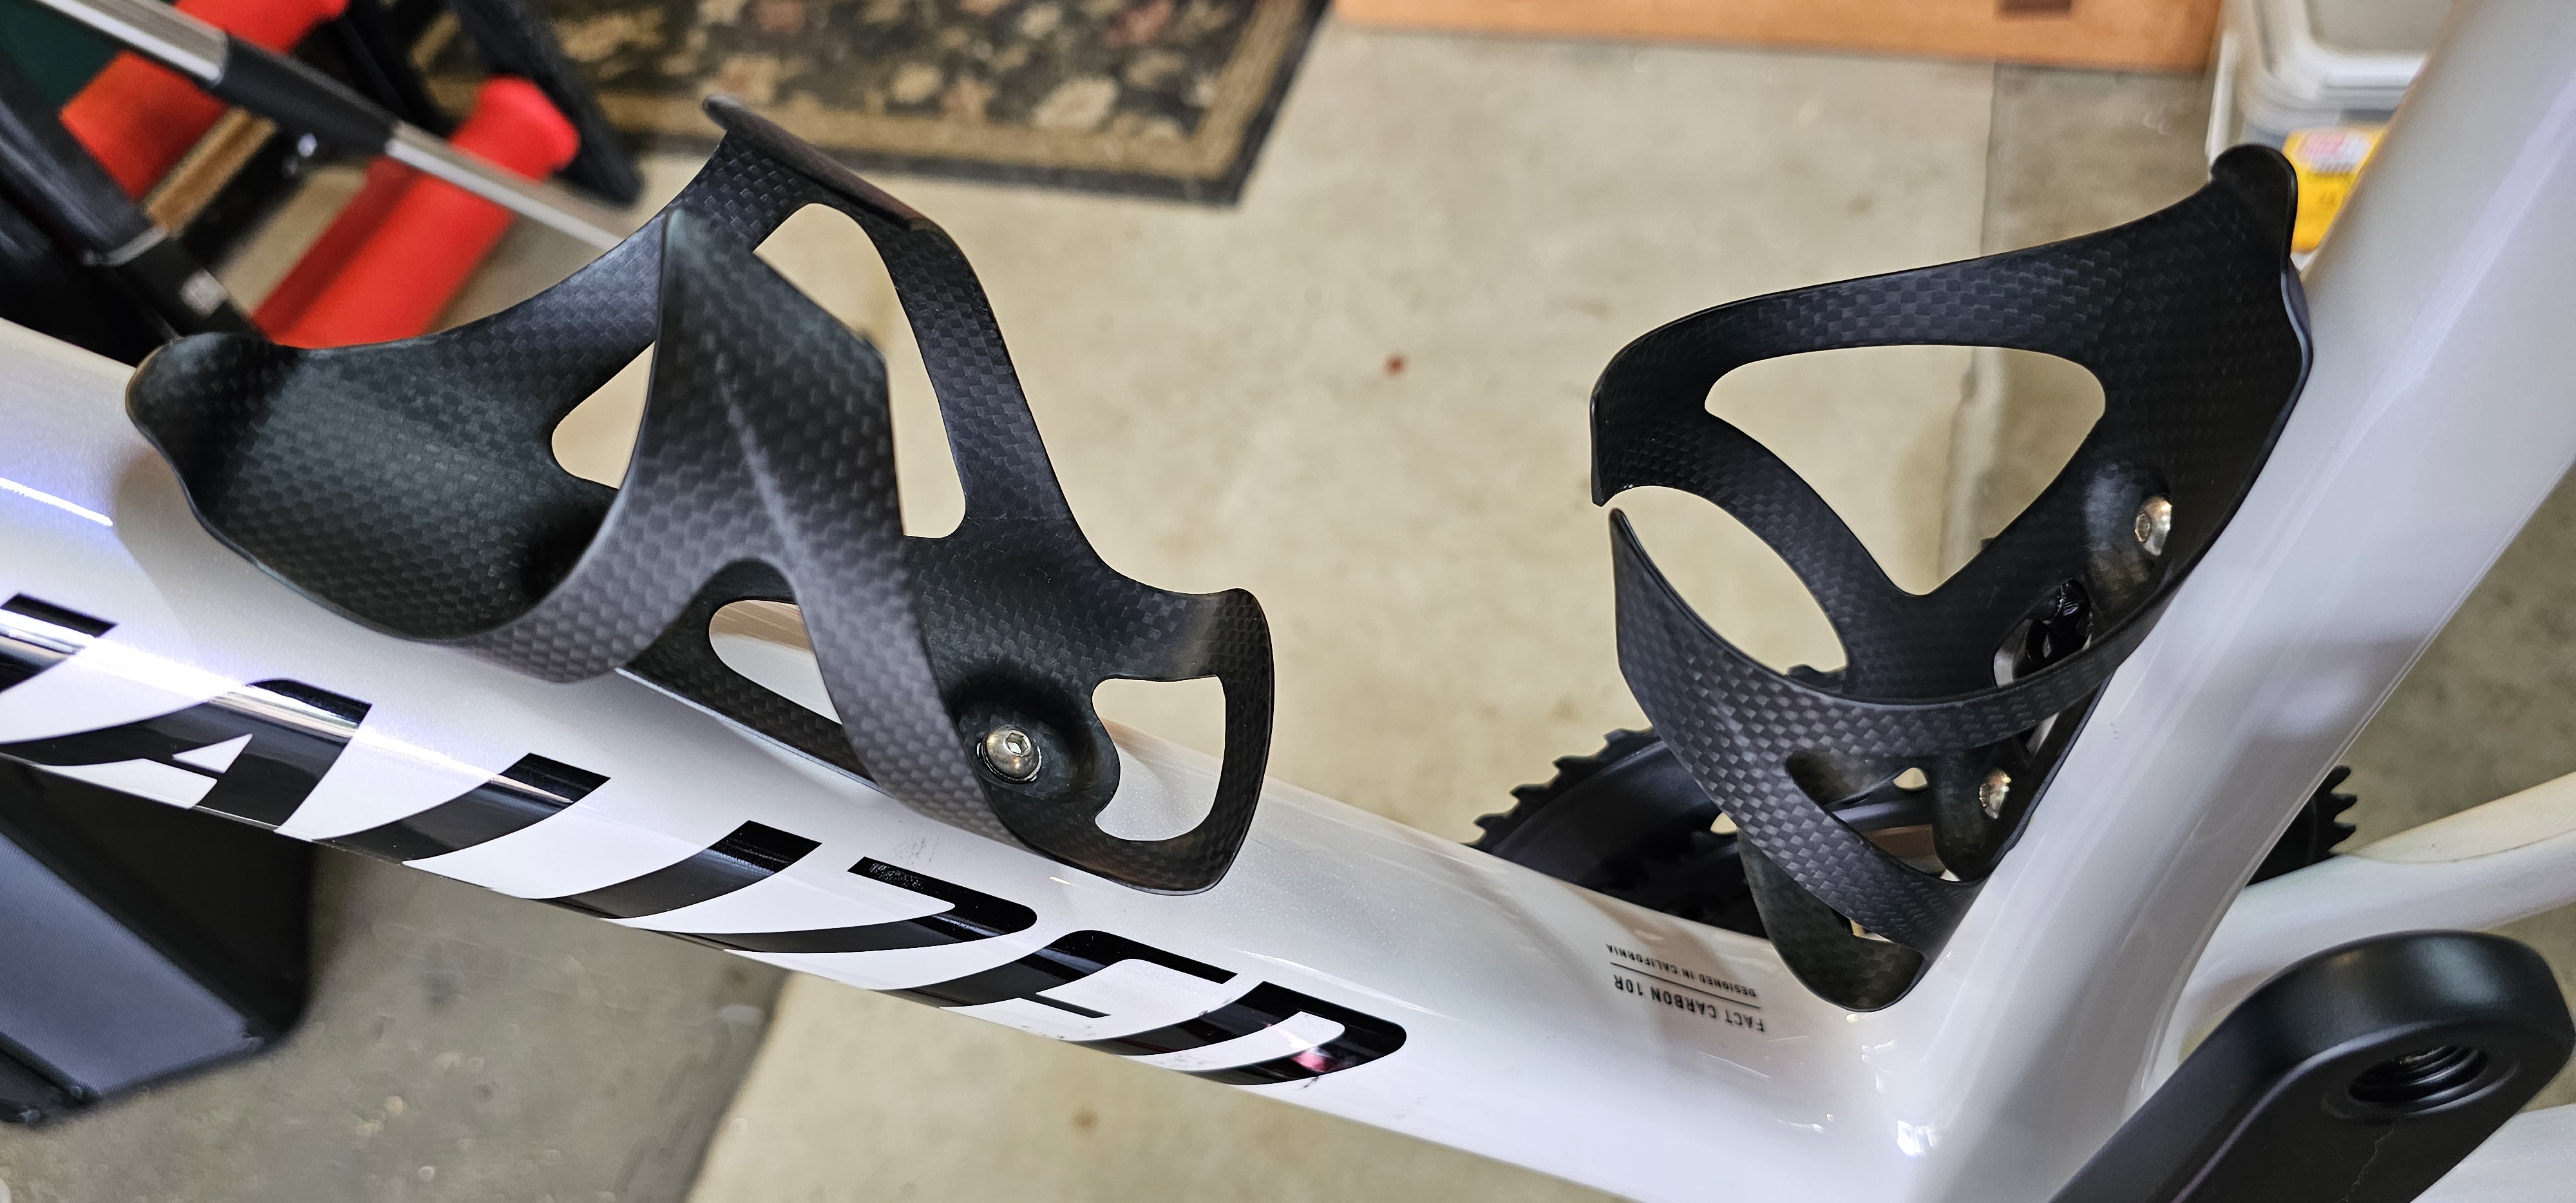
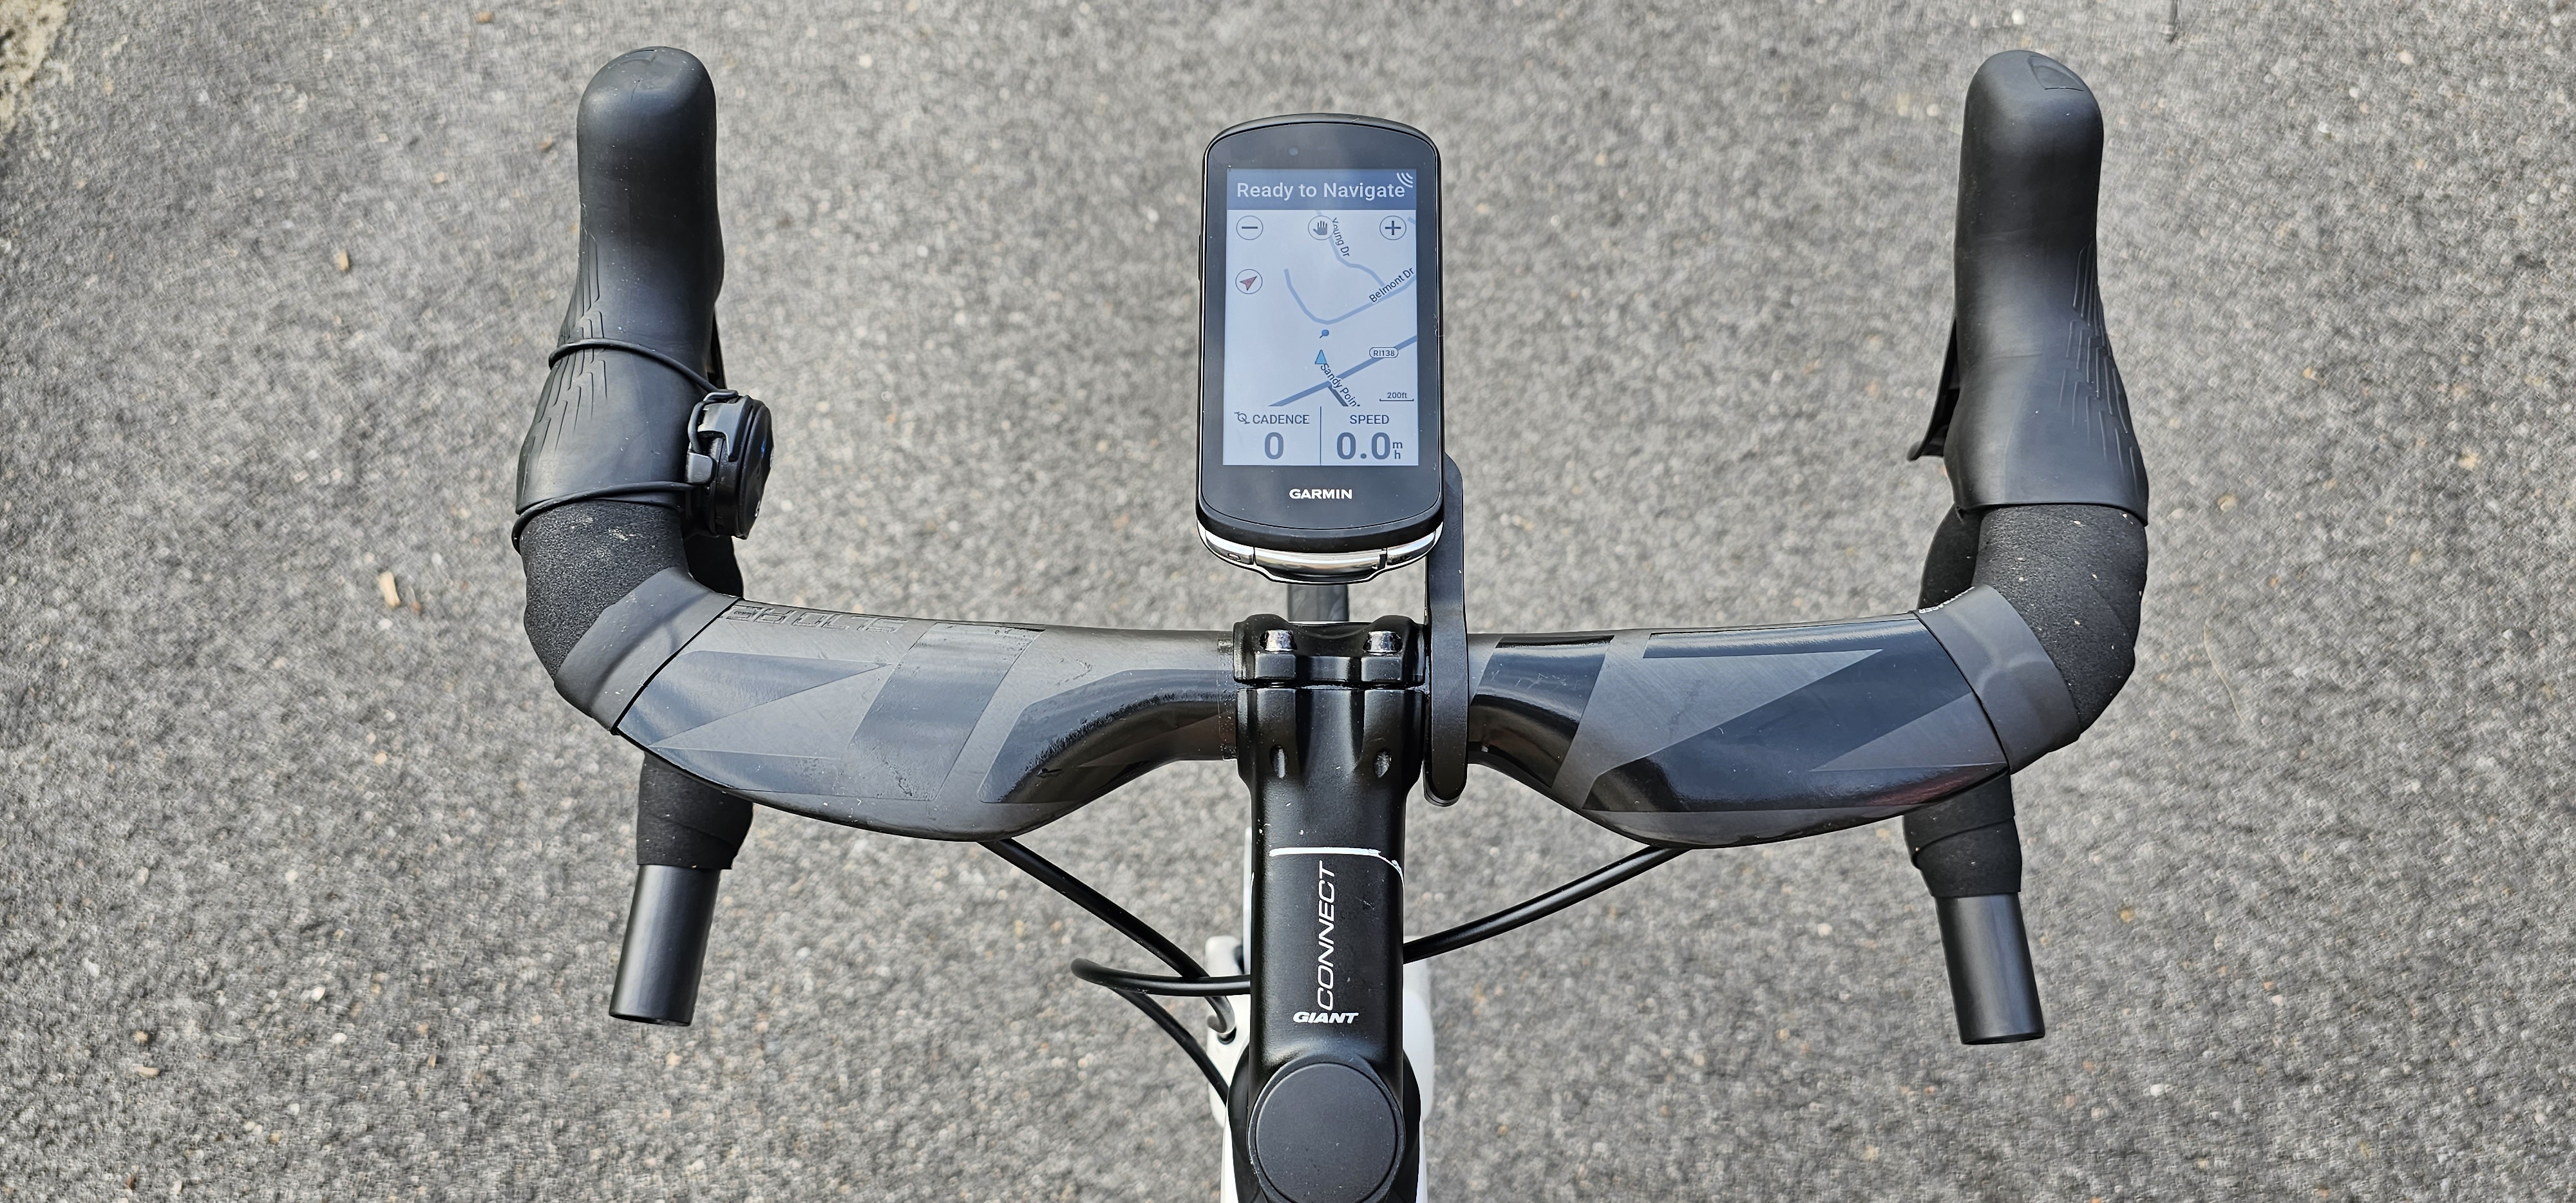
Then some finishing touches. Carbon bottle cages, sensors and computer mounts.
 |  |
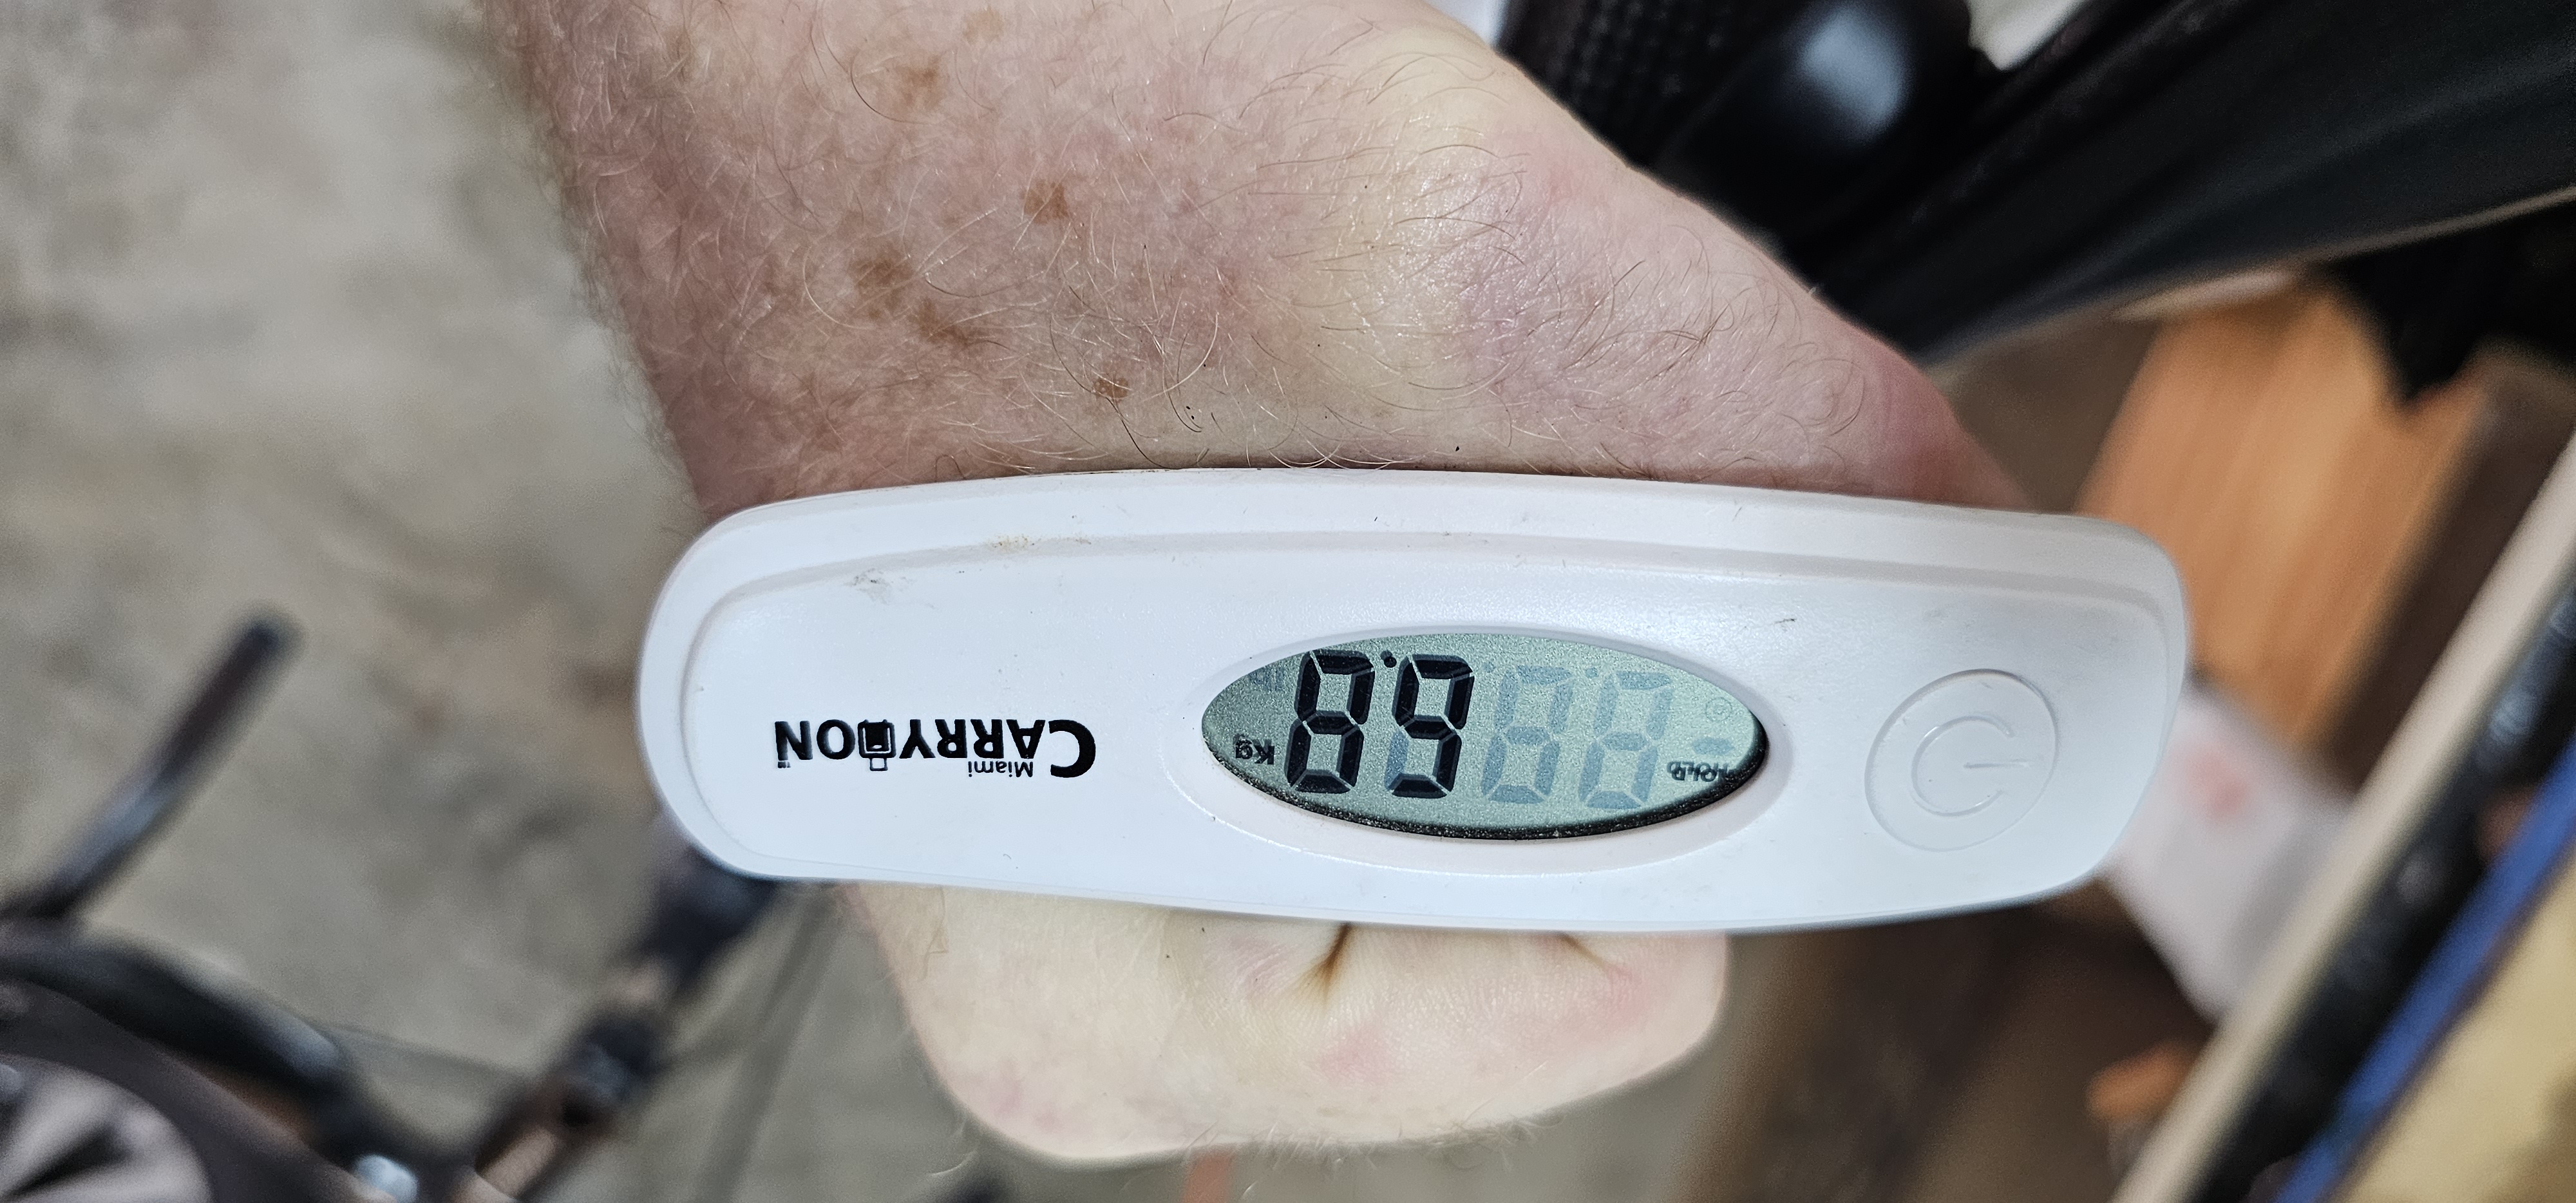
The whole thing in "UCI weighing trim" came in at 6.8kg. Which is minimum legal race weight.
Was it worth it? Yes. Though I have repaired my old bike for "bad weather". The new is significantly comfier than the old.